This is the continuation of the MIT Hyperloop 2 Shell build process. The first part was about planning and designing the tooling. Here we’re going to machine the parts and put it together. There are three videos covering the whole tooling process. The first is here:
The first parts to be machined were the three flat sheets of 3/4″ MDF. These form the framing and the upper U-shaped piece that ties it all together. At the same time, the MDF blocks for the “bulkheads” at either end of the strip planking and the nose pieces were glued up and machined on another router. The egg-crate was assembled, glued together, and strip-planked with 12mm poplar strips. The blocks of machined MDF were machined and glued to the main body of the mold. Everything was filled, sanded and epoxy coated in preparation for sheathing with light fiberglass.
The Process:
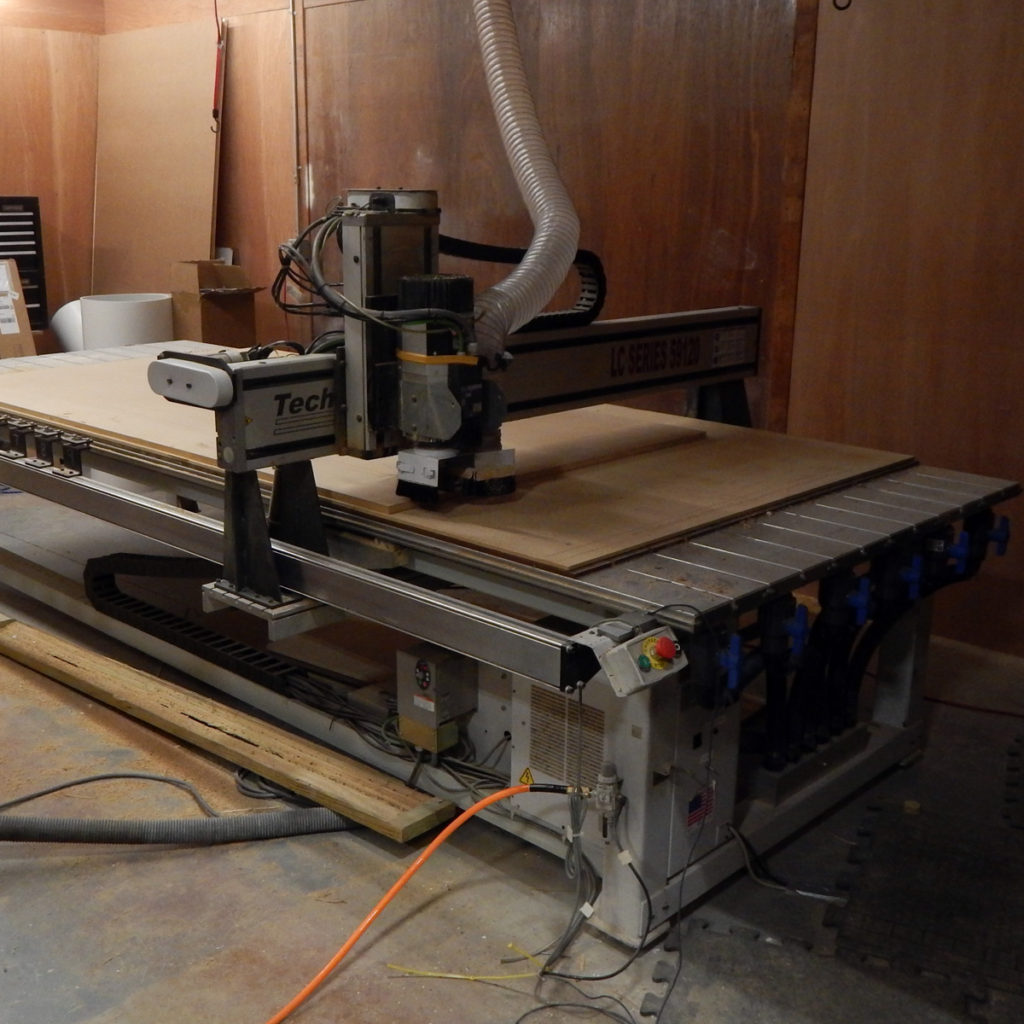
Darya at Canapitsit Customs cut the stations for me on her Techno CNC router. These were cut with a 3/8 compression spiral cutter. 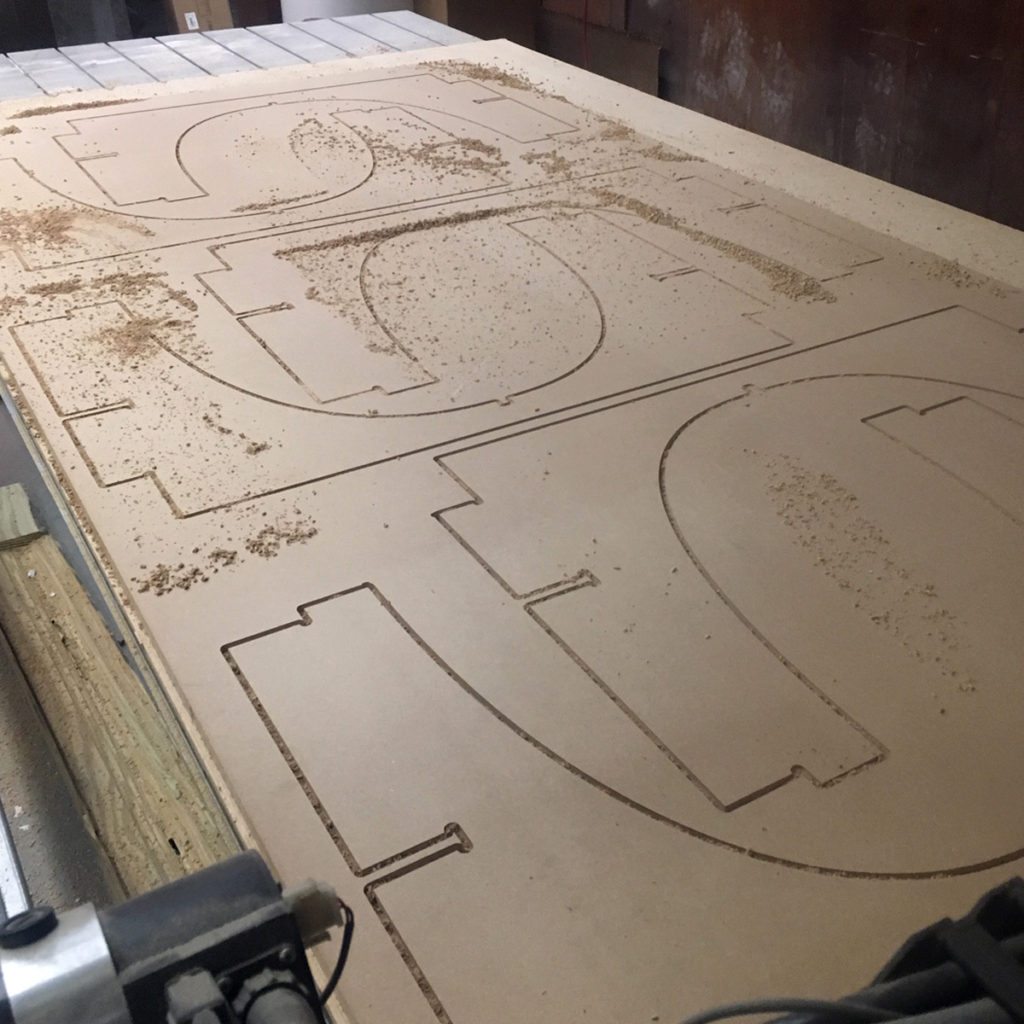
The MDF egg-crate on the router table. 
Stations all cut out with longitudinal frames stacked on the router. 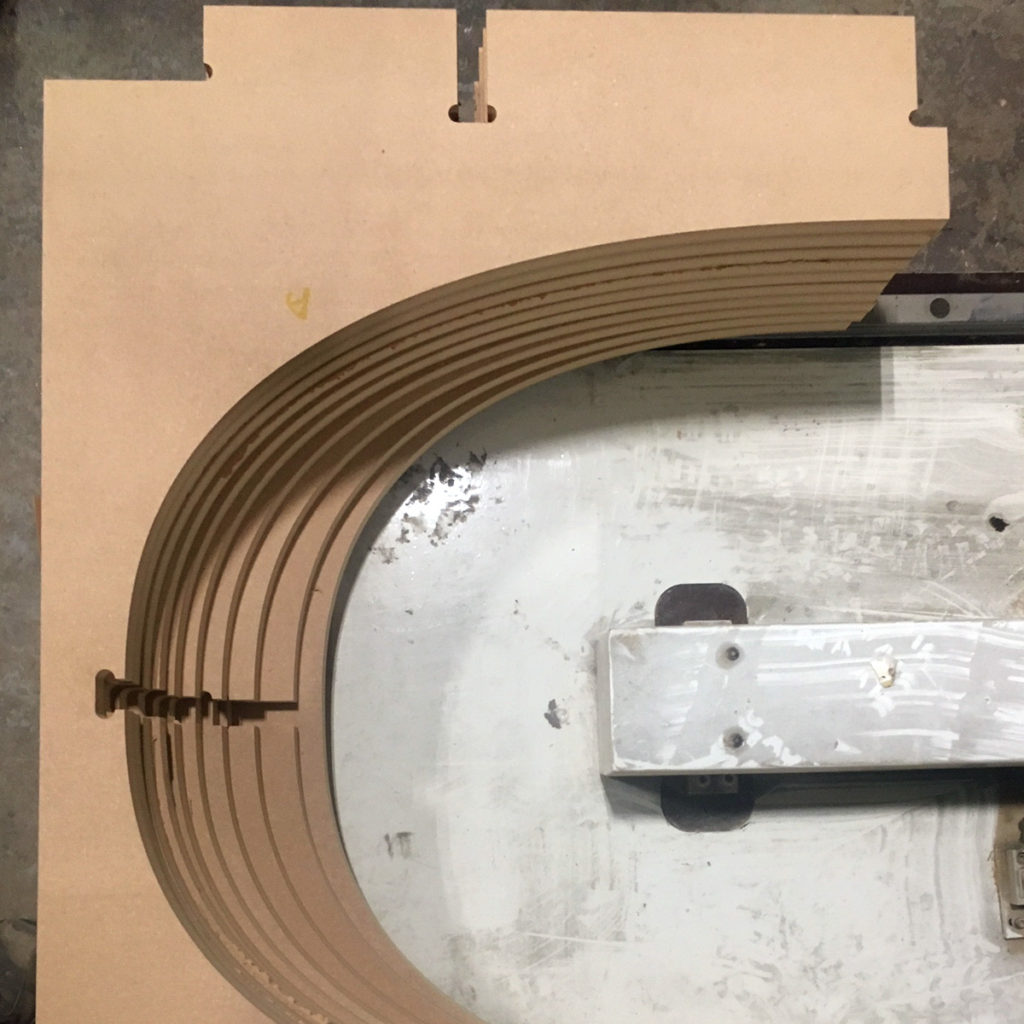
Stations showing slots and clearance “ears” so the corners of the other sheets fit tight. 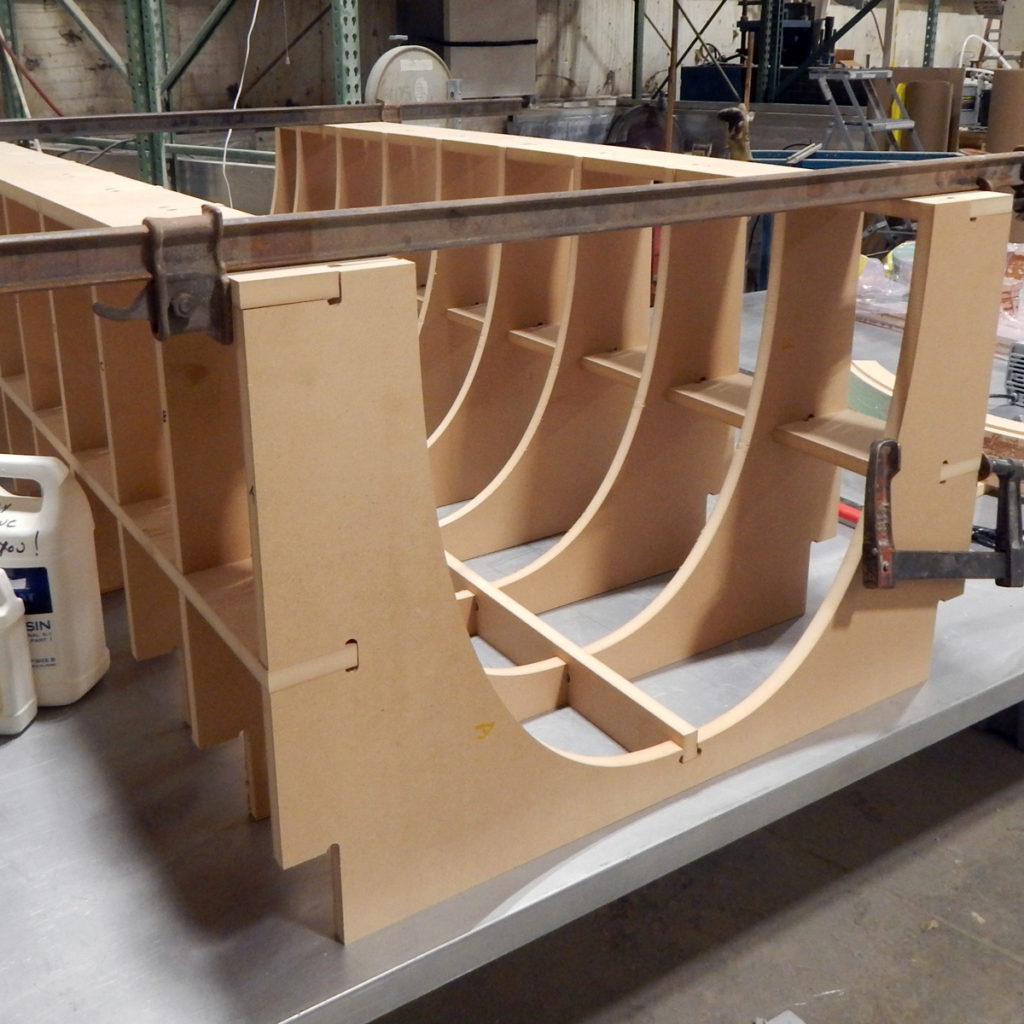
Starting to assemble the egg-crate. 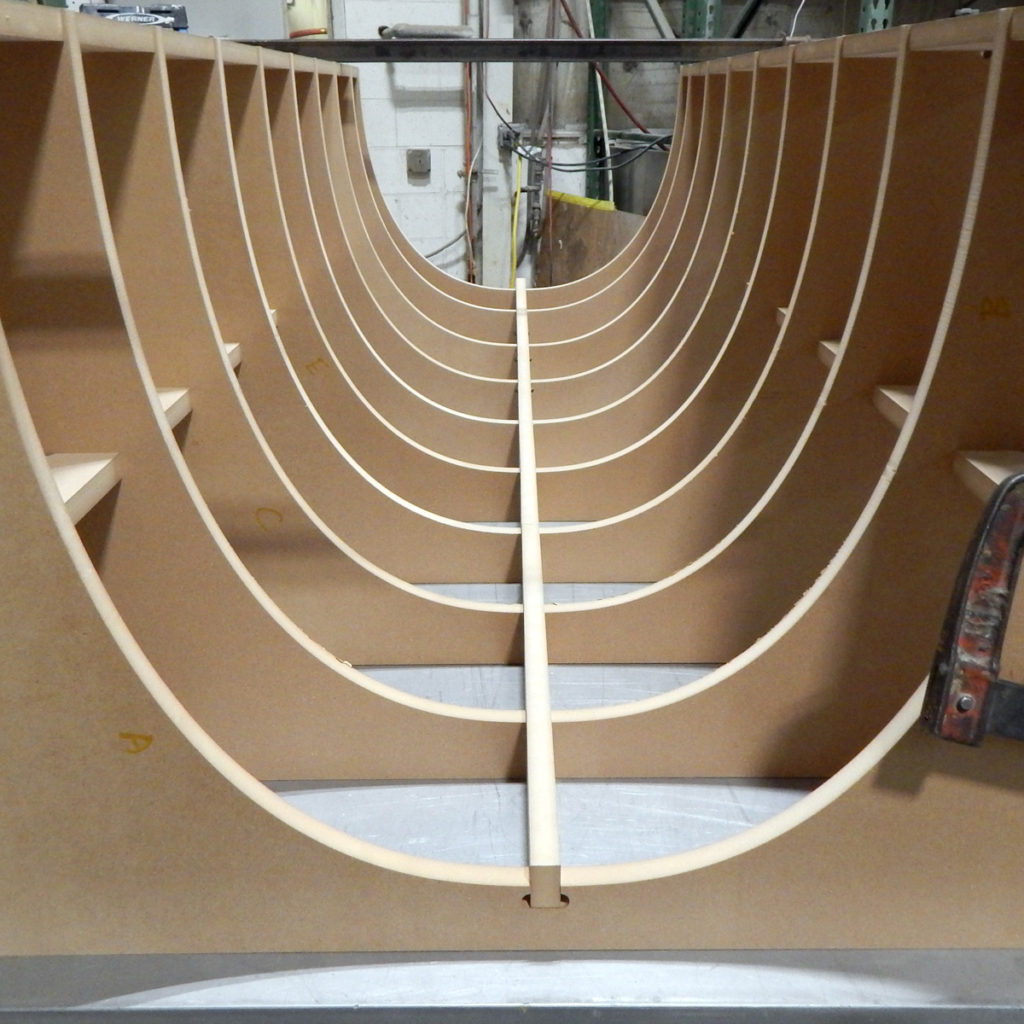
I made the bottom of the transverse frames too thin – one of them cracked! 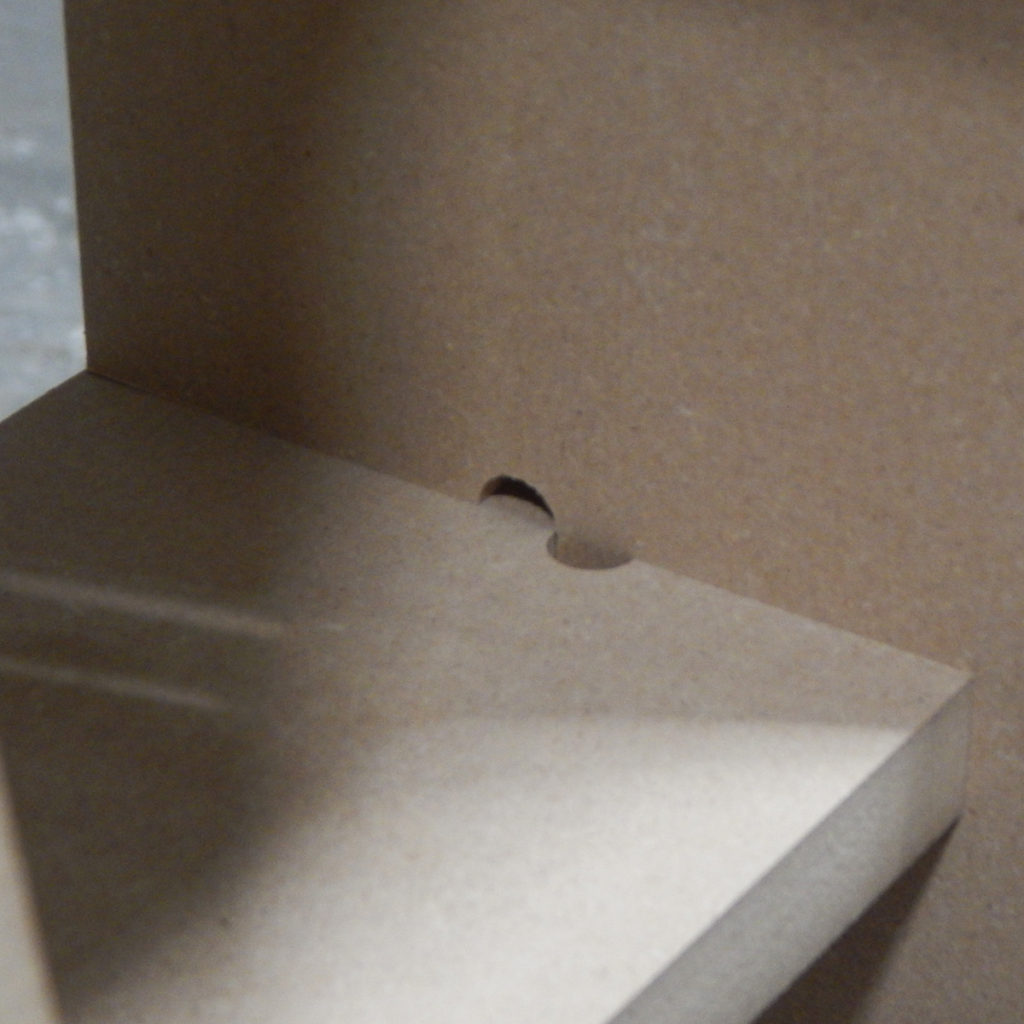
Close-up of the slots interlocked. 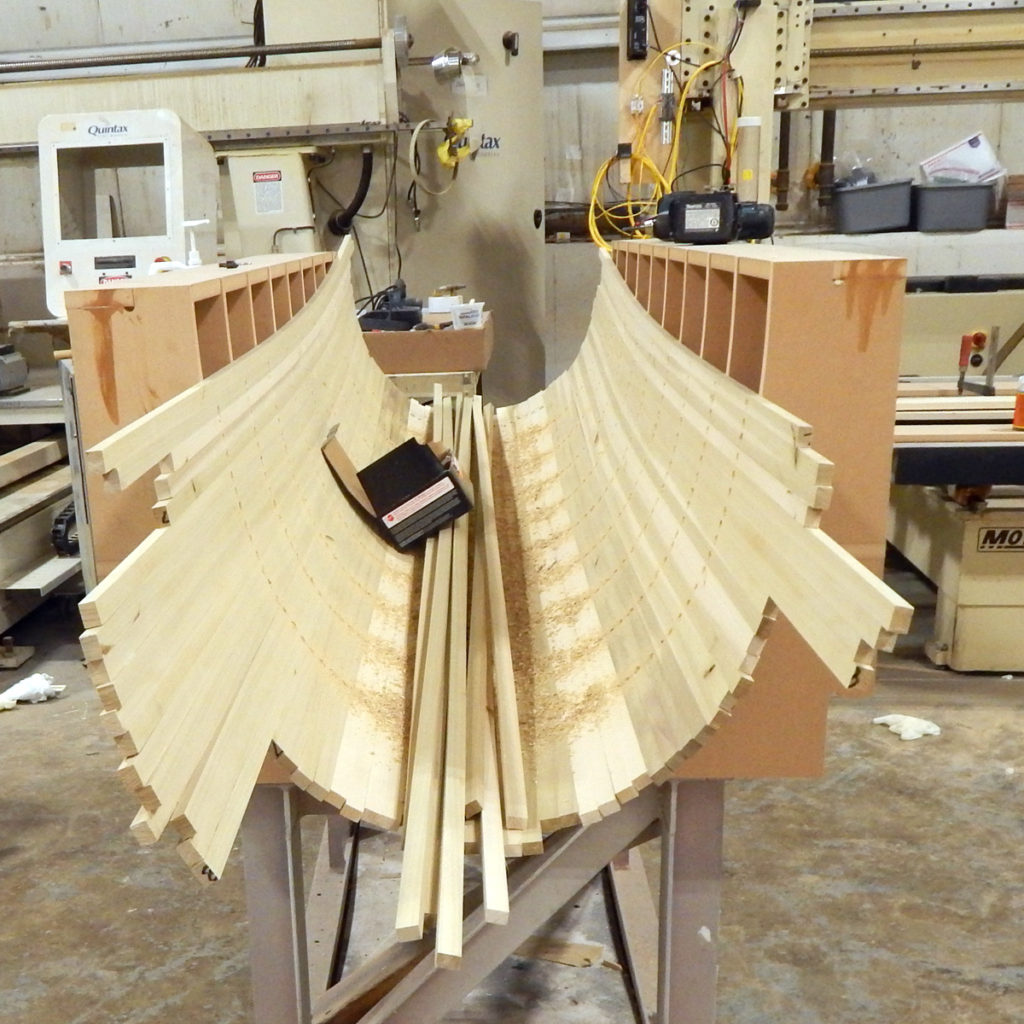
12mm x 20mm poplar strips cut on the table-saw and laid tight edge to edge from the middle. No glue yet – just screws. 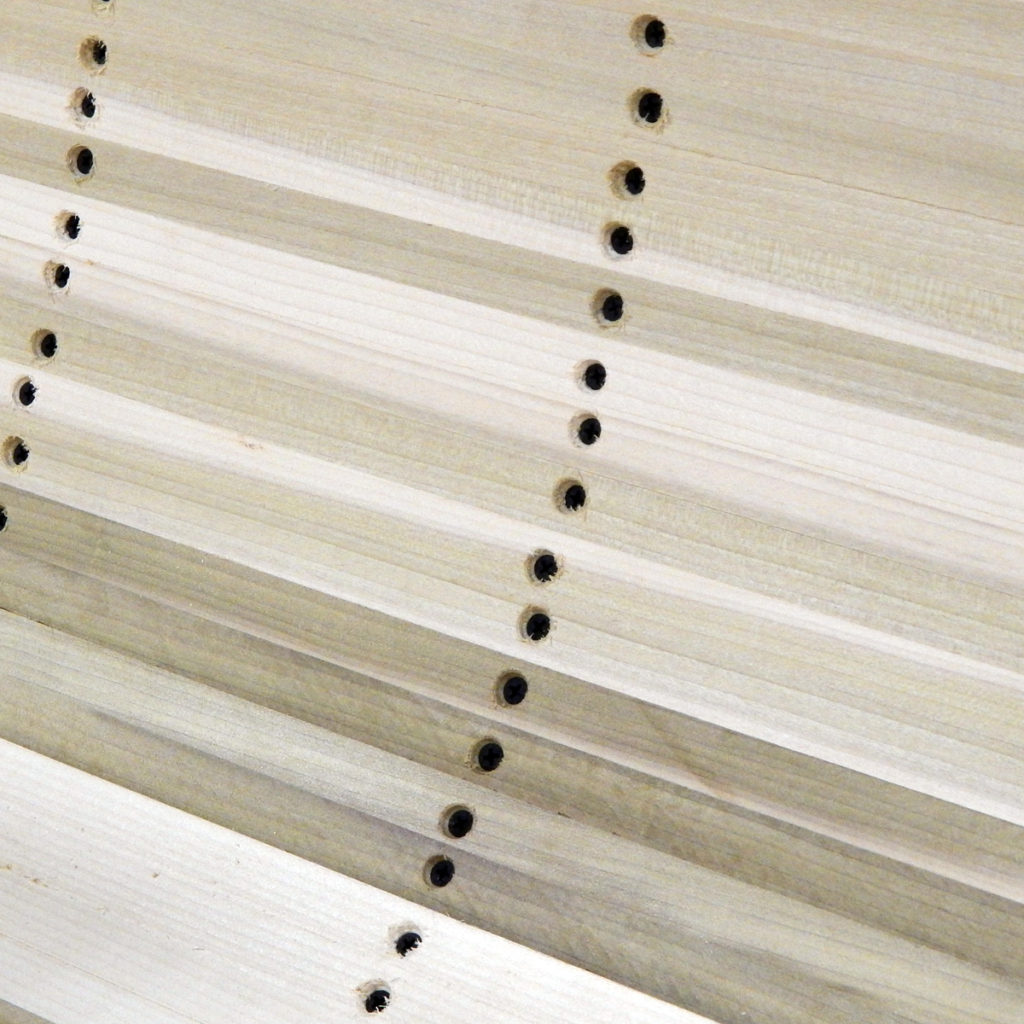
Countersinked holes for drywall screws. It was worth pre-drilling and countersinking so the strips and frames wouldn’t split. 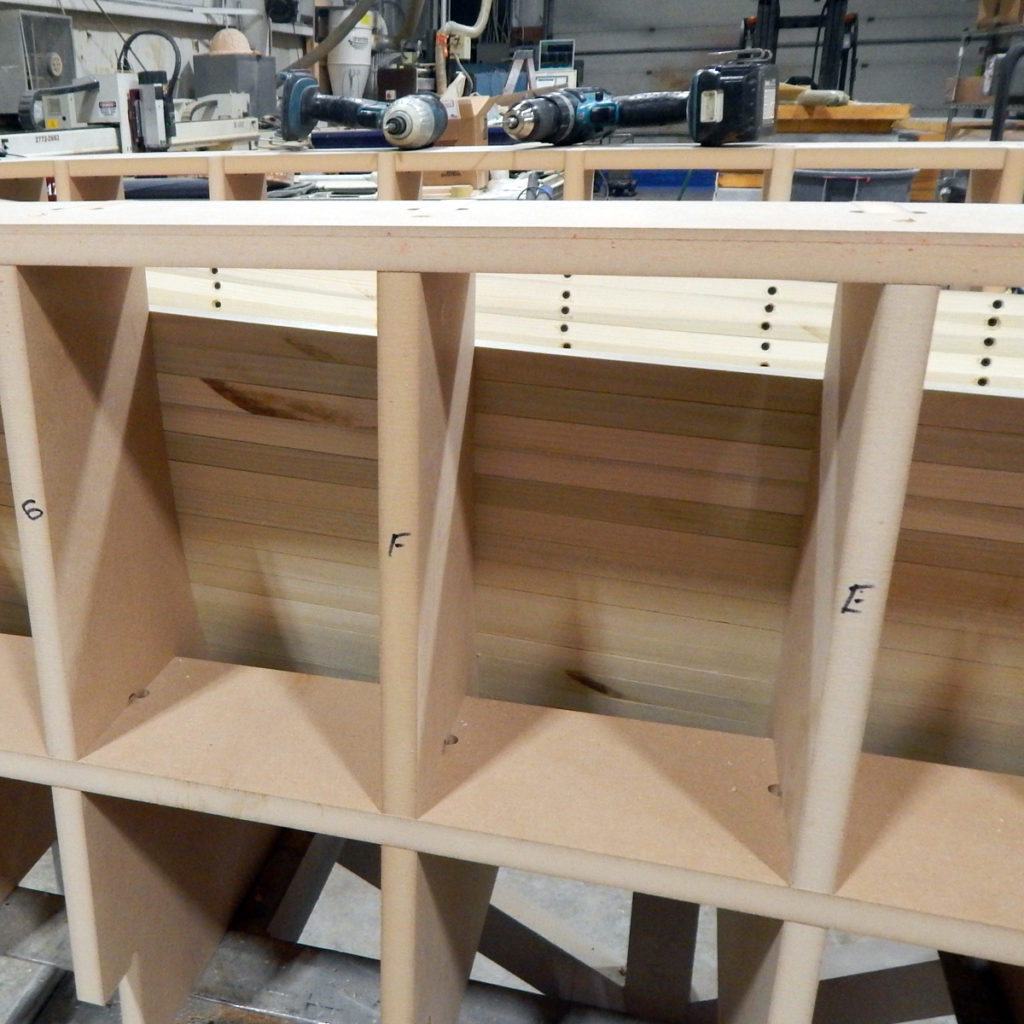
Backs of strips fit to the mold stations. 
All stripped up – left the strips overlapping the top edge and then backfilled with thickened epoxy. Once the adhesive is cured it is easy to trim the strips. 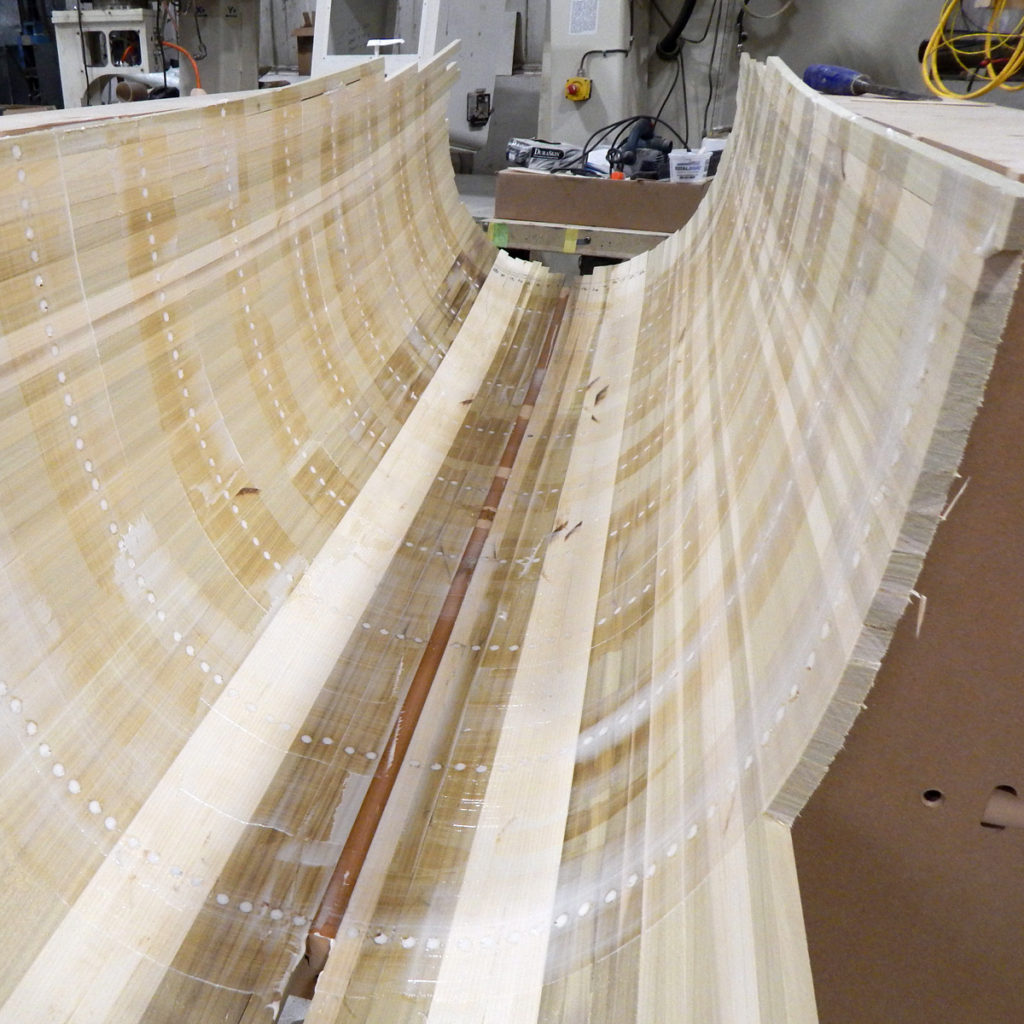
Used a squeegee to squeeze thickened epoxy between the trips from the front and the back – also filleted the strips to the MDF bulkheads. This glues all the strips together and bonds the entire structure. 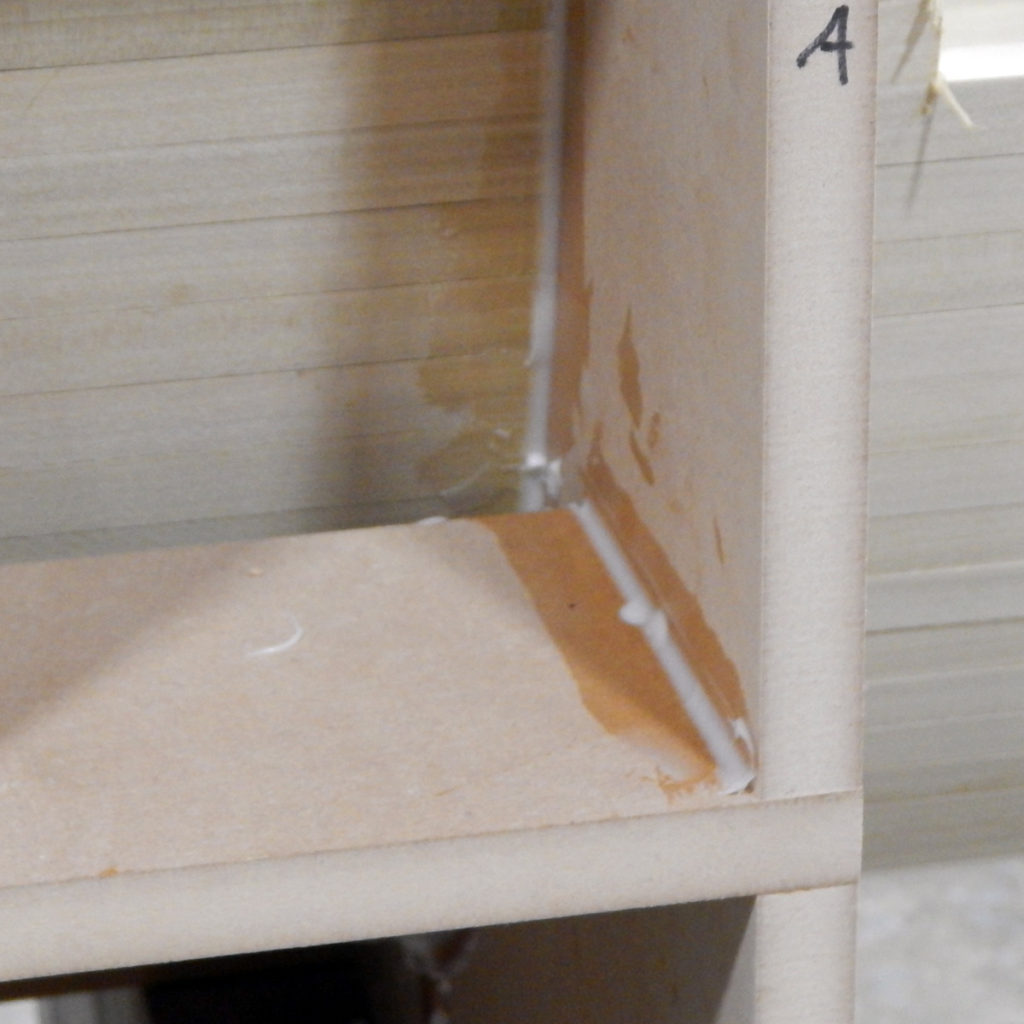
Make sure its all level and square before you glue it! 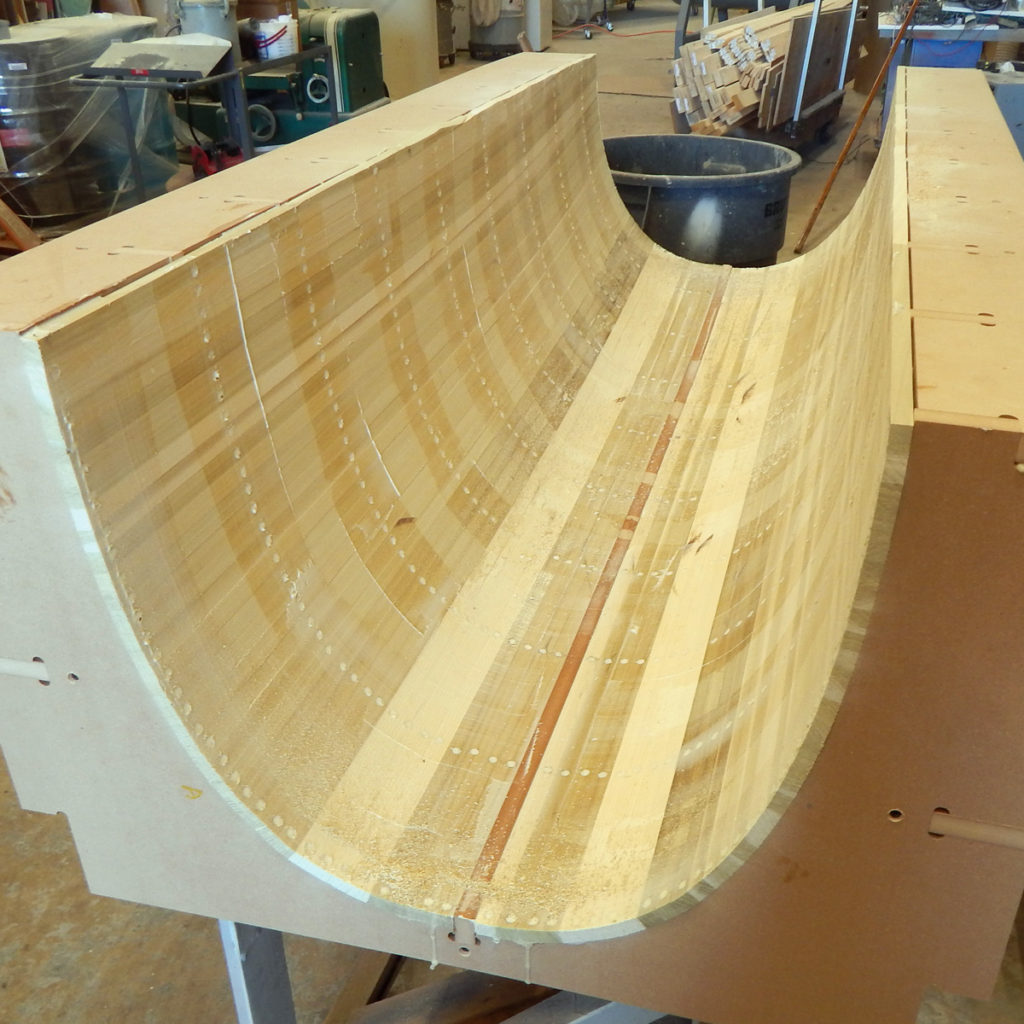
Strips all trimmed and glued, ready for end blocks. 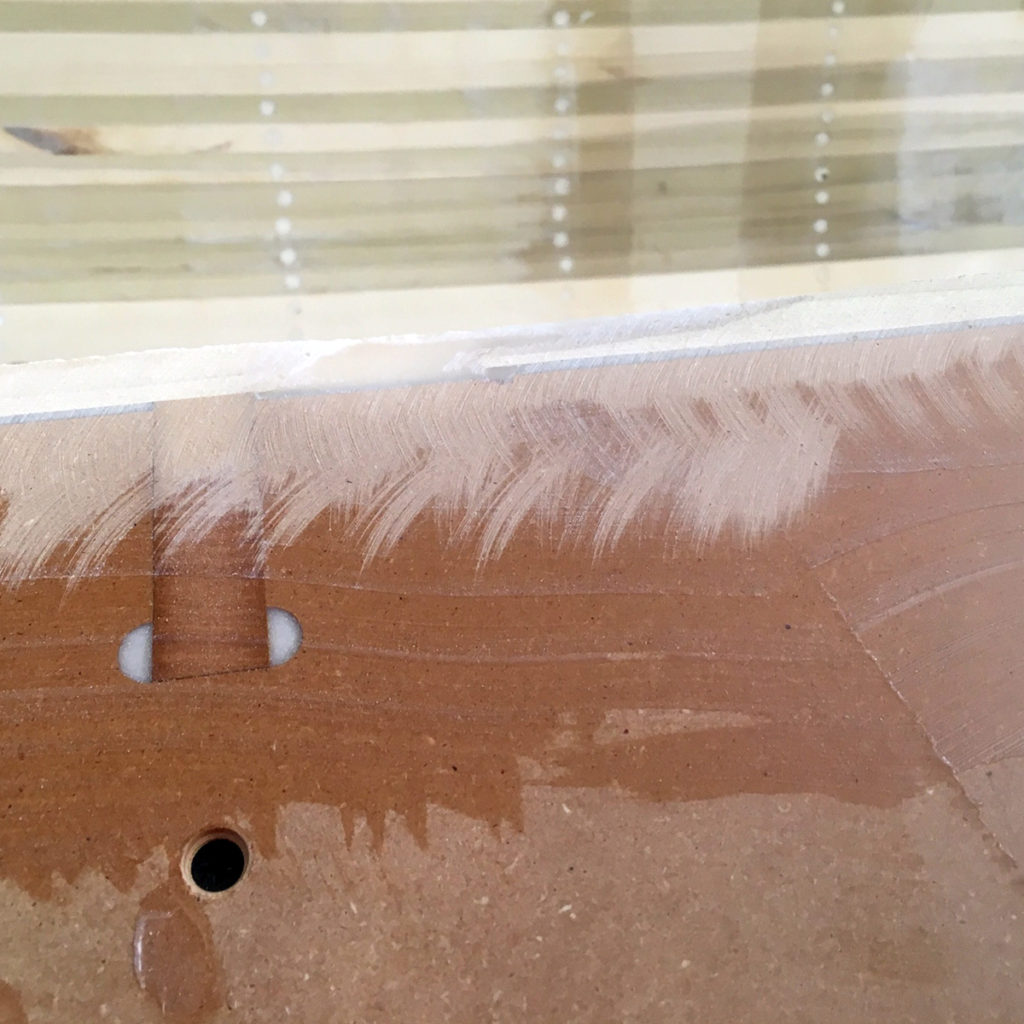
Top edge trimmed and ground flat showing thickened epoxy. 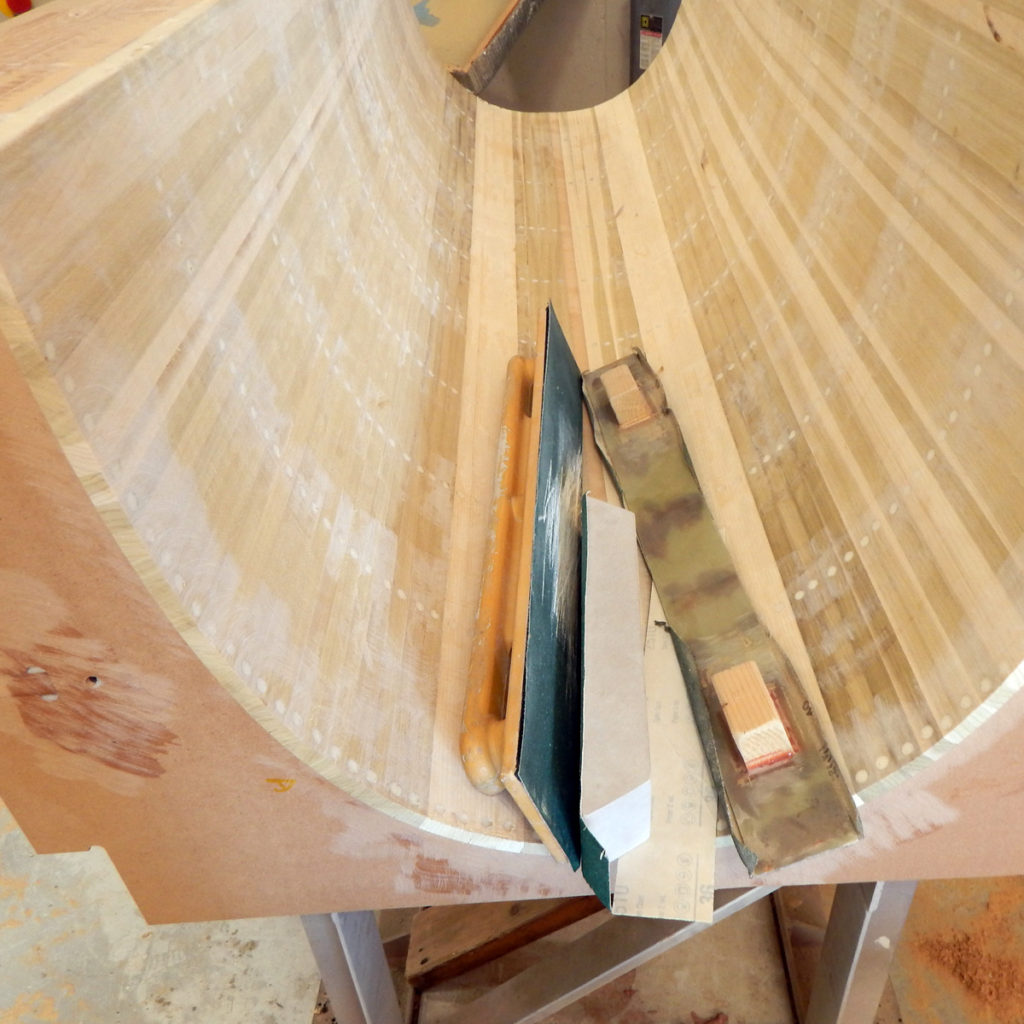
Sanding the strips carefully with an electric sander first and then some 36 grit paper on some sanding boards. 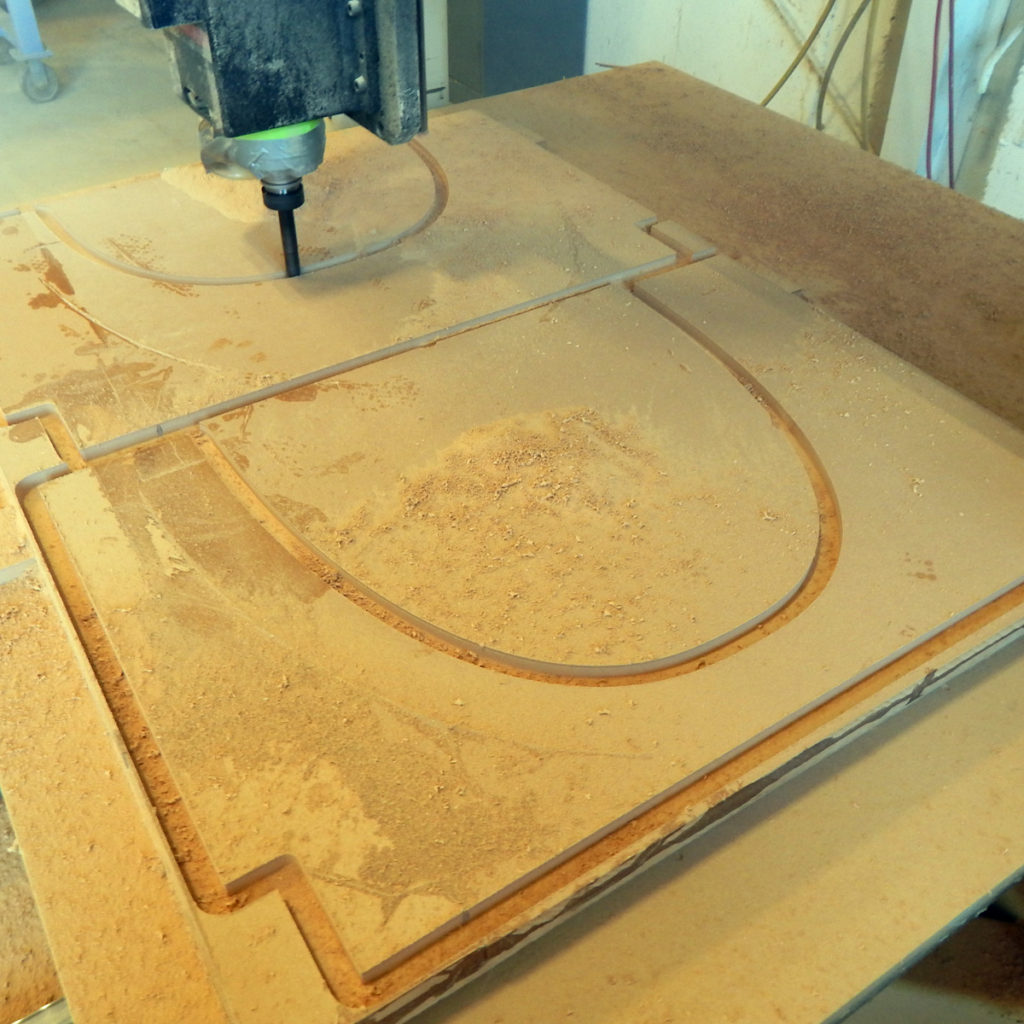
MDF block glued up and on the machine for the bulkheads that hold the ends together. All roughing here with an Iscar Multimaster 4-flute insert mill, finishing with a long 1/2″ 2-flute ball end carbide mill. 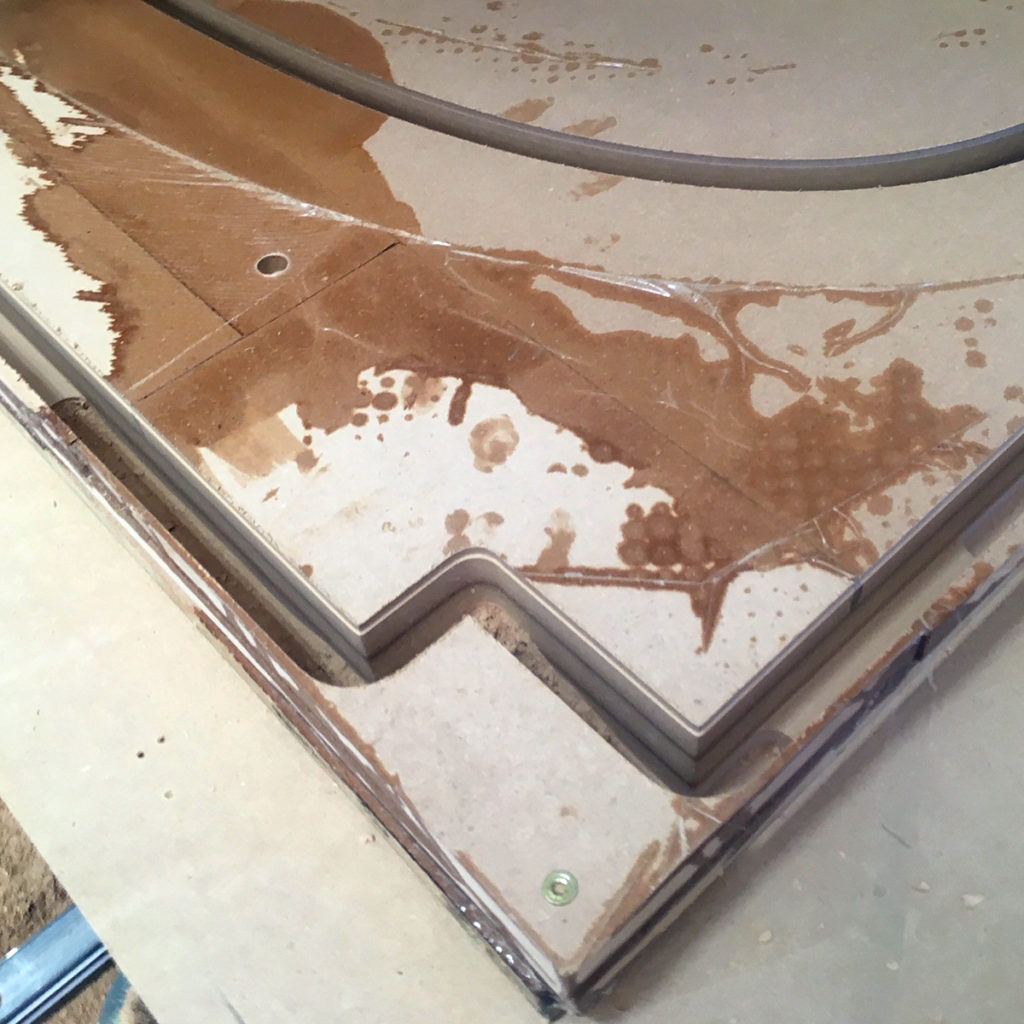
Bulkheads cut out – surfaced on the inside face and same shape of the bulkheads on the outside. 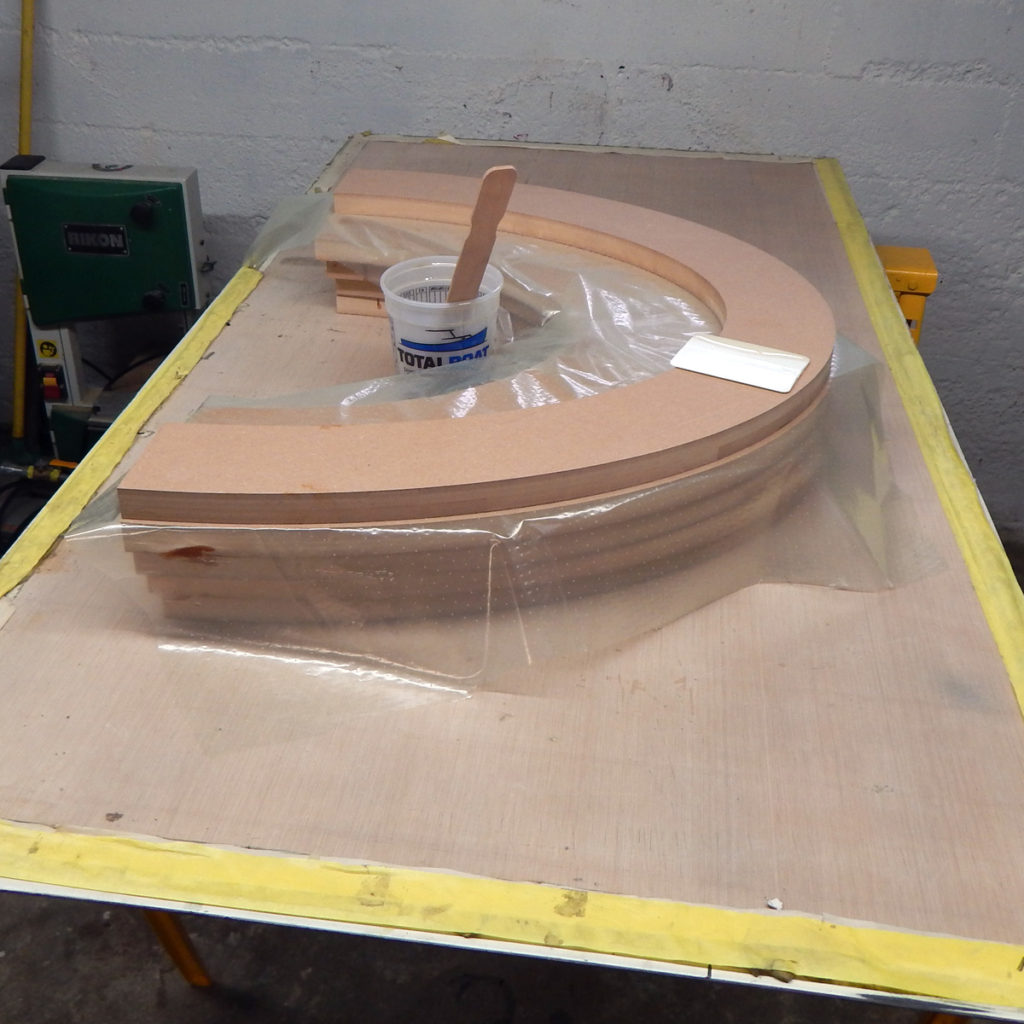
Nose blanks pre-gluing. The MDF was cut out oversize on the router and then glued, stacked up and vacuum bagged. 
Bagging the blocks for the nose – note two separate segments of the glue-up separated by perforated release film and bagged in one bag. 
One of the nose blocks glued up and on the router. Because these get cut down to the inside face and need clearance for the ball end mill – these were blocked up on scrap MDF which is screwed to the table. The MDF blocks are 5-minute epoxied to the back of the main block. 
Nose block on the machine showing clearance to cut down past the bottom (ball end mill) – you can’t push super hard with roughing but it is a tidy way to fixture things like this. 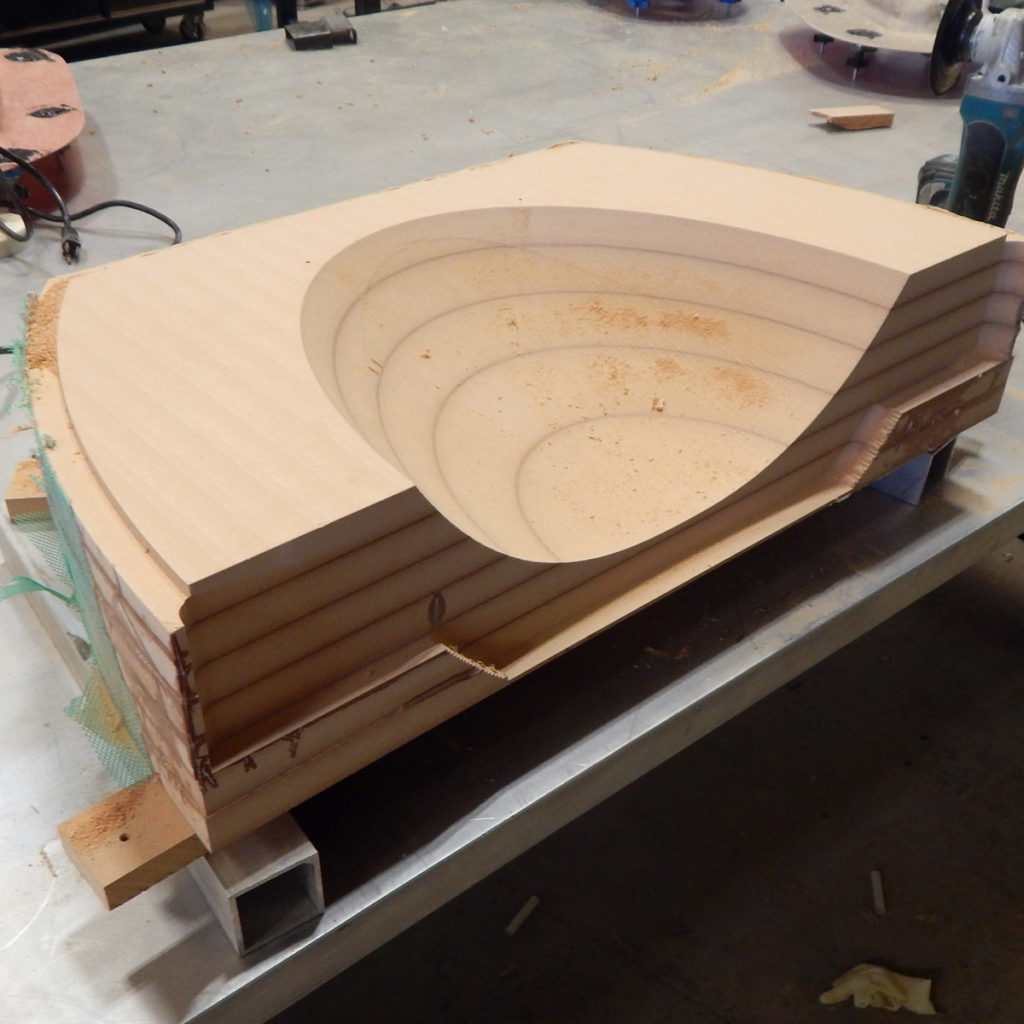
Lowest block of the nose stack. You can see the extra that the bit couldn’t reach that will need to be trimmed off manually. 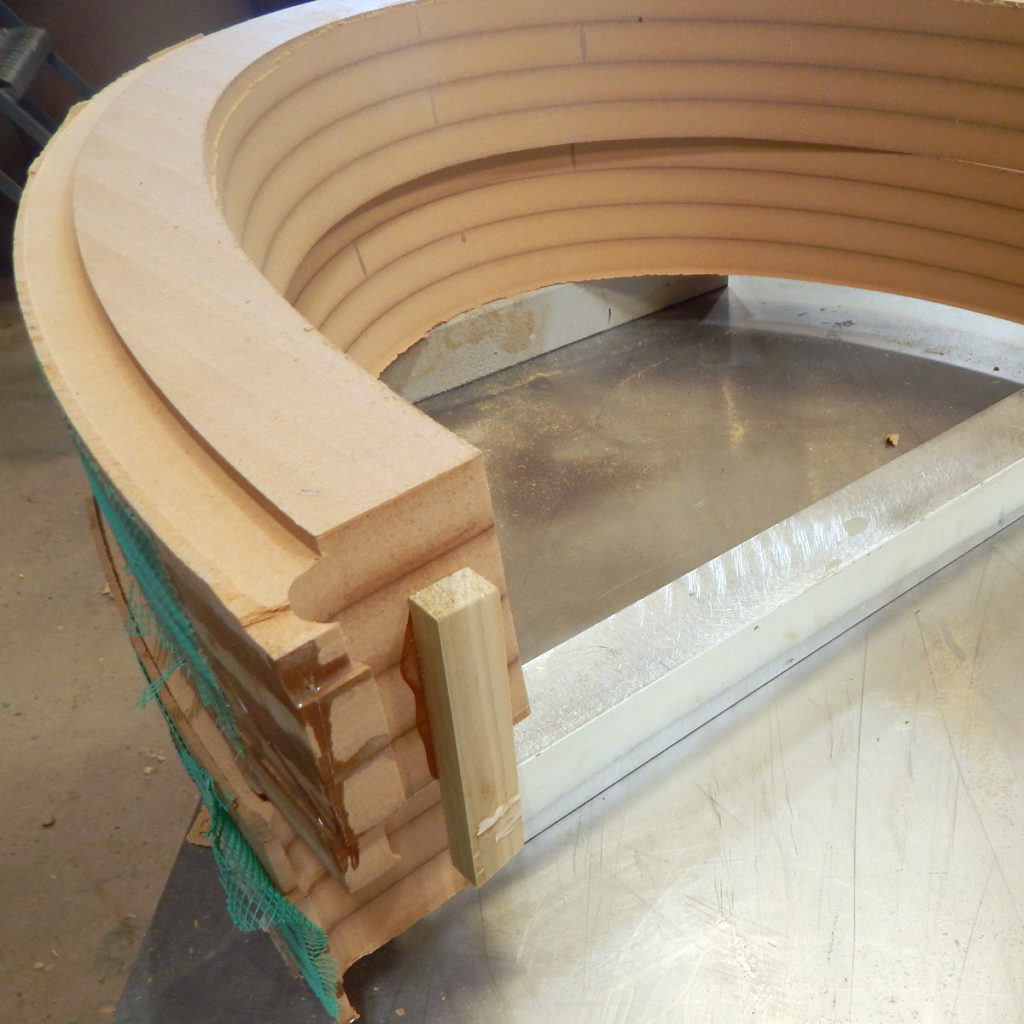
Upper nose blocks machined and stacked up. 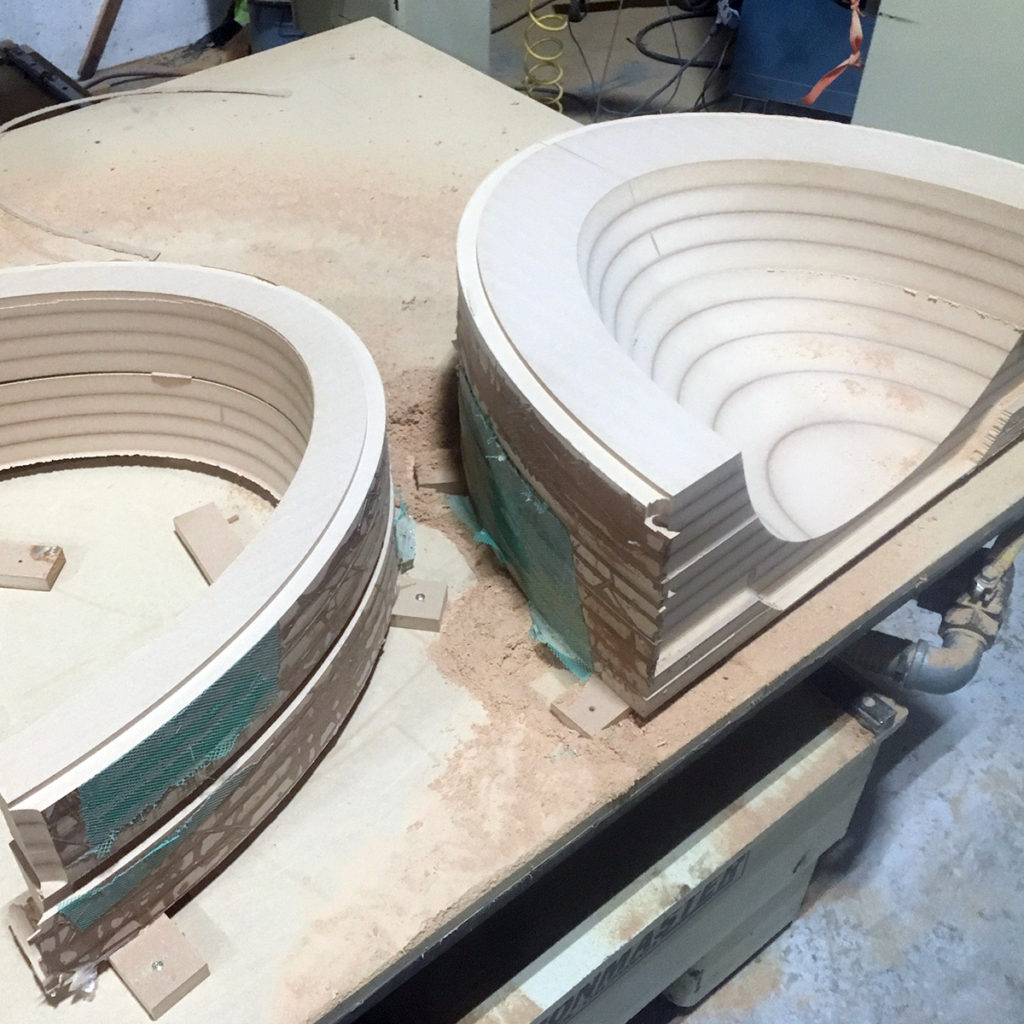
All the pieces. 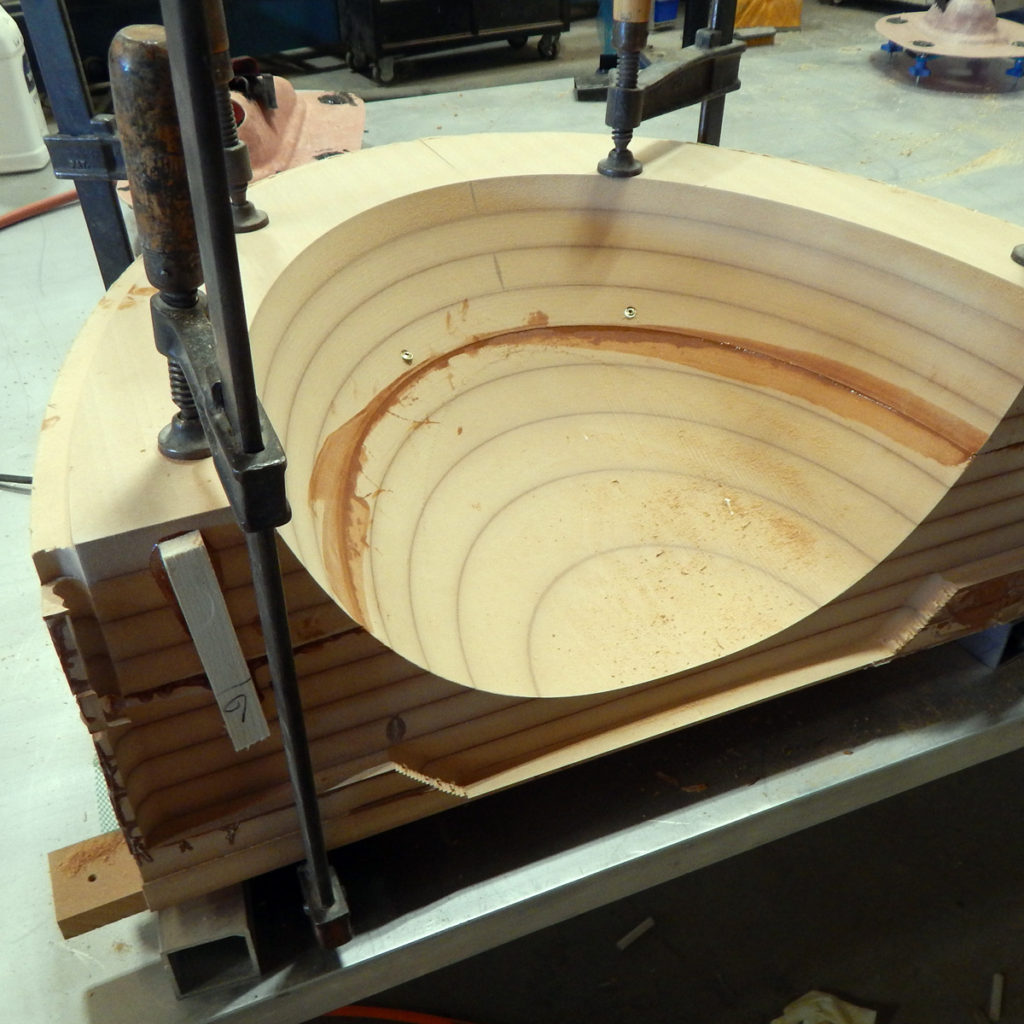
Gluing the bottom two layers together. Combination of clamps, blocks and screws. 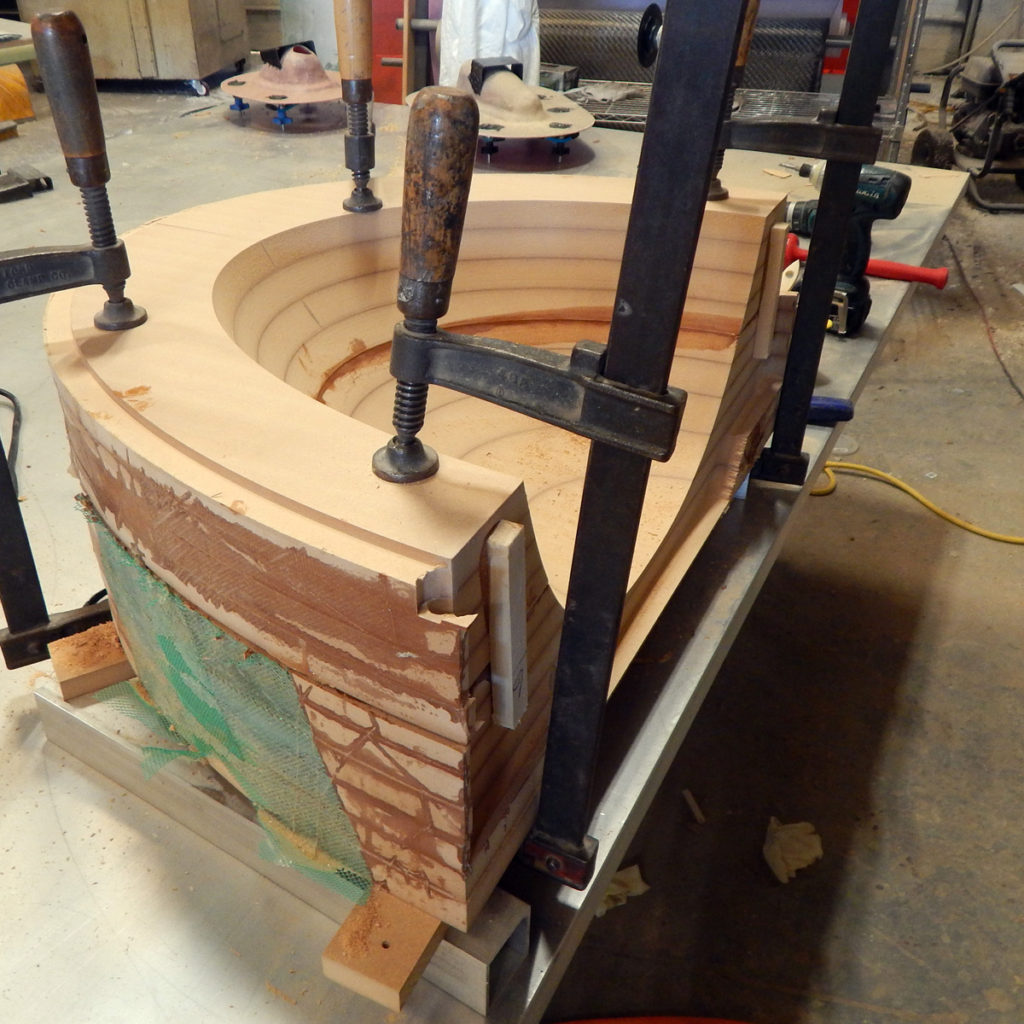
The blocks on the back face are glued to one block with 5-minute epoxy to keep the blocks aligned. 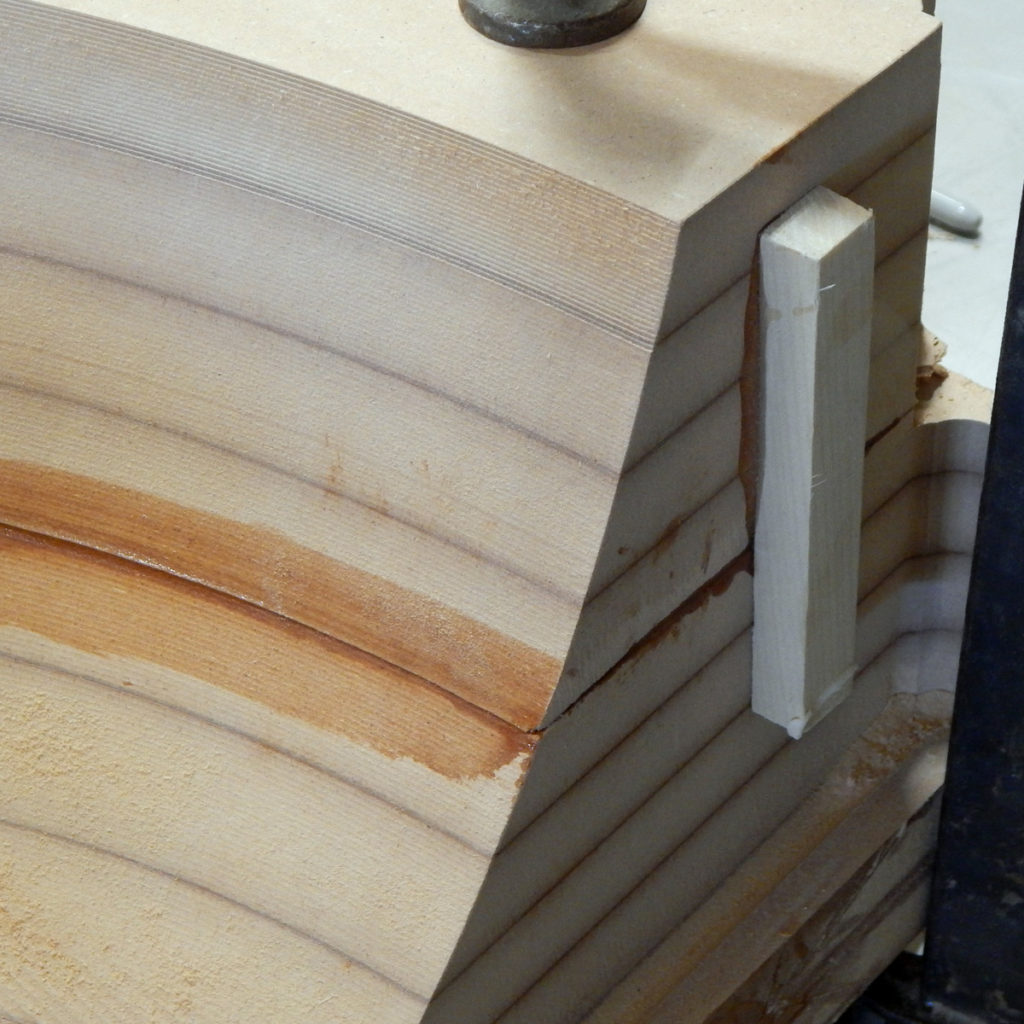
Alignment block. 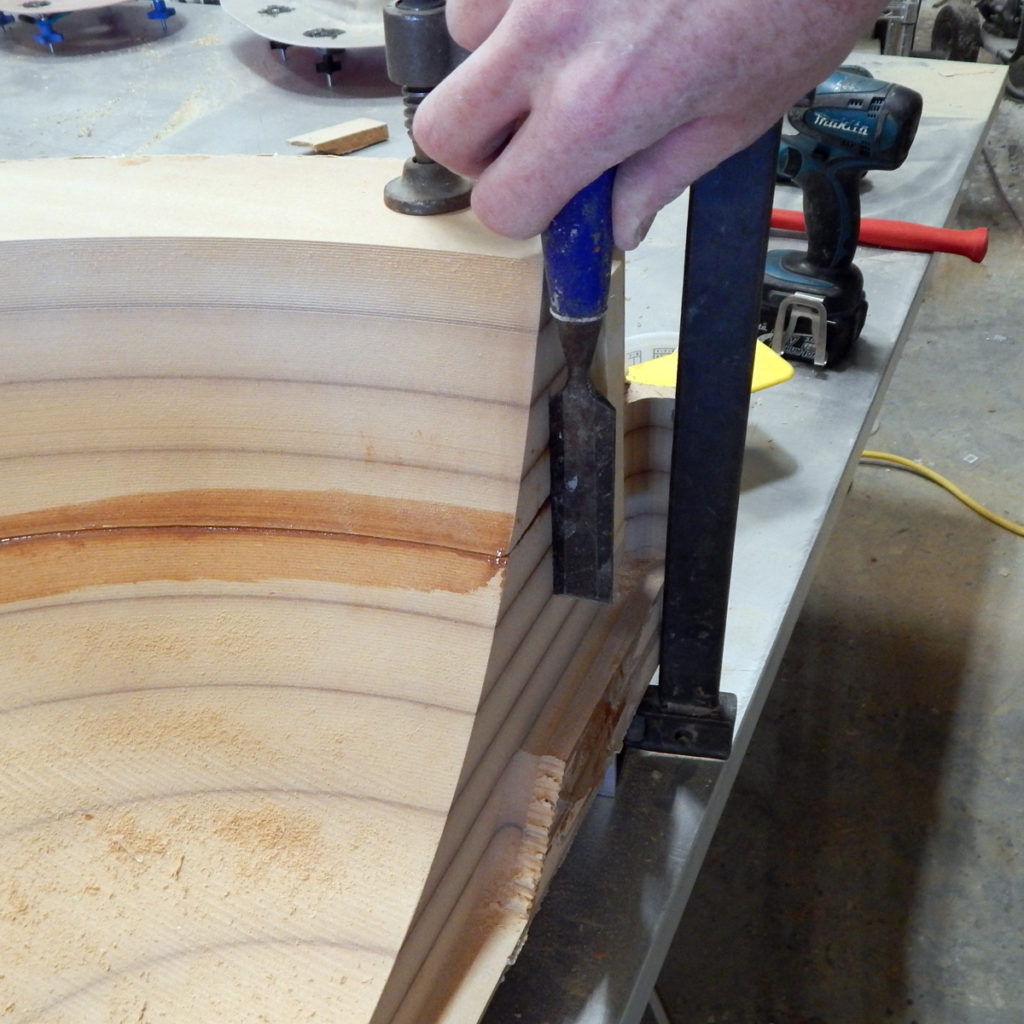
It worked! Got to trim off that bit of extra MDF at the bottom. 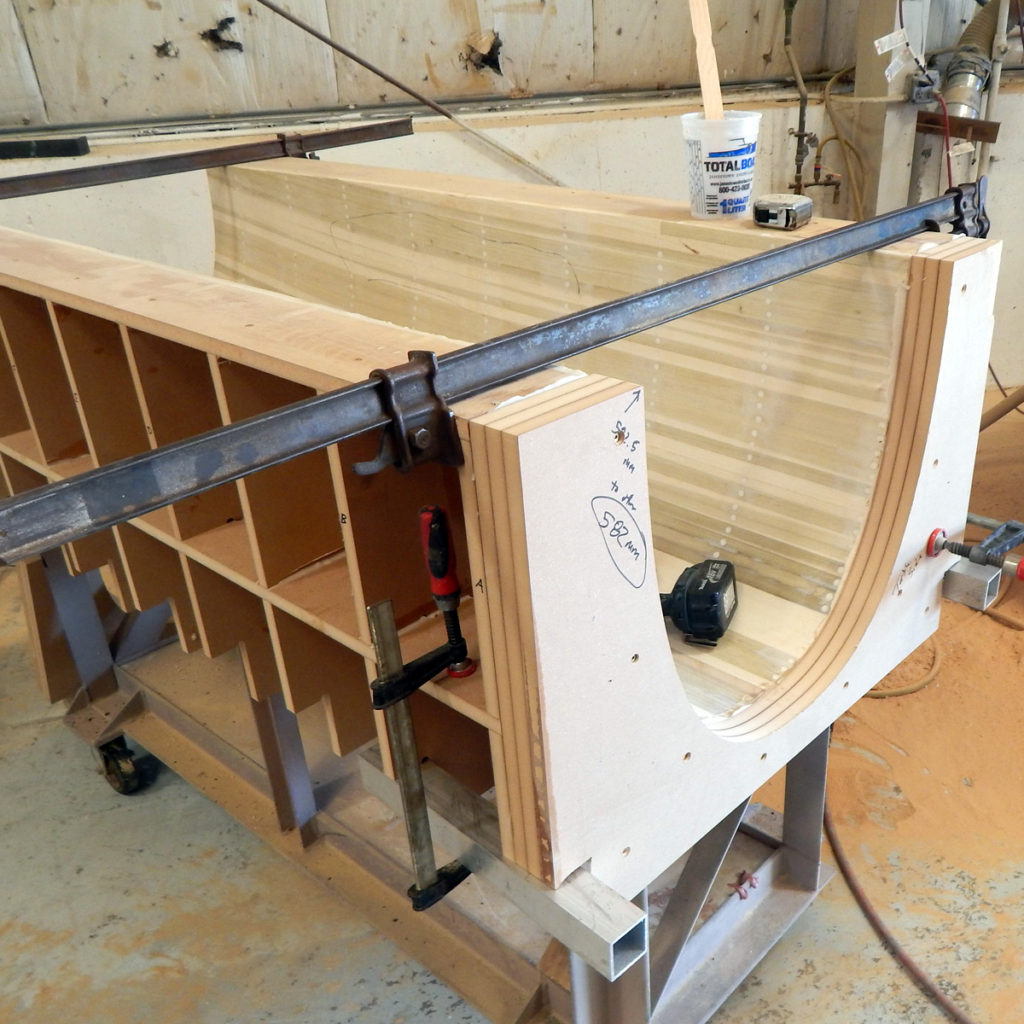
End block/bulkhead fit in place before gluing. These were located with blocks and screws and clamped. 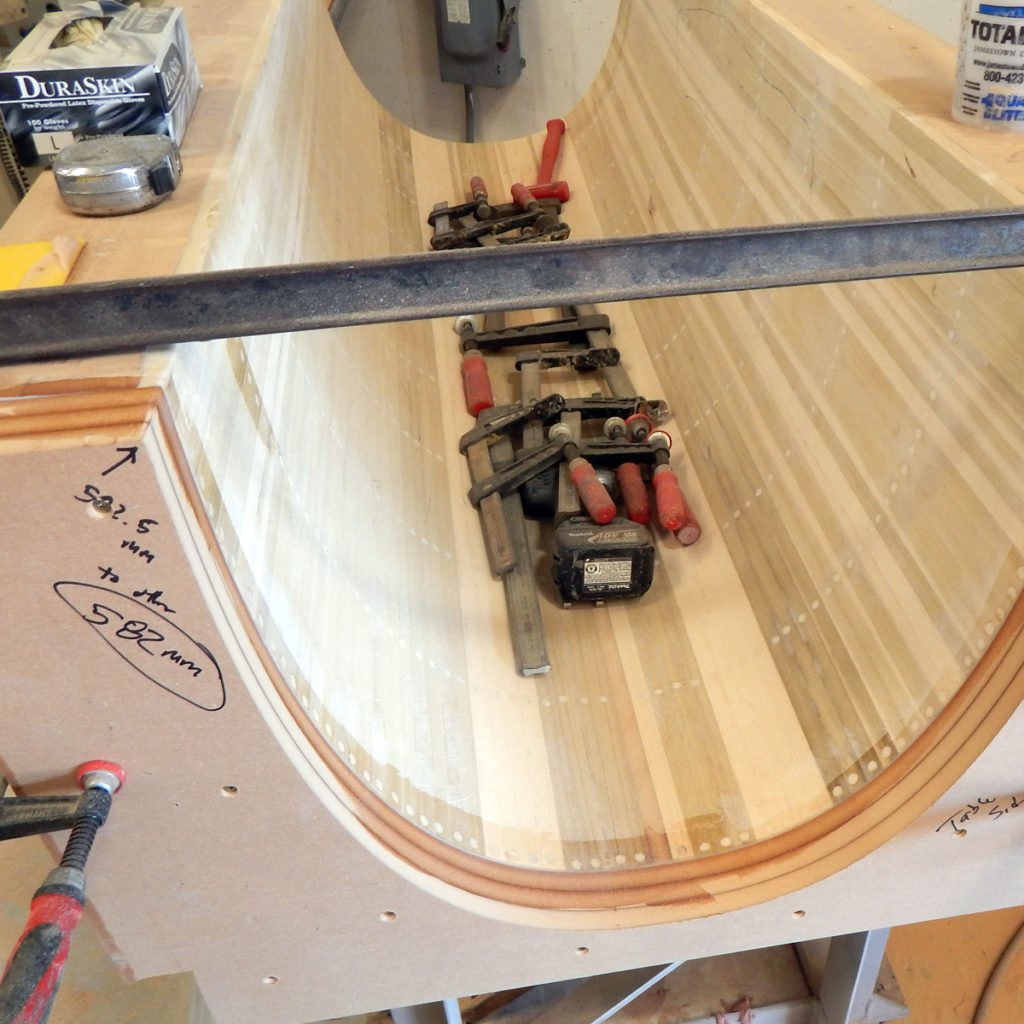
The clamp across the top helps pull the egg-crate shape into the exact width of the MDF bulkhead. 
All glued and cleaned up. 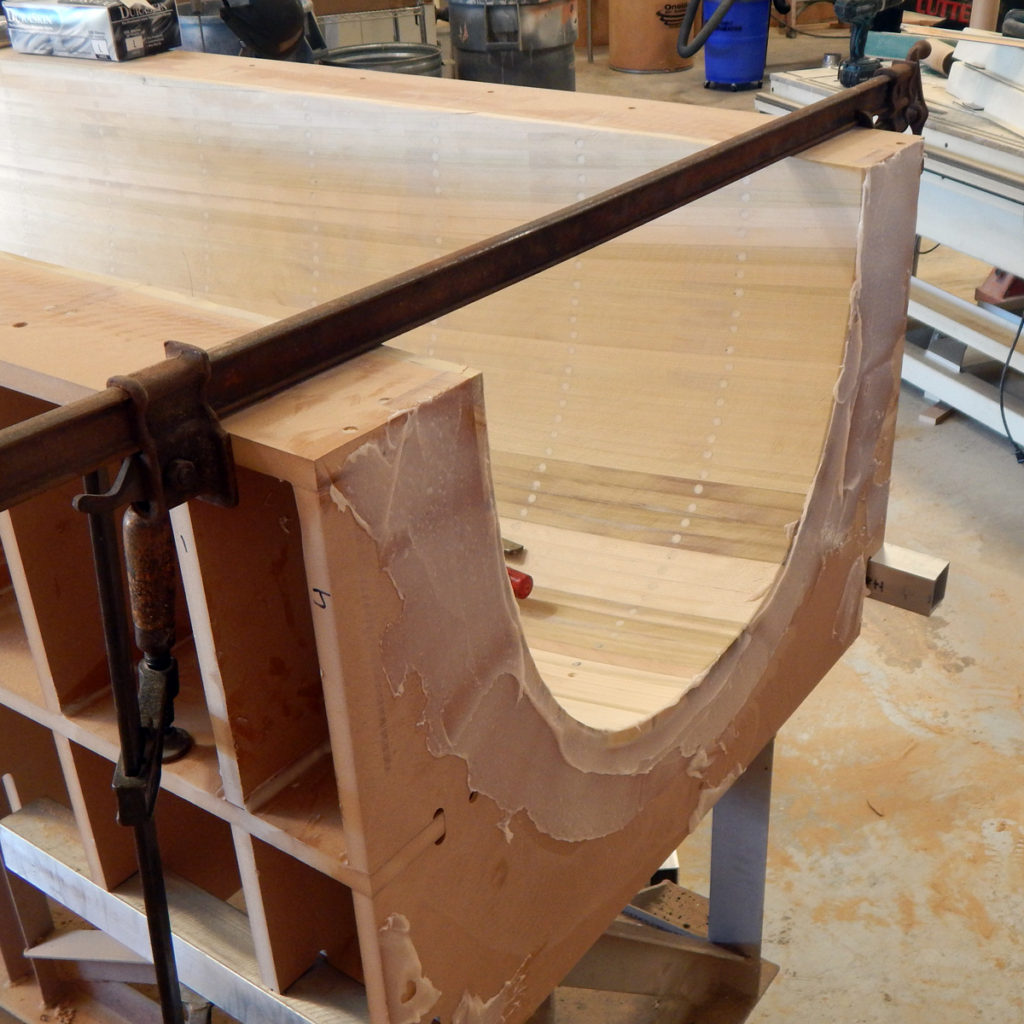
Other end – buttered up with thickened epoxy and ready for the back end bulkhead. 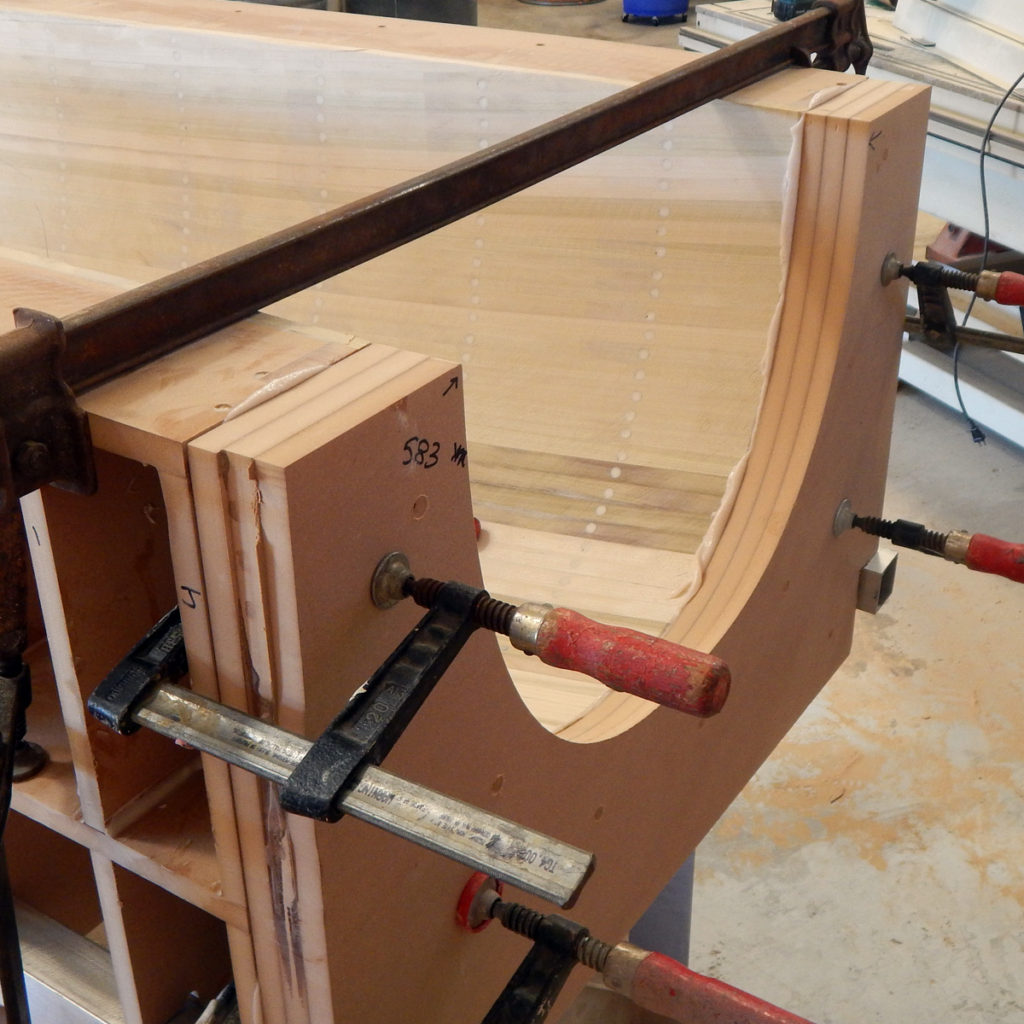
Glued and clamped! 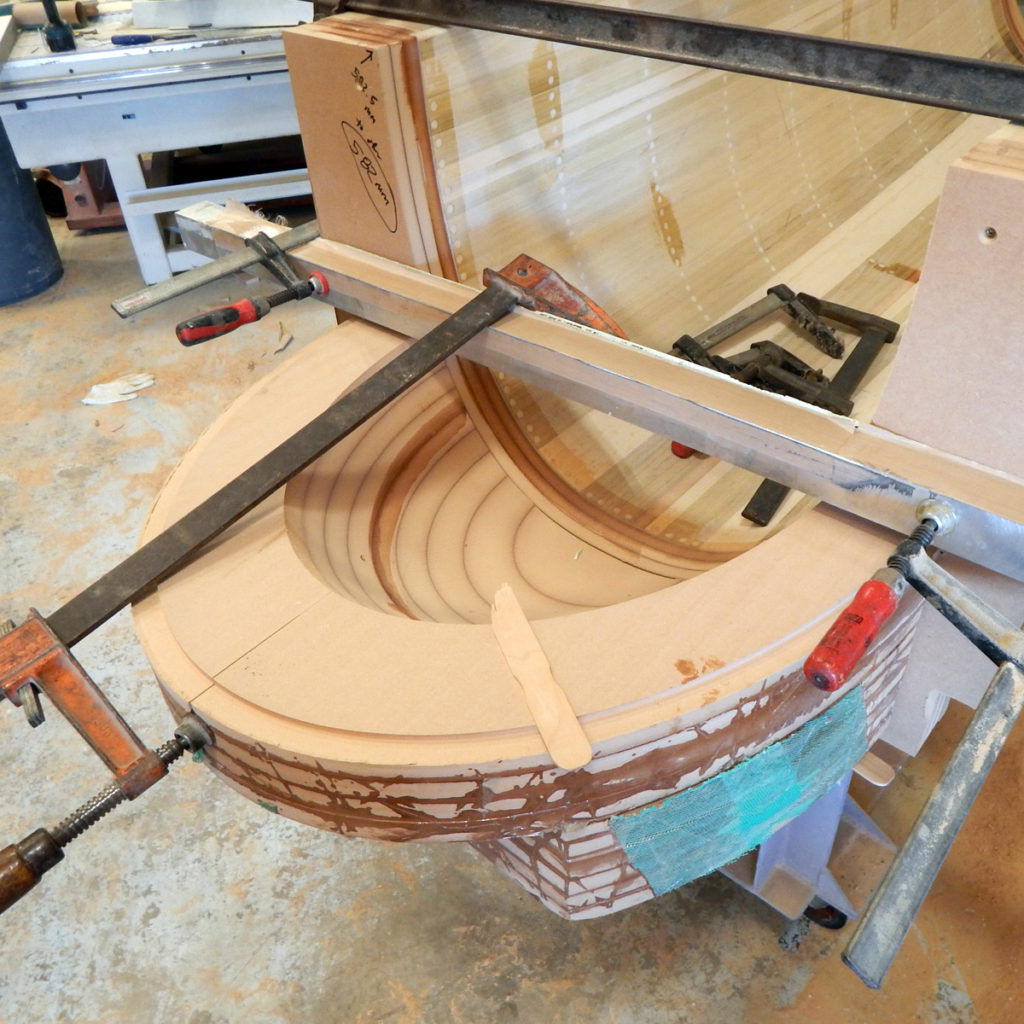
The bottom of the nose block is set up and clamped for a test fit. 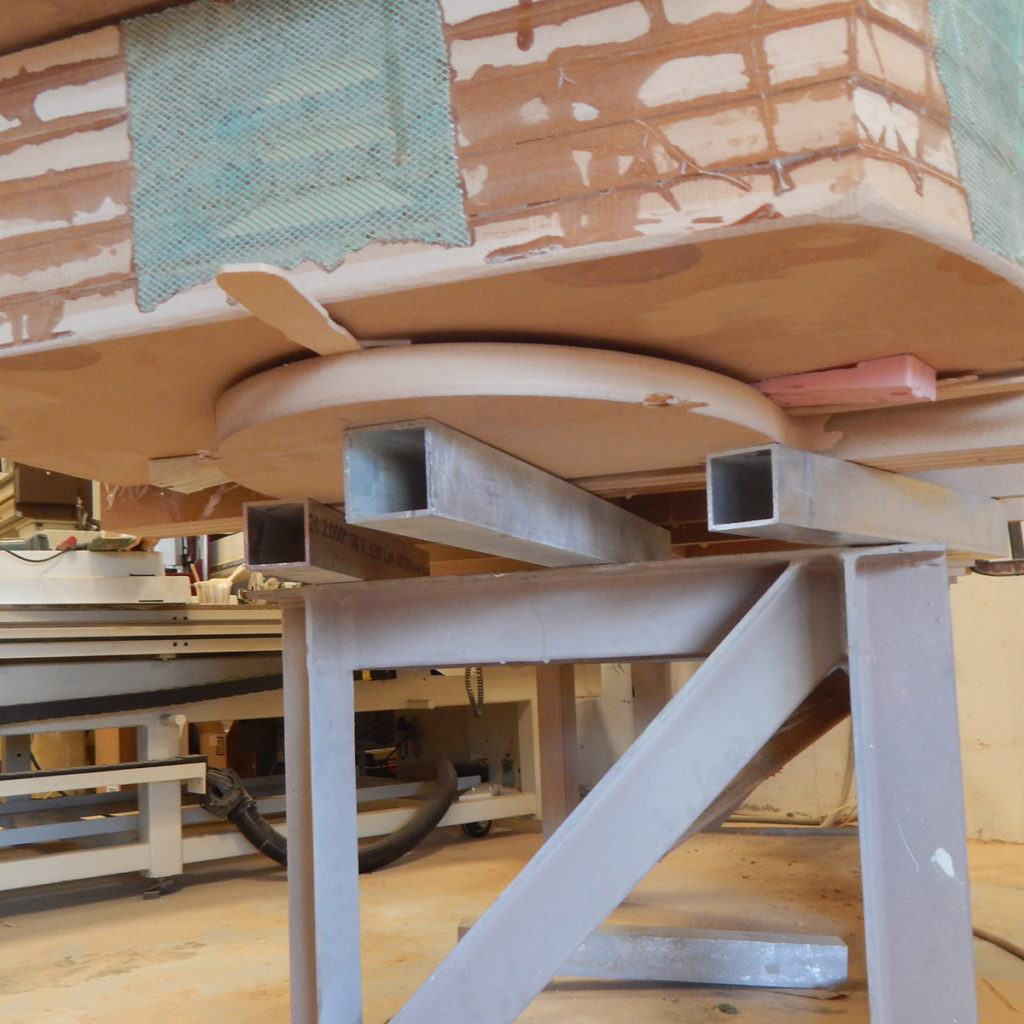
Bunch of junk under there to align the nose blocks. Once it’s all glued this won’t matter. 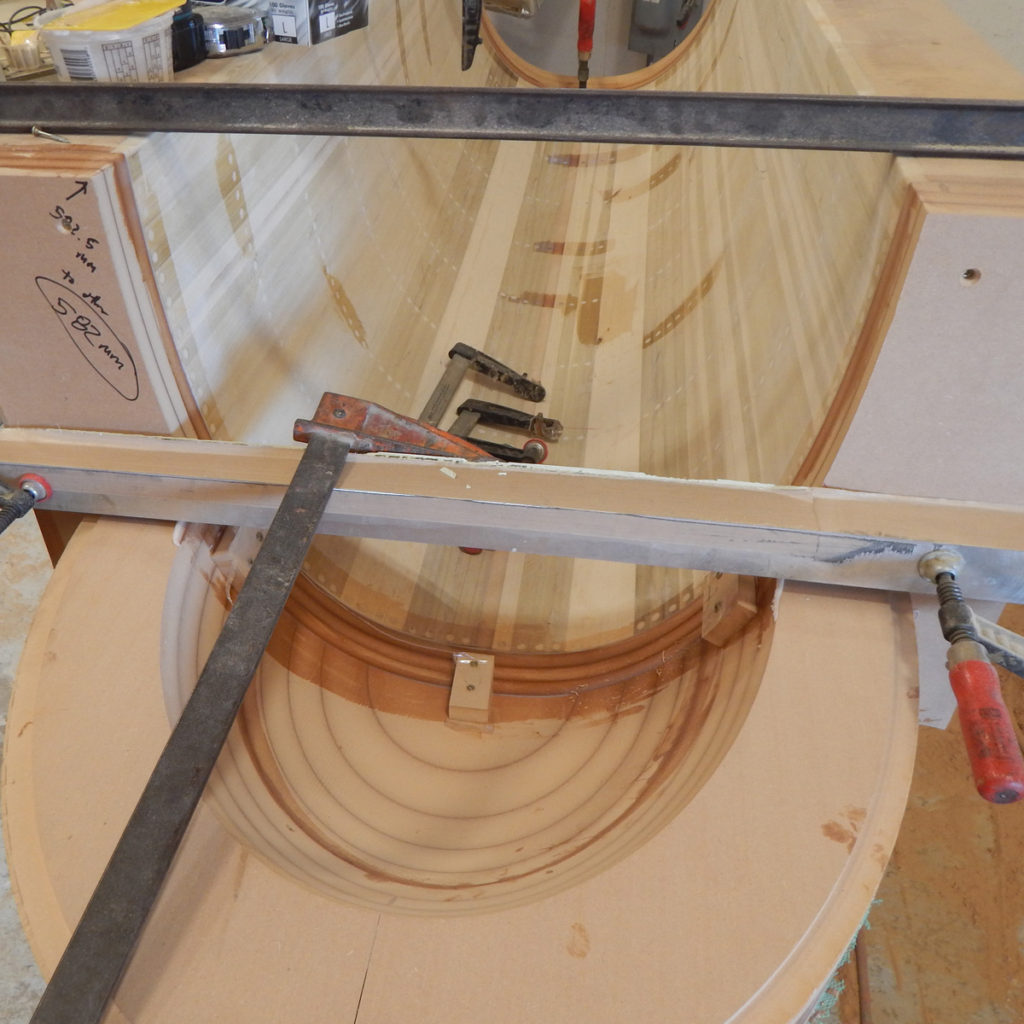
Small blocks and screws to help align the inside surfaces. 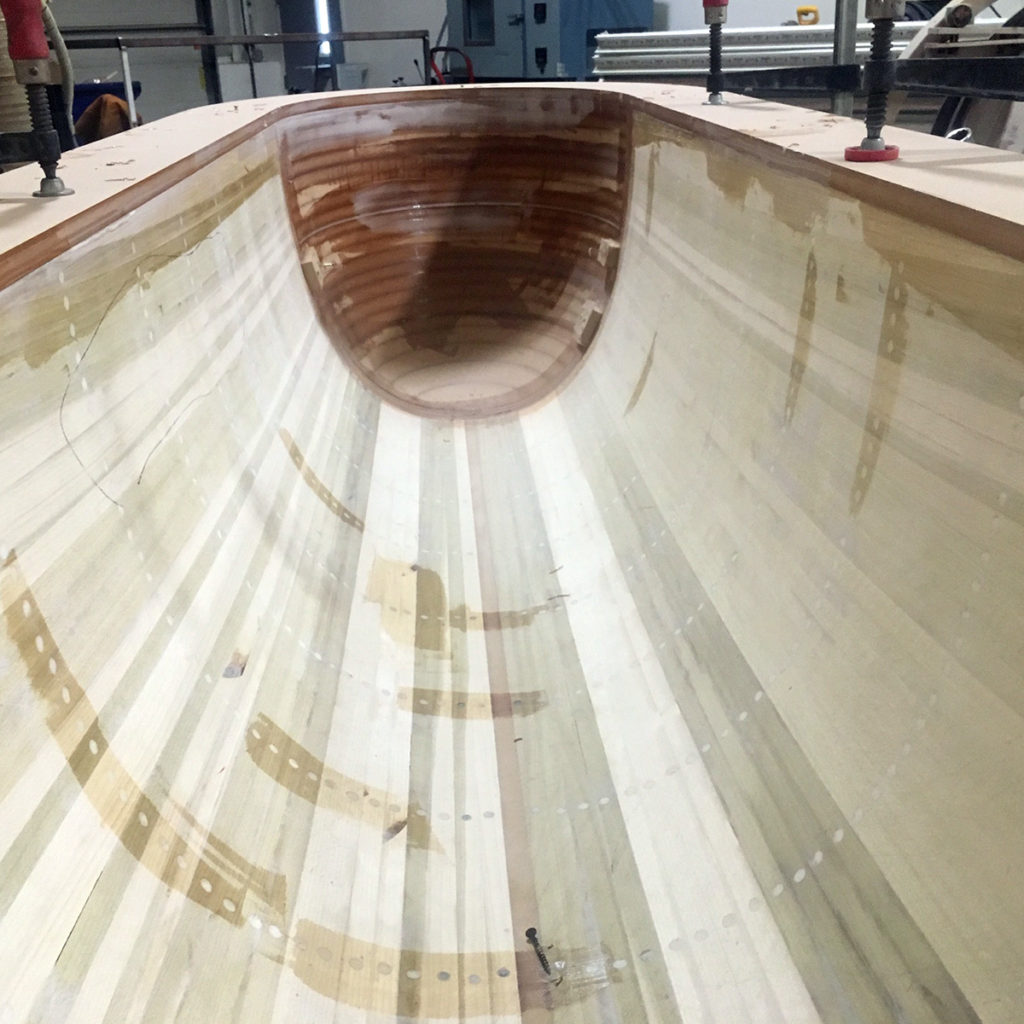
Nose blocks stacked up and top flange test fit. 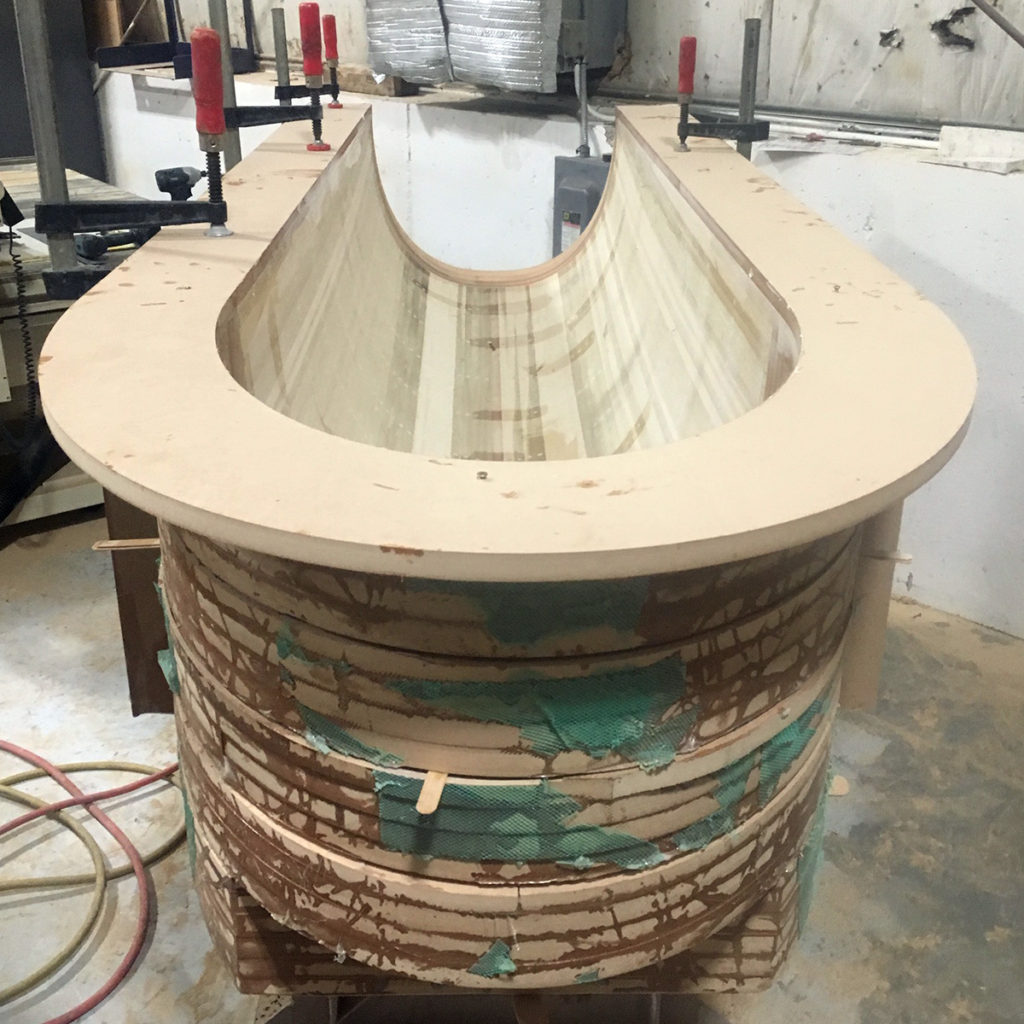
Nose blocks with their sloppy outside surfaces – because it doesn’t matter! Inside looking nice and almost ready for fiberglass.
There it is! Ideally the base would be set on a solid base instead of a table with wheels. This worked ok for a quick small job!
Thanks again to Darya at Canapitsit Customs for cutting the sheets and Rob at Triton Products for lending me the Motionmaster!
Resources:
- My article on MDF Moldmaking! Tons of info on how to win with MDF.
- Hope Depot – they have poplar that you can cut into strips!
- Jamestown Distributors – Totalboat 5:1 Epoxy
- Medex MDF – the good stuff!