BLOG

Two Laminate Samples, One “Core” Lesson

Part of the idea with the Laminate Samples is to show how materials and processes work – but there’s another part: showing how to mess stuff up! I have been building in (mostly intentionally but sometimes not) mistakes and demonstrations of common problems that are easy to have. From vacuum bags that are too small, race-tracked infusions and pinholey surfaces, there are plenty of mistakes to make even on a flat panel. Most are pretty obvious once you see them so I’m making sure to show as many as I can without making the samples themselves totally useless.

The Core Concept – Bleed Holes!
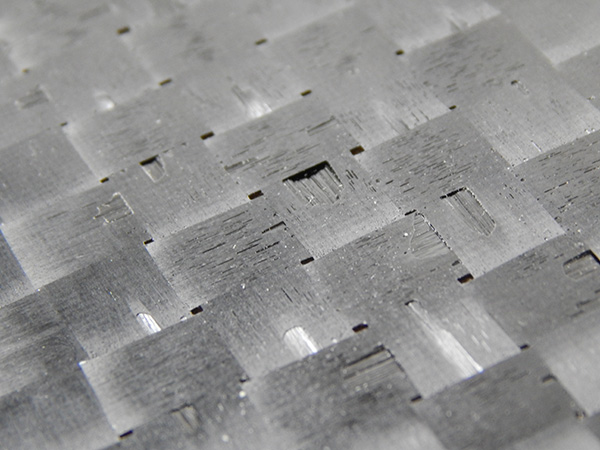
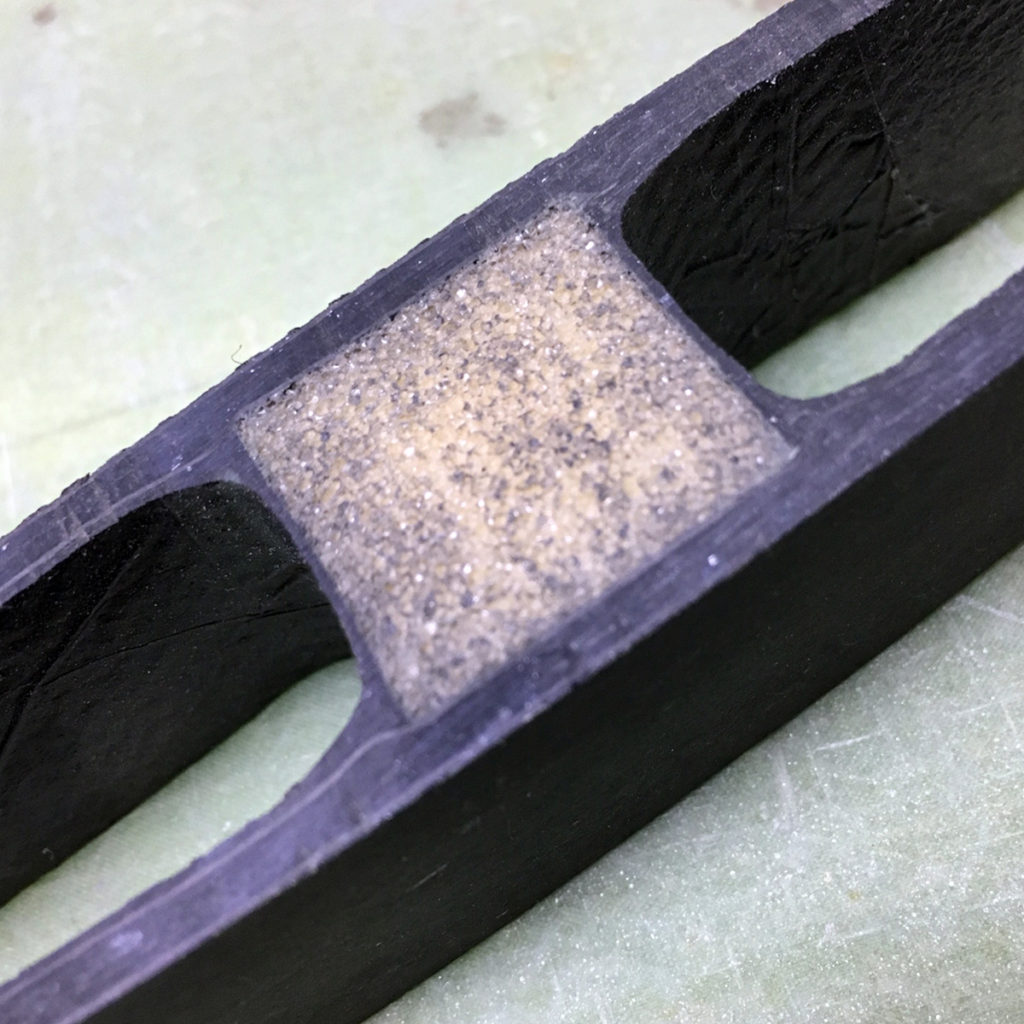
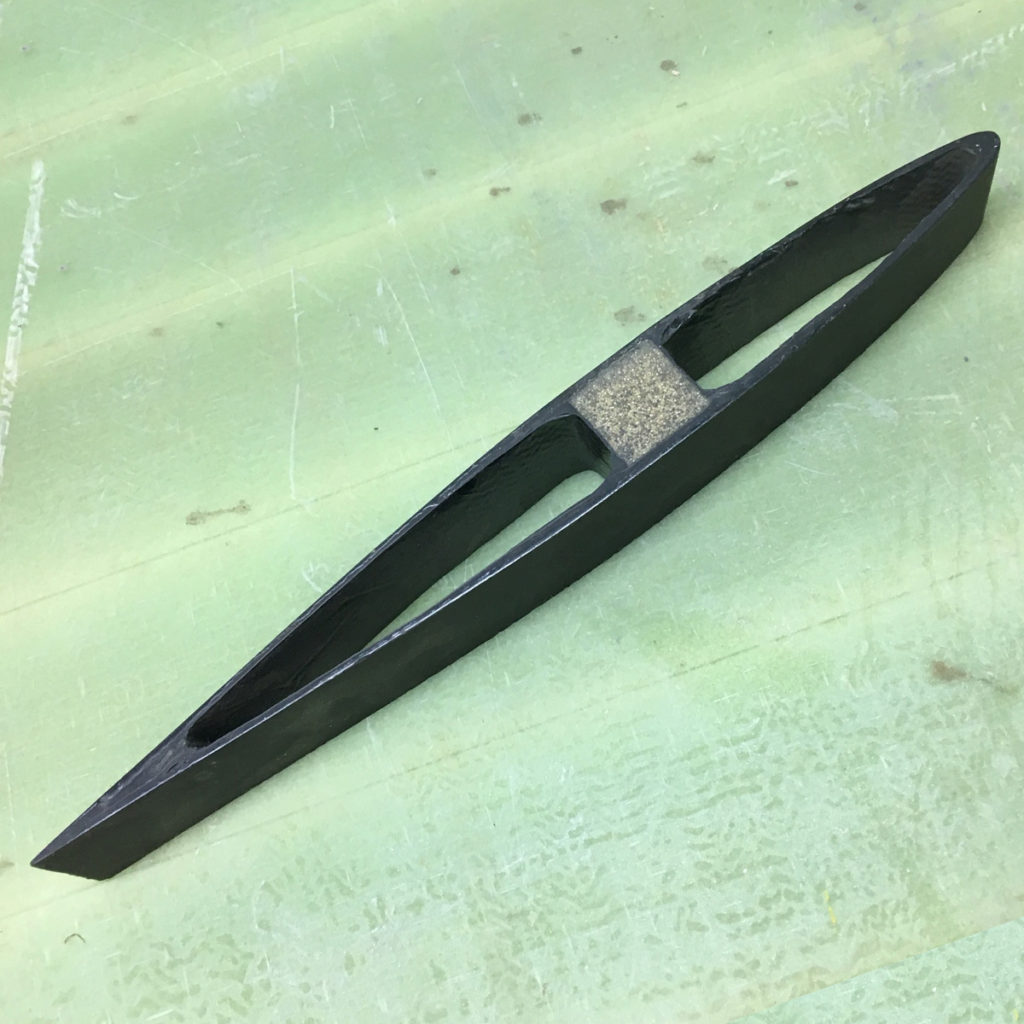
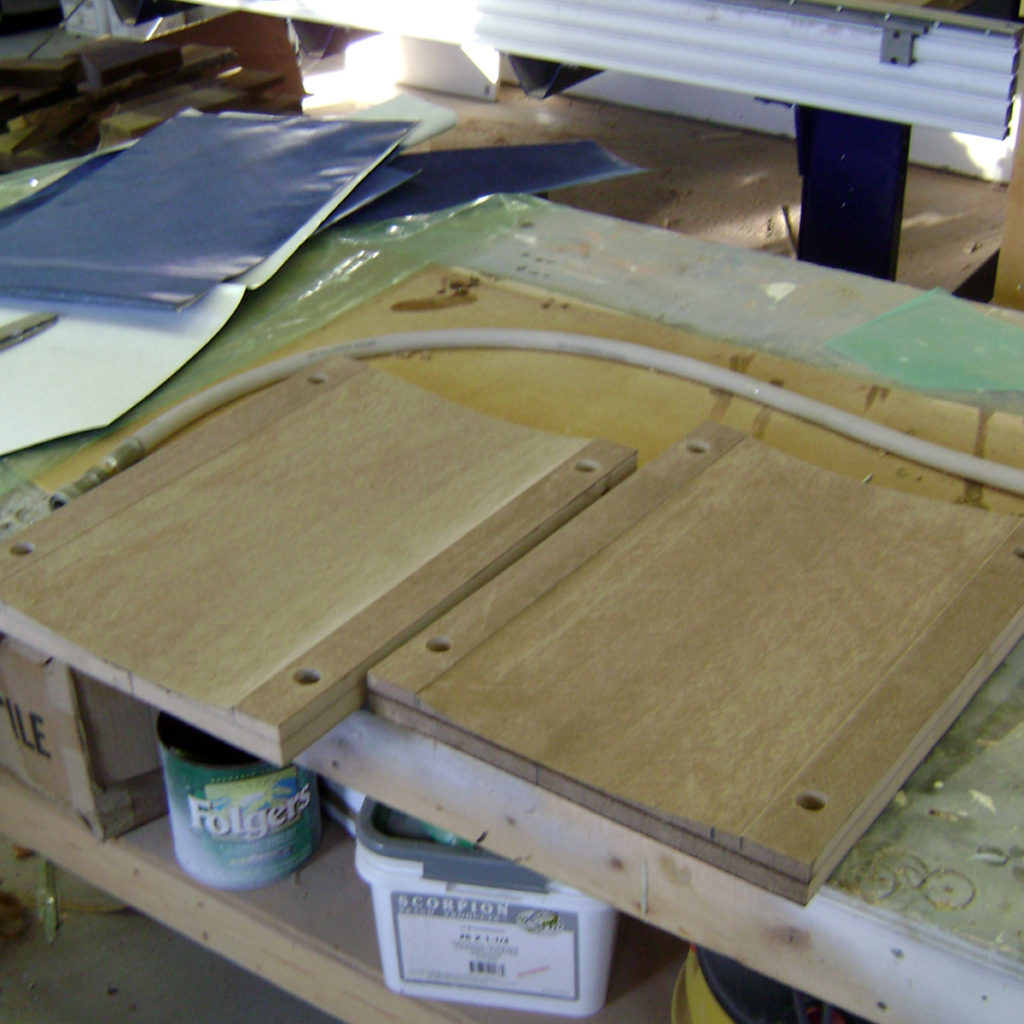
This post is about two samples: #18 and #24. They share the same core (1/8″ / 3mm Divinycell H80) and both use 200g / 6oz skins laminated with epoxy and vacuum bagged. One is e-glass so you can see through it. The other is spread-tow carbon, and you can’t see through it but you can see the big mistake!

The main idea here is that when you’re vacuum bagging foam (or balsa) cored parts, you need a way for the air and excess resin on the mold side of the panel (the first skin) to get out. This is why core needs to have either holes or slices with a scrim. Both ways allow air and resin to escape. In #18, I drilled a bunch of holes on 50mm / 2″ centers to let that happen and it came out great. On #24 I didn’t – and the bottom skin was full of too much resin, trapped air, nasty surface defects and at least one fairly large non-bond / void area. Ouch! And I had to go and do it with that pretty expensive spread tow… but it makes for a better lesson that way.

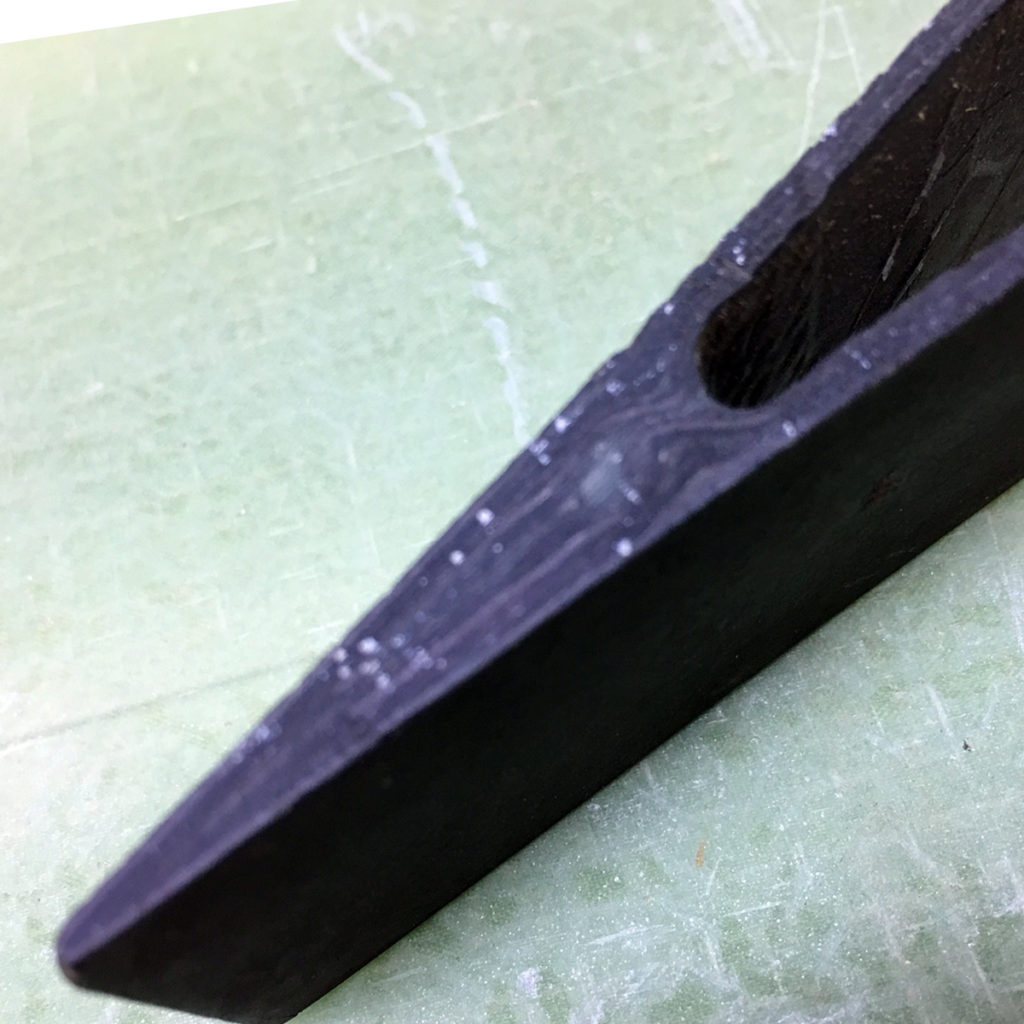
Look at that mess – the excess resin and trapped air forces too much thickness in the bottom skin. When I tap this area it sounds hollow like there’s a huge air bubble between the carbon and the foam – because there is!

The Videos

The good one…

…and the bad one:

Pre-drilled Holes

Most foam core manufacturers sell foam with pre-drilled holes. This is great because it saves a ton of time – drilling thousands of little holes is no fun. Usually the holes are the right size for infusion, where the holes allow resin to get to the bottom skin. They’re also fine for bagged wet layup, where they let air and excess resin out. For pre-preg, you may be able to get away with smaller holes.

Hole Spacing and Layout

The ideal size is about 1mm / 0.04″ for bagged wet layup. If you have good control of your resin wet-out ratio this will be fine. If you just pile the resin on there like I did in #24 – you’ll need bigger (or more) holes. Thicker core or core bedded down with thicker filled resin will need larger holes too. The weight penalty for larger holes decreases if you are using a core bedding mix that has a low density filler.

Hole spacing depends on the core thickness, bedding material and how much you expect to bleed off the bottom skin. I’d suggest keeping it closer then 100mm / 4″ so that there is never more than 50mm-ish of distance for air to travel. For filled core bonding resin, go closer. Really, unless you have tested it – 50mm / 2″ spacing is ideal. If you are building big stuff you should totally test it!

I also suggest sticking to a regular pattern. It is appealing to just blast them all random and assume that averages will work out in your favor. The big problem is making sure you don’t leave “islands.” Draw a grid and be systematic. If you have many sheets to do, stacking them and using a pattern and a long bit can speed the work.

Vacuum Level

And about vacuum level and pressure – you can bleed off too much resin if you really hammer on the vacuum. For stuff like this, 15inHg / 500mbar or so is fine. I have seen people use much less for bagging wet laminates and things come out fine! Check out what happens when you really crank up the vacuum in Laminate Sample #5: Vacuum Bagged Wet-layup Carbon/E-Glass with Foam Core. That carbon really shows how resin starved the e-glass is. Its easy to think things are great with carbon but fiberglass telly you what you’re really getting in there!

Note: If you are thermoforming your core, you should get un-perforated core and then drill the holes after you form and slump the core. They close up when you bend the panels and redrilling thousands of holes is bad news.

I hope that helps explain the importance of perforating core with bagged wet layup. Nothing like seeing it on video!

Two Laminate Samples, One “Core” Lesson Read More

New Video: How to Choose a Vacuum Pump

Last week I finished a new video to go with my article on vacuum pump choices and options. It was a fun one to make! I got a bunch of my pumps together (and traded for one – thanks Stephan!) and thought about how to show the differences and illustrate some if the key differences between types. All the pumps I used were small single phase electric ones that you could use in a hobby or home shop – but are also at home in an industrial setting. All were bought used – most for under $200US. Here’s the video:

I am not totally clear on what pump you should buy for yourself – and that is on purpose. There isn’t any ideal pump – and it is better to understand the parameters and make the best choice for the combination of things you’re working on. If you get serious about composites and vacuum bags, you’ll want to have a few. At this time I have these plus a few larger ones – and that’s down quite a bit from when I had an actual factory! Vacuum is so important to composite processing that it is a good idea to have a variety of pumps for different types of work – and for backup.

Used pumps are a great deal and because they can be rebuilt fairly easily and composites work is not demanding of real (as these things go) high vacuum – there are lots of options. Ebay, surplus websites, auctions and local classified ads are all good places to look. Try to find a common brand that offers parts for repairs in your area. I didn’t go there in the video, but those cheap AC and refrigerant pumps you can get for under $100US are probably not going to give you as good an experience as these more industrial ones. They have lots of bad habits and can be an ok first pump or emergency backup – but you’ll be better served in the long run to find something more rugged and dependable.

Here’s the main article: HOW TO CHOOSE A VACUUM PUMP FOR COMPOSITES

New Video: How to Choose a Vacuum Pump Read More

Foil With Shear Web: A Very Old Test!

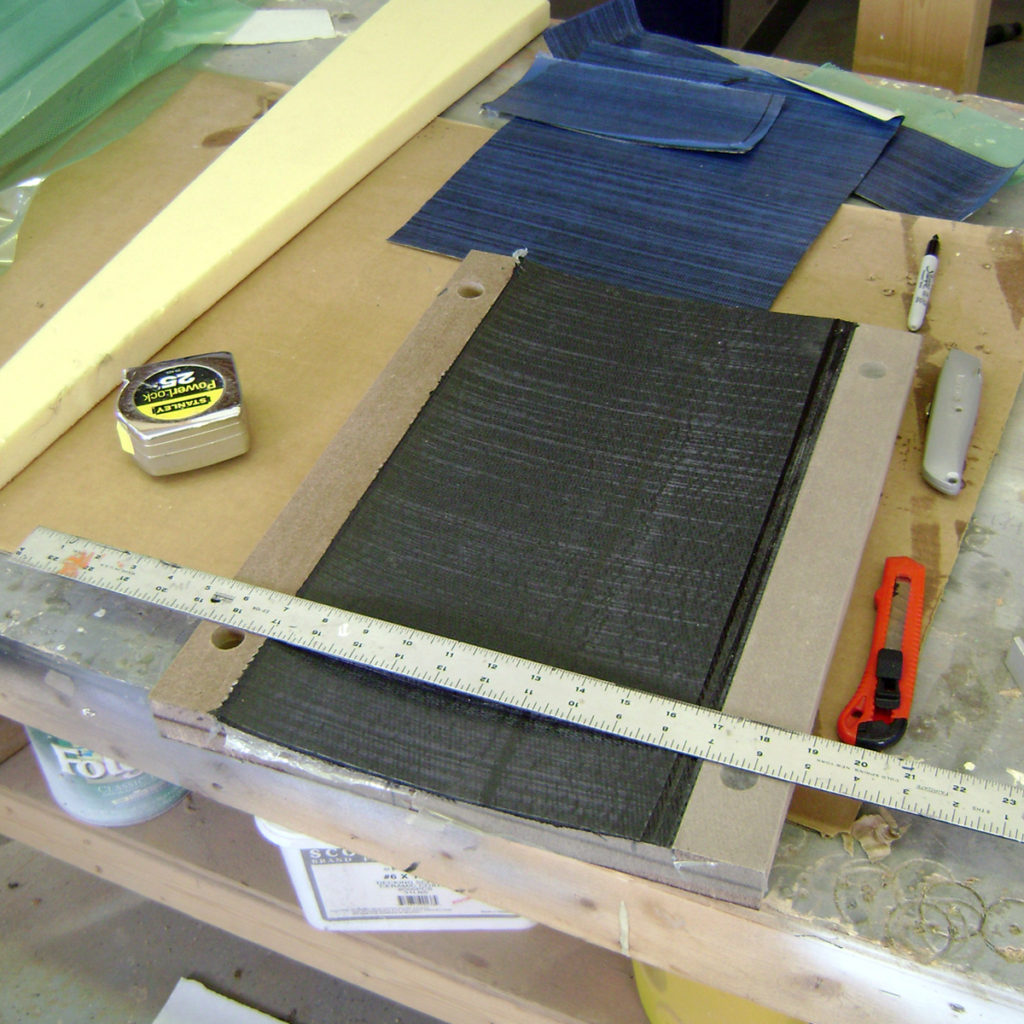
I was cleaning out a toolbox and found this off-cut from an old test – from maybe 2008 or so. This was when I first had a CNC router and was working on making small daggerboards for a sailboat. This was a test of a one-cook section of foil – maybe 250mm front to back and 25mm thick. The test was only 300mm long and I have no idea where the rest went – but this small section survives.

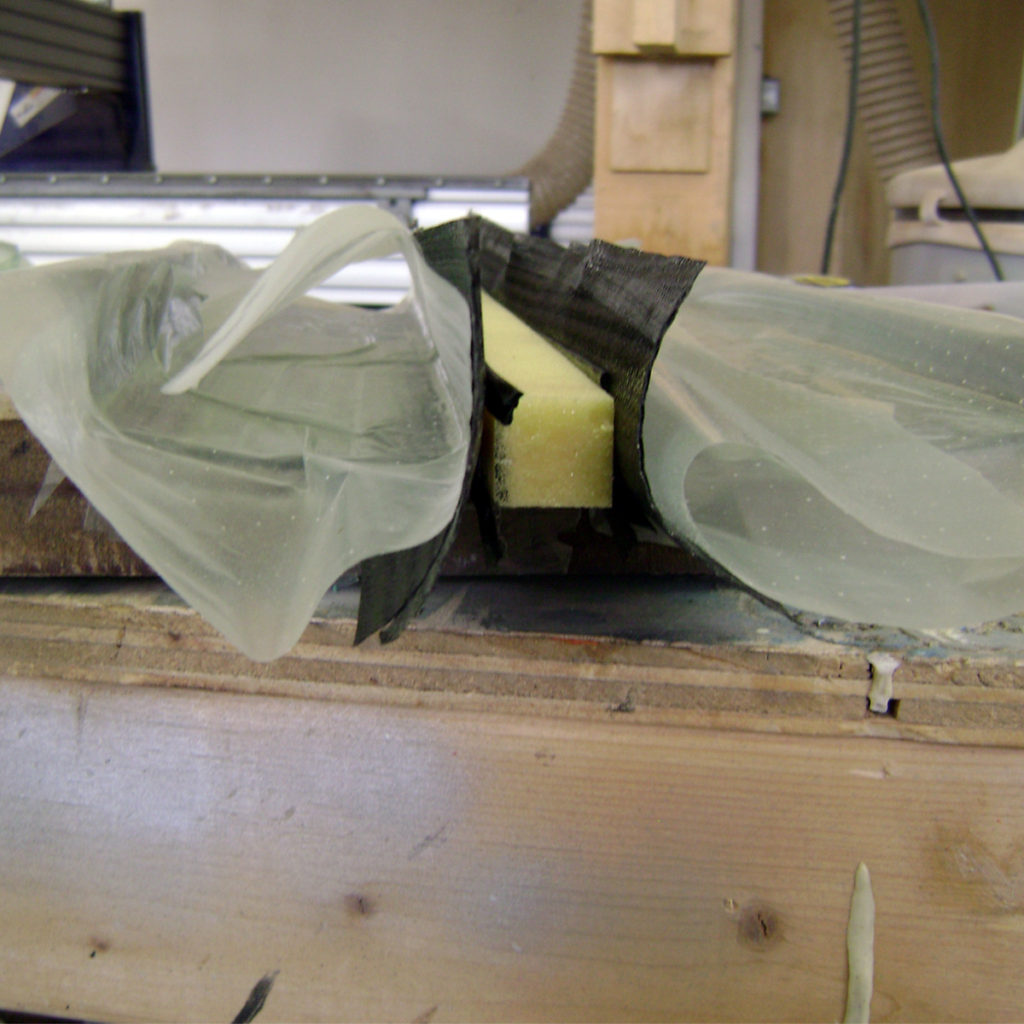
short section of a prepreg carbon foil test with a foam shear web

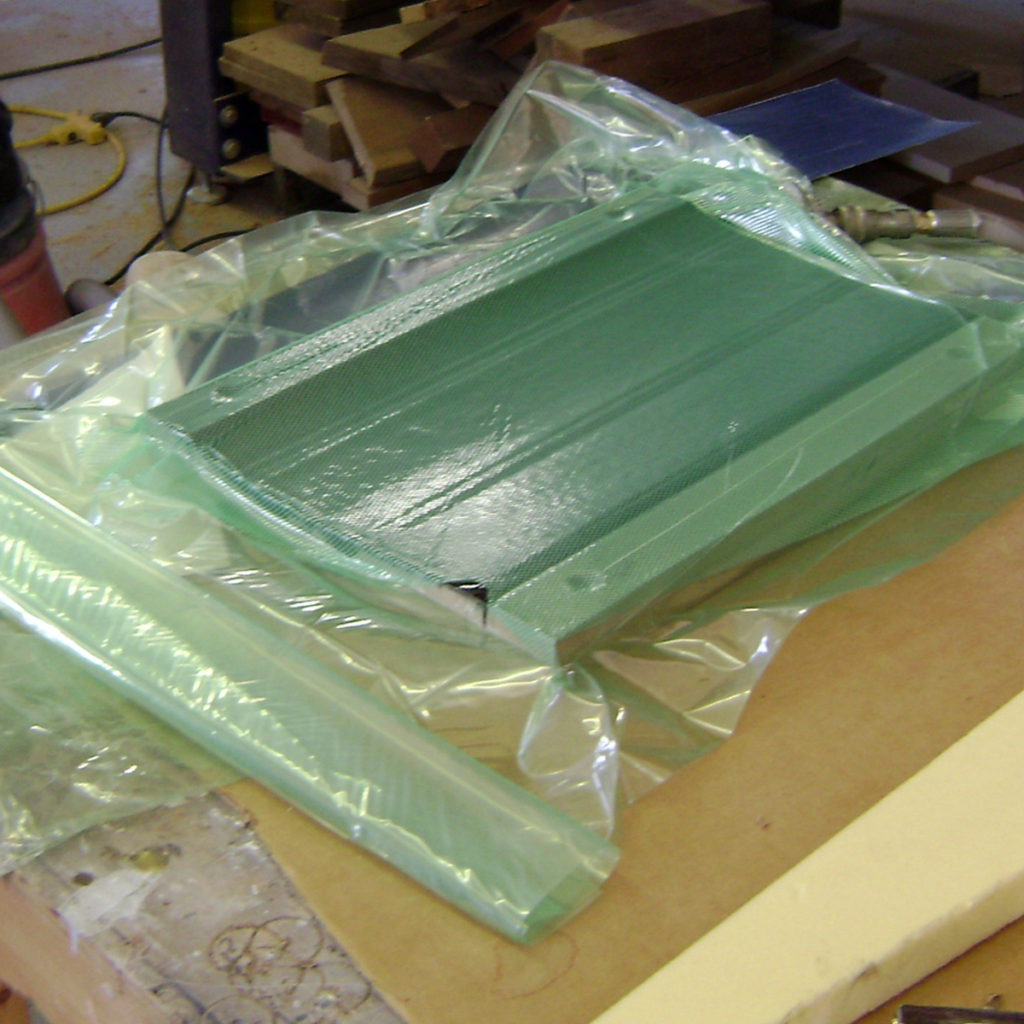
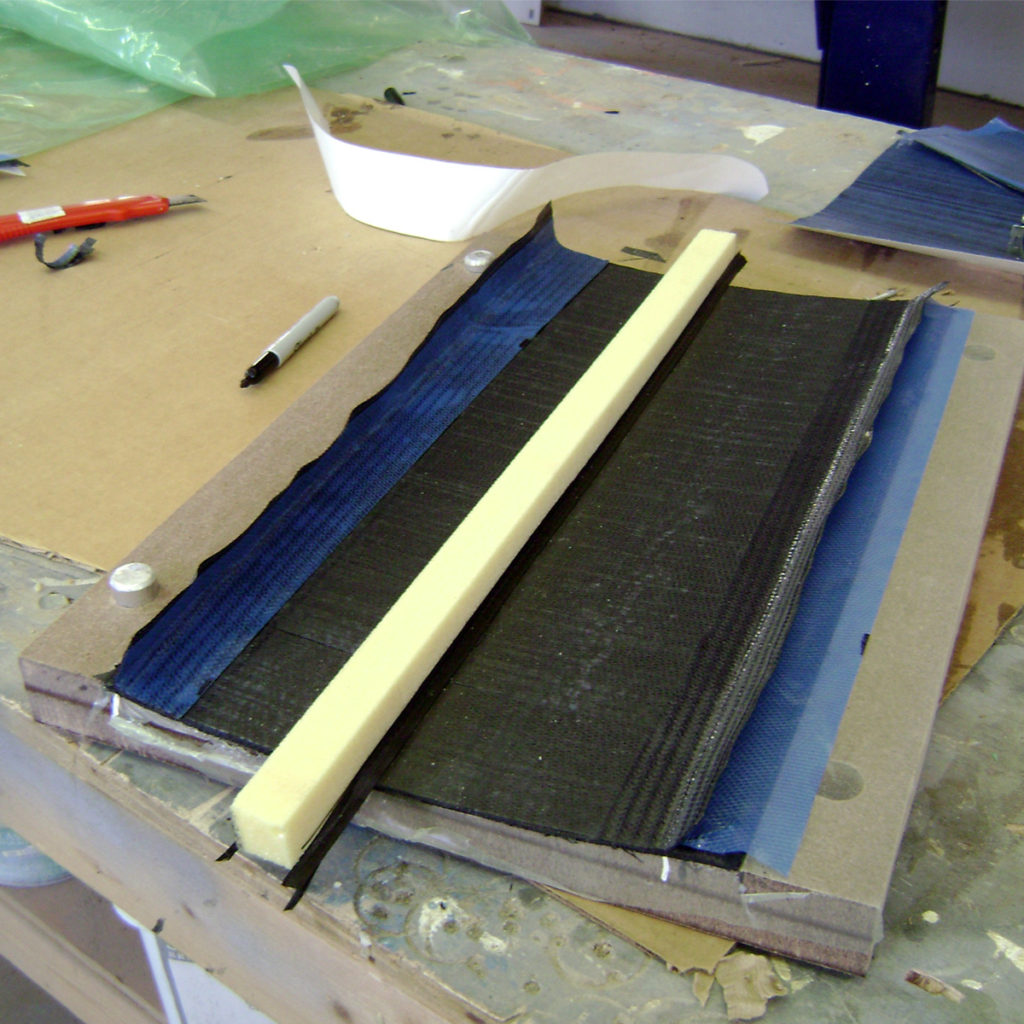
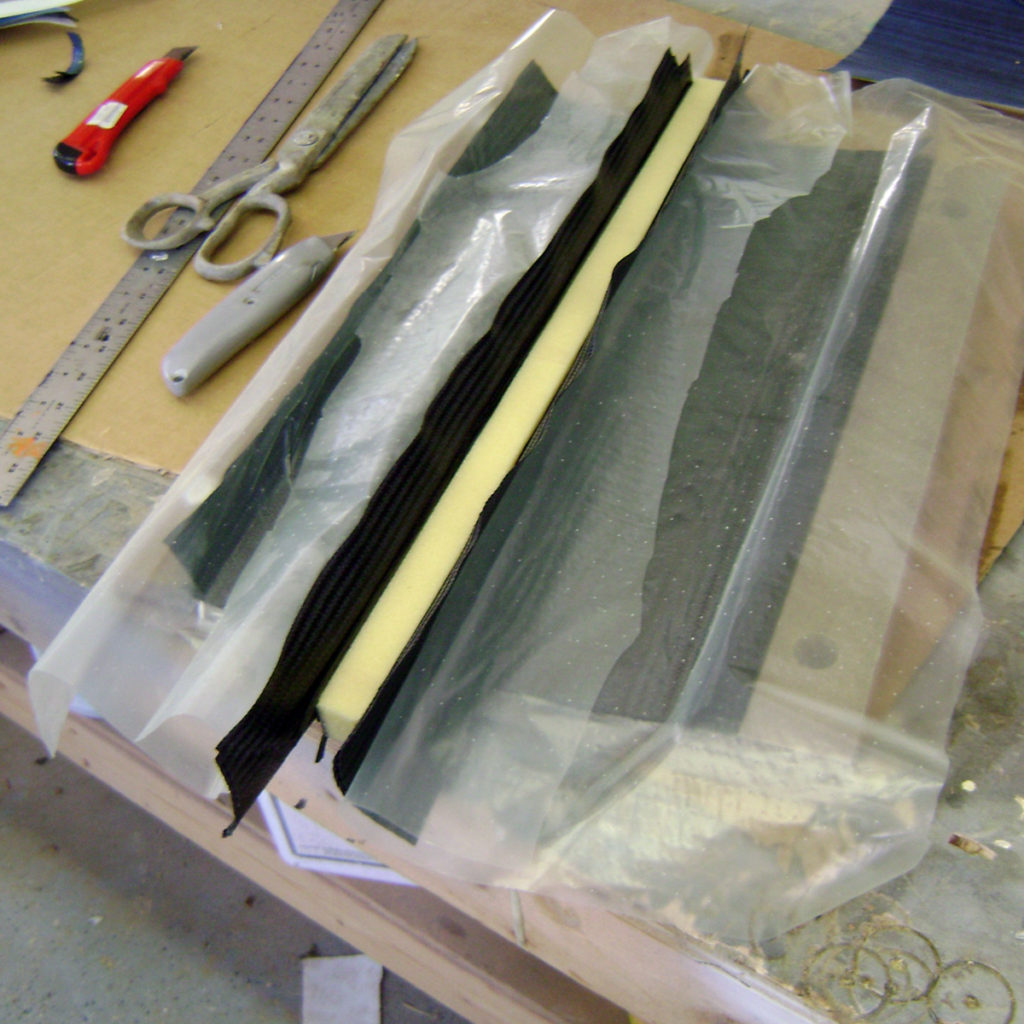
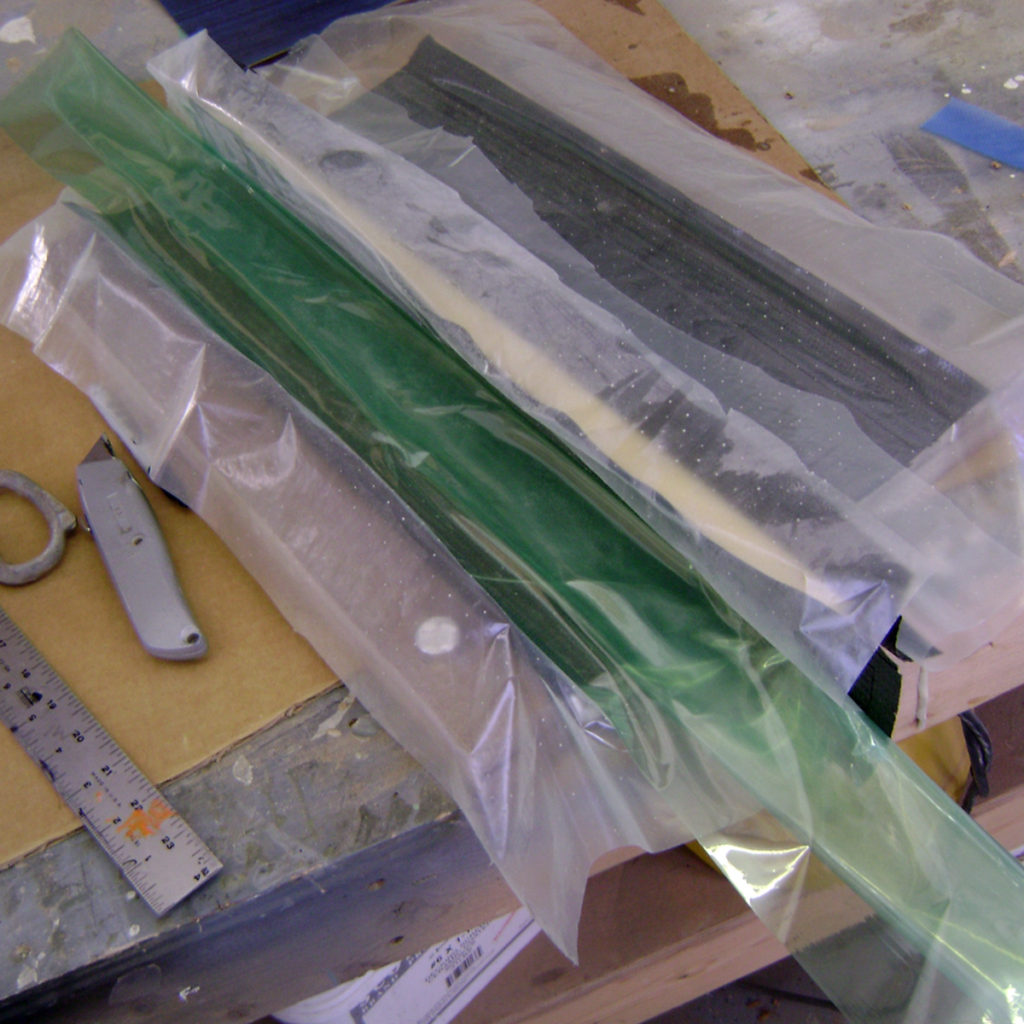
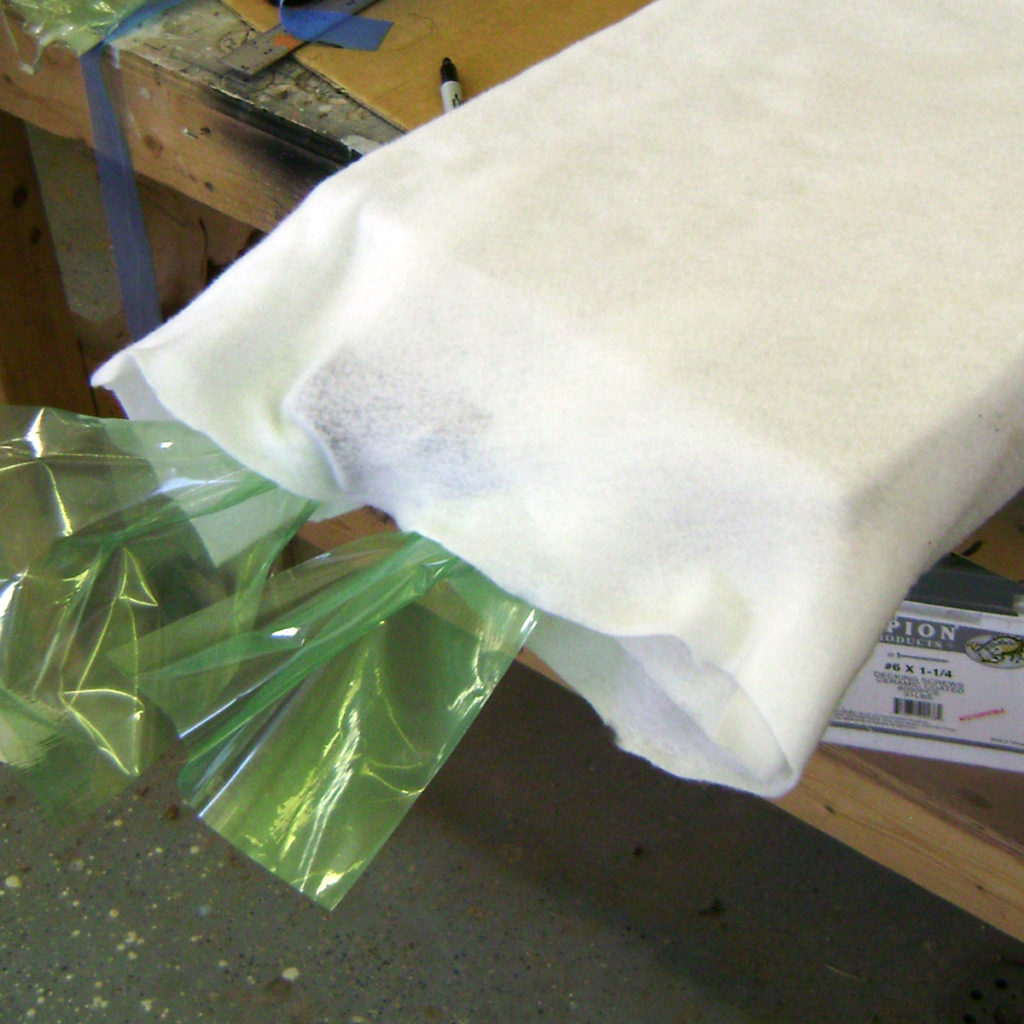
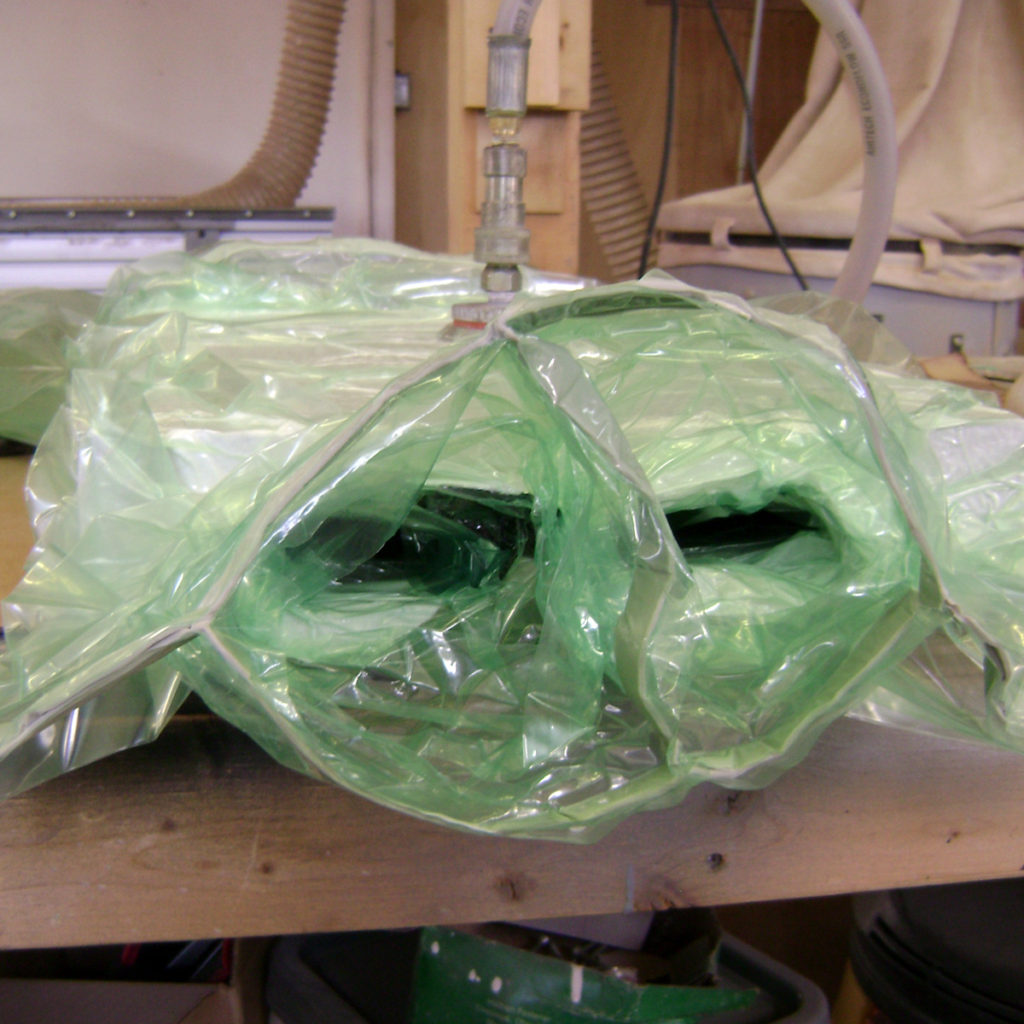
After some consideration I ended up doing the parts a different way, but I went back and searched through my photos and found that I had carefully (for me) documented the layup and bagging process. The bagging is a neat example of using internal and external vacuum bags – in this case tube-bag. You can see the wavy fiber in the close-ups of the part which would have been prevented by pre-curing the skins of each half – but this was an attempt to mold and cure the whole thing at once.

Certainly not an ideal outcome, but pretty interesting to see the way the fiber behaved – and a good way to illustrate the inside/outside bagging method and tying two halves of a part together with +/-45 degree strips of pre-preg. This was before I had an autoclave – but it would be neat to test this concept again with more pressure!

Foil With Shear Web: A Very Old Test! Read More

3D Printing and Automated Composites

I’m really excited about developments at the intersection of 3D printing and automated composites. My guess is that in the next decade the two will merge to the point of being two complementary components of the same “technology.” 3D printing (aka “Additive Manufacturing”) is already making inroads in the tooling market (see: Additive Engineering (USA) for a leading example) and ATL and AFP are well established automated composites technologies for aerospace production.

A leader in that market Electroimpact (USA) released this amazing video that shows their work combining 3D printed tooling with automated fiber placement (AFP):

In a smaller scale, ADDComposites (Finland) is building small scale automated fiber placement tools and software to bring this technology to a much more approachable scale and price point. I’m really excited to see their continued development!

And on an even smaller scale, check out the Fiber 3D printers from Desktop Metal (USA). This seems to push the Markforged (USA) type 2.5D thermoplastic technology a bit further with higher performance thermoplastics and the ability to lay wider tapes instead of fiber filament.

Do you know of any other interesting additive/automated composites efforts that should be included here? Let me know! email: [email protected]

I’m really excited to see how this technology transforms the composites industry in the coming years. One of these days I need to learn how to program robots!

3D Printing and Automated Composites Read More

My 5-Axis Router Retrofit Project

So I got this busted machine on Ebay… and here’s the story:

Not sure it was the best set of choices – starting with the “Make Offer” button – but this is what happened. The video above and the article below:

Here’s the article: MY 5-AXIS ROUTER RETROFIT

Get in touch if you have any questions or want to point out bone-headed stuff I did and tell me how I should have done it better!

My 5-Axis Router Retrofit Project Read More

New Video: Hot Mold, Cold Resin: Vacuum Infusion Flow Test

This video is about a test I did to see how far I could get fast infusion resin to flow under a caul plate. To optimize for thermal considerations I made the mold (table) surface hot to reduce resin viscosity and make it flow faster. I kept the resin in the pot cooler to keep it from gelling too fast. Laminate is 1.6mm of woven (face plies) and biaxial e-glass in a balanced QI layup. Besides using fast resin – which was just asking for trouble – it worked better than I thought it would.

Certainly with some tuning and slower resin, it would be possible to infuse large plates/parts with two molded surfaces. In this case I was testing to see if a two-sided tool could do for a project I’m working on… sort of a VRTM process but with disposable bag over a caul plate instead of two full tools. Would like to try perimeter feed to a center vacuum point!

This experiment will also show up as Laminate Sample #19. I’m doing a run of e-glass/epoxy variations – at least until I finally get my hands on some vinyl-ester infusion resin!

Also – I’m loving the thermal camera. As with many tools that once you have them you find tons of uses for them – this is something I wish I bought 5 years ago! This is a low-mid range hand-held Flir unit. Going to try to use it to find vacuum leaks next!

New Video: Hot Mold, Cold Resin: Vacuum Infusion Flow Test Read More

Boom Supersonic XB-1 Build

You don’t get to see inside the construction of a composites-intensive supersonic jet very often! Boom Supersonic is building a demonstrator aircraft for their planned supersonic passenger jet – and they’re posting lots of interesting information, video and pictures of the process.

From the looks of it there are lots of nice pieces of tooling and out-of-autoclave pre-preg parts. There’s a lot of interesting one-off assembly fixturing too. From what I can see it looks like a slightly fussier version of the race-boat building world that I am familiar with – lots of manual laminating, fitting, prepping and bonding! Lots of metrology equipment and ultrasonic testing too – but plenty of wood jigs and modular ovens made of foam. It will be fun so watch them finish the build and move on to testing and flying!

Boom Supersonic XB-1 Build Read More

Autoclaved Aerated Concrete for High Temperature Tooling?

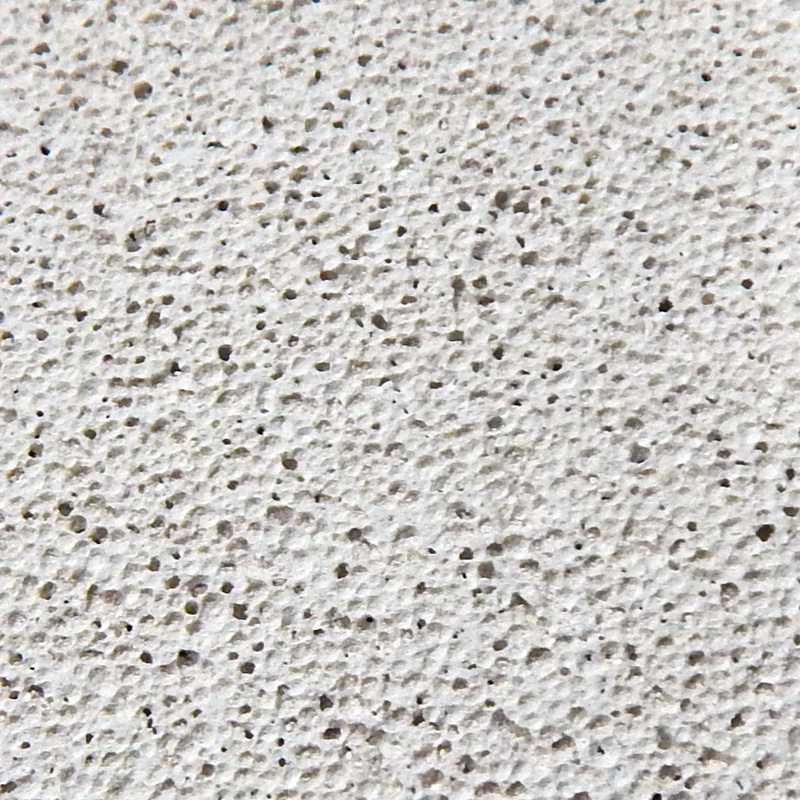
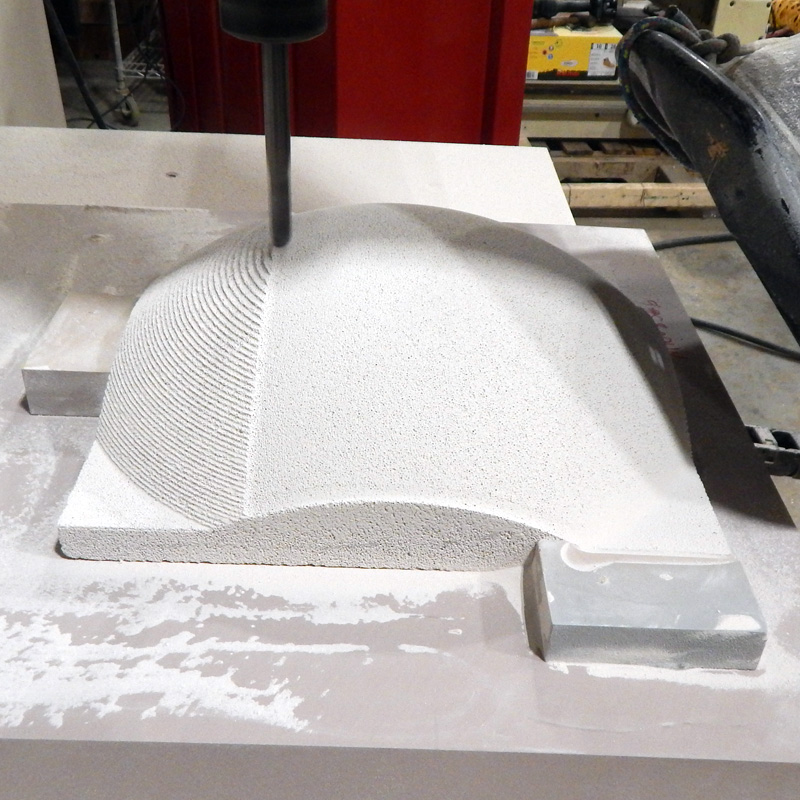
I have been interested in the idea of using autoclaved aerated concrete (AAC) for composites tooling but until recently I never had a chance to test it. In fact I had never even seen in first hand! Finally got my chance thanks to Aercon AAC. They sent me a 12″ x 12″ x 4″ sample and this video shows the results of my first experiment!

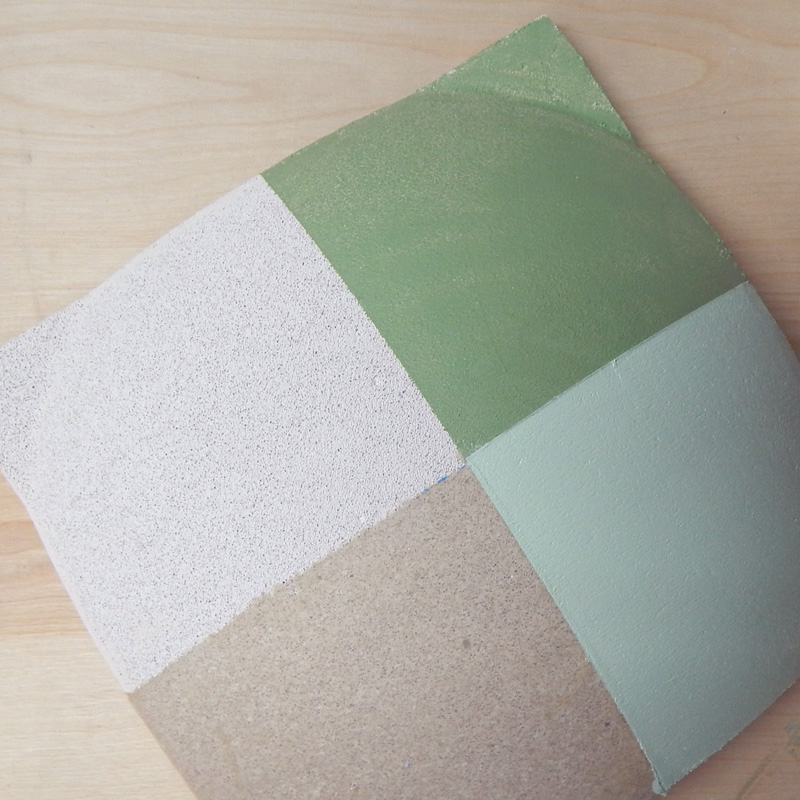
It works! There is some question on how to seal the porous surface and I haven’t got a reliable number on the CTE. But it held up and seems to have come through the cooking process unharmed. The big deal is how much cheaper AAC is than most other high temperature tooling products! A pallet of AAC costs about the same as a single 50mm thick sheet of epoxy tooling board. More to come!

Autoclaved Aerated Concrete for High Temperature Tooling? Read More

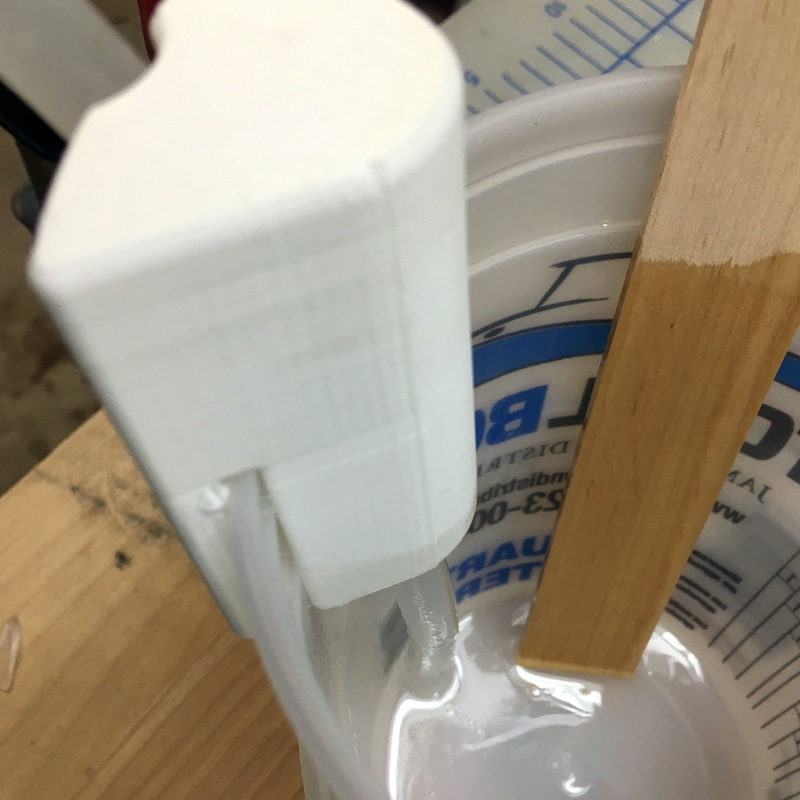
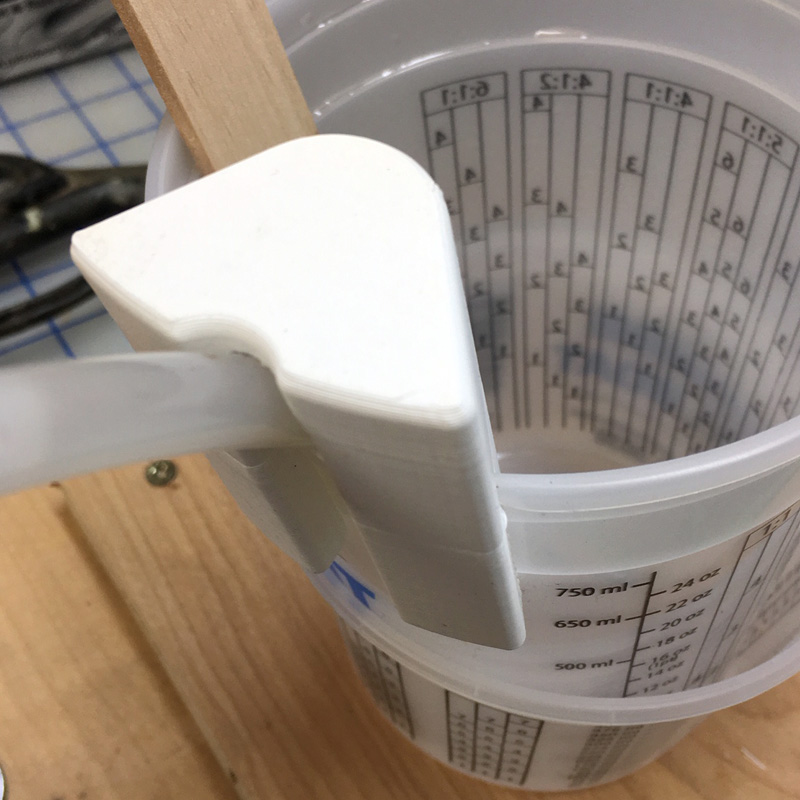
Little 3D Printed Infusion Bucket Clamp

I have always struggled to keep the hose in small infusion buckets. Every now and then a clamp slips or I bump a hose and it pulls out and air goes in and everything gets messed up. Besides the bucket screwed to a board (with a fender washer inside the bucket) to hold pots of resin from tipping over – which is my favorite – this is a positive new development:

I printed this from PLA and am a little worried about the thing snapping off at the lip that holds the bucket lid. So far though it works pretty well! Can’t bring myself to use the Markforged and make a stronger one – it’ll be like five bucks! This one on the Fusion3 with PLA is 80 cents or so.

You can see if featured in the videos for Laminate Samples #7 and #9 in the material library.

If you want to print one – check out GrabCAD and search for “infusion”. This won’t be the last version, and you’ll have to scale it to use the right size hose – it’s set up for 3/8″ (9mm) OD hose – but it might be useful.

Little 3D Printed Infusion Bucket Clamp Read More

Bag stack resin absorption – a data point!

So I was working on a video about really basic pre-preg – and making Laminates Sample #2 and #4 at the same time. Because my basement is not a fussy place, I used dry peel ply (crinkly nasty old dry peel ply actually) as the first layer of my consumable stack of sample #2. I removed the peel ply from the already-trimmed (1’x1′) panel and weighed it because I was curious. Then I carefully cut a one square foot dry sample of the same plain nylon peel ply – with the red stripes. I think this is Airtech, but I’m not 100% sure.

The dry sample weighed 10g and the sample that absorbed resin weighed 13g. So: 3g or resin per square foot, about 11 square feet (10.764 you nerds) per square meter. 3 x 11 =33. Now I don’t know if that three on the scale is 2.51g or 3.49g… but it’s a range. (I went back and weighed it again later – see below – and the absorbed resin weighed 5g – probably need to look into that scale!) This means that this peel ply absorbs 30-50g of (this) resin per square meter.

dry peel ply resin absorption rate prepreg

This makes sense if the peel ply is 100-120g per square meter, a 35% resin ratio would be 35-40 extra grams. My mental go-to estimate is 50g per square meter (don’t remember where it came from!) – so it’s nice I’m in a reasonable place given these observations and my questionable measurements. Maybe I’ll try some larger samples and other resins to see if we can science this up a bit!

So if your pre-preg laminate can afford 35g-50g of resin per square meter – go ahead and forget that pre-preg peel ply. And the resin you bleed off – well that’s up to you. But if you use perforated release film (and out of an autoclave, you should) it’ll be something!

Now on to breather. In Laminate Sample #4 – a 3mm QI prepreg panel, I had 4oz breather that was nearly fully saturated. I weighed a square foot of this and at the same time re-weighed the peel ply sample from above. I’m not sure why it (or if it actually!) got heavier, but here’s the new resin estimate for the peel ply (left) and the resin uptake estimate for the breather (right):

Yikes! The breather soaked up 333 grams per square meter of resin. It may have been slightly less, again with the scale giving non-repeatable measurements. But still, that’s a lot! This laminate had a total of 1783g of resin per square meter. The bleed from peel ply and breather was about 375g. That’s about 20% of the resin available in the laminate. The calculated resin ration went from 37% to 32%. I will measure the thickness and weight of the panel when I get it trimmed up and report back.

Bag stack resin absorption – a data point! Read More