Two Laminate Samples, One “Core” Lesson
Part of the idea with the Laminate Samples is to show how materials and processes work – but there’s another part: showing how to mess stuff up! I have been building in (mostly intentionally but sometimes not) mistakes and demonstrations of common problems that are easy to have. From vacuum bags that are too small, race-tracked infusions and pinholey surfaces, there are plenty of mistakes to make even on a flat panel. Most are pretty obvious once you see them so I’m making sure to show as many as I can without making the samples themselves totally useless.
The Core Concept – Bleed Holes!
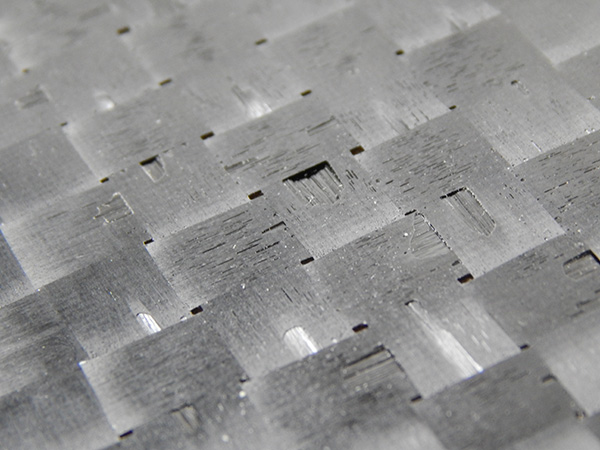
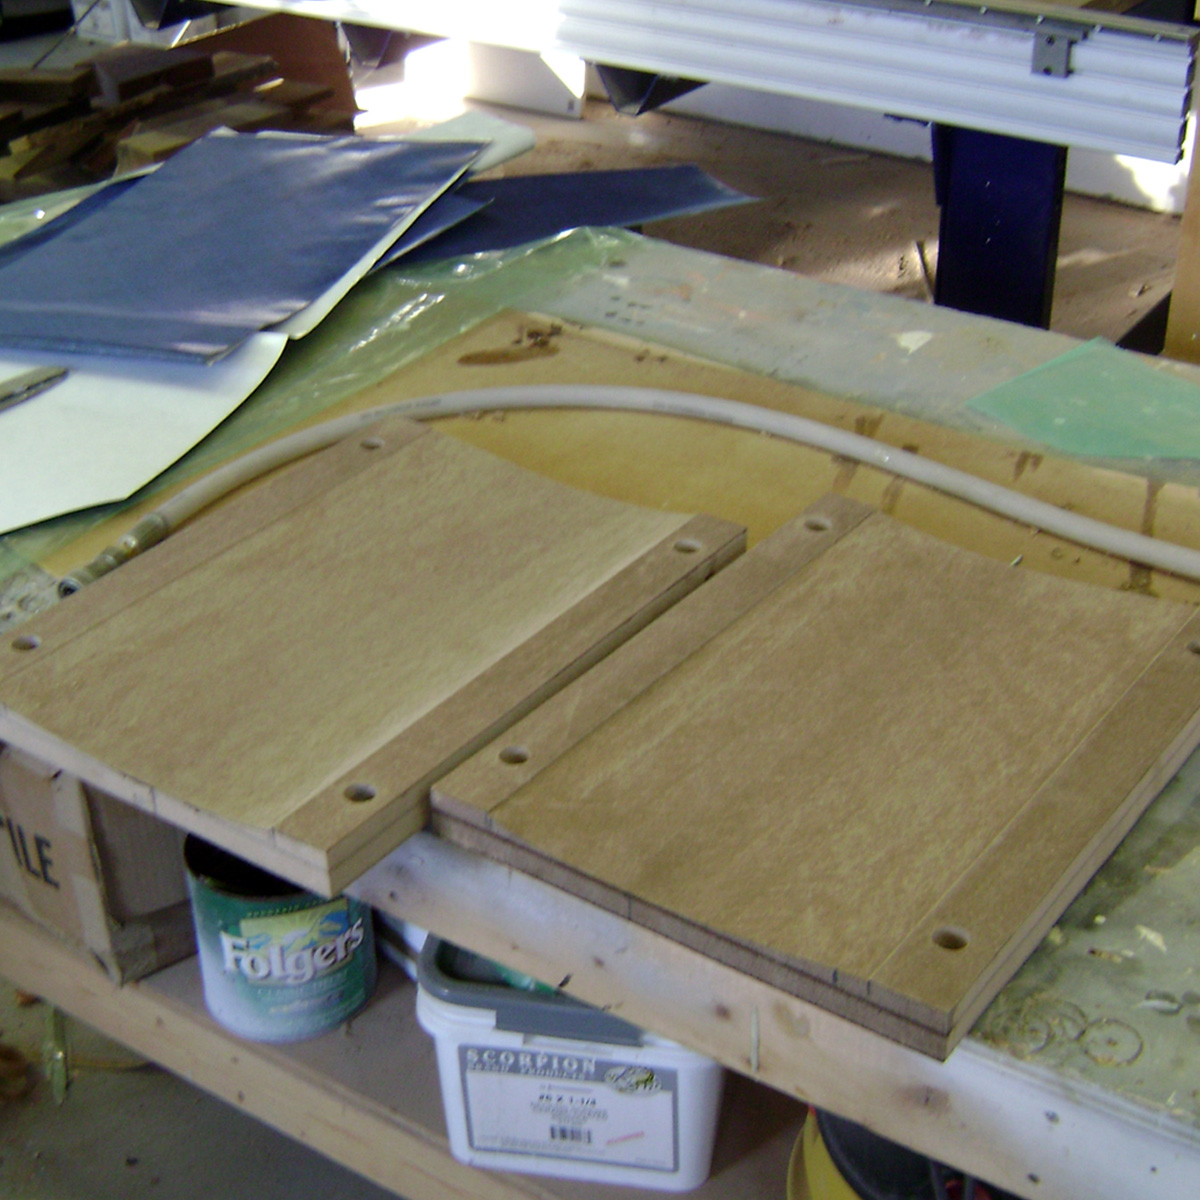
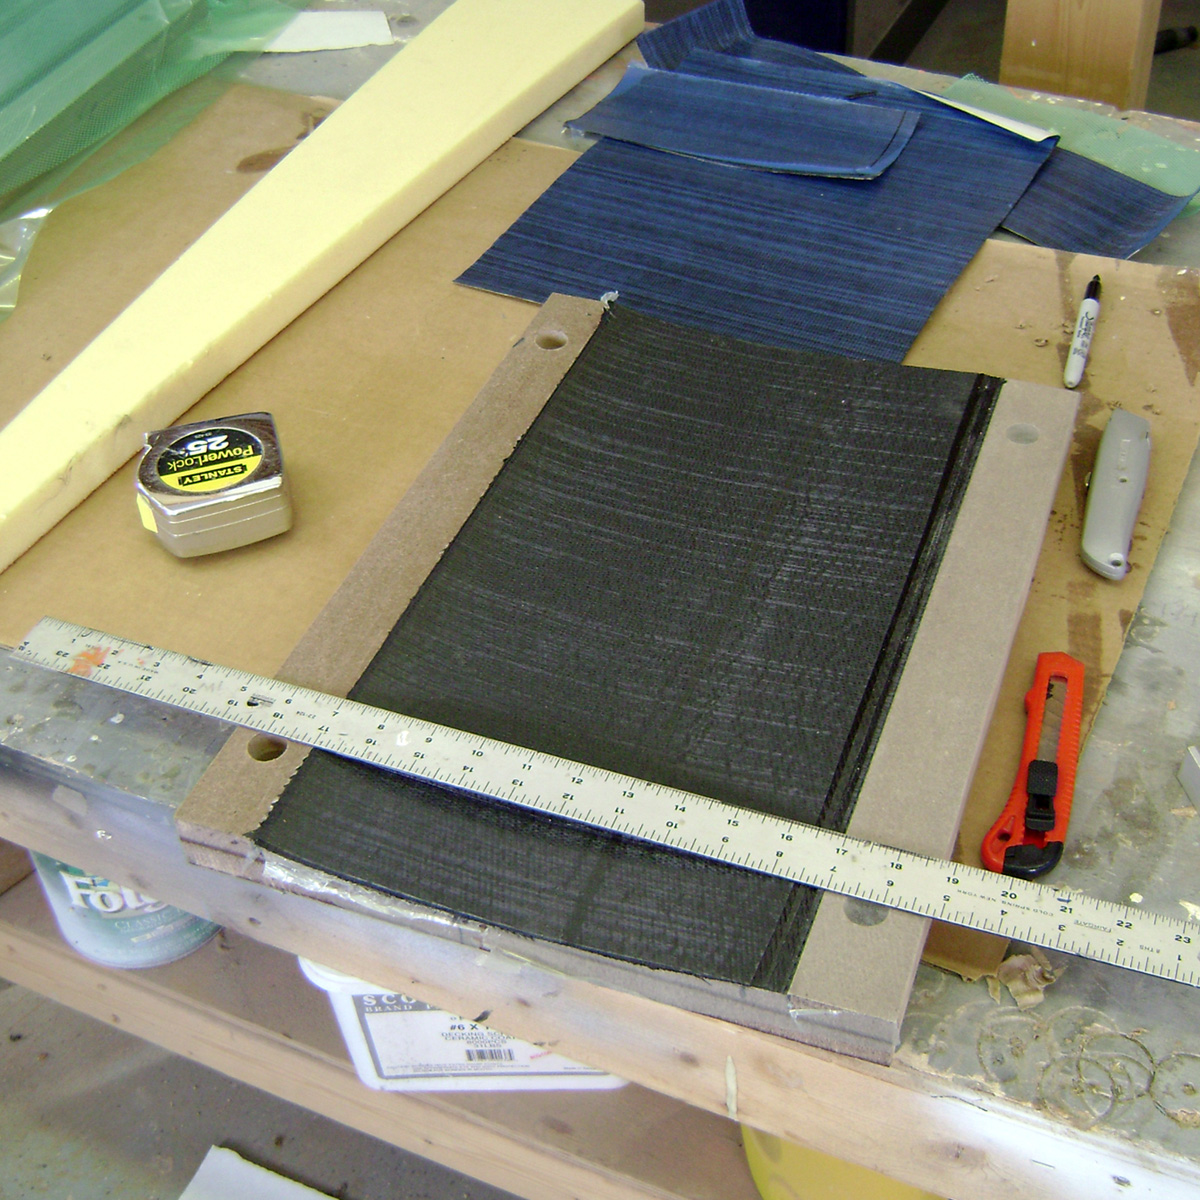
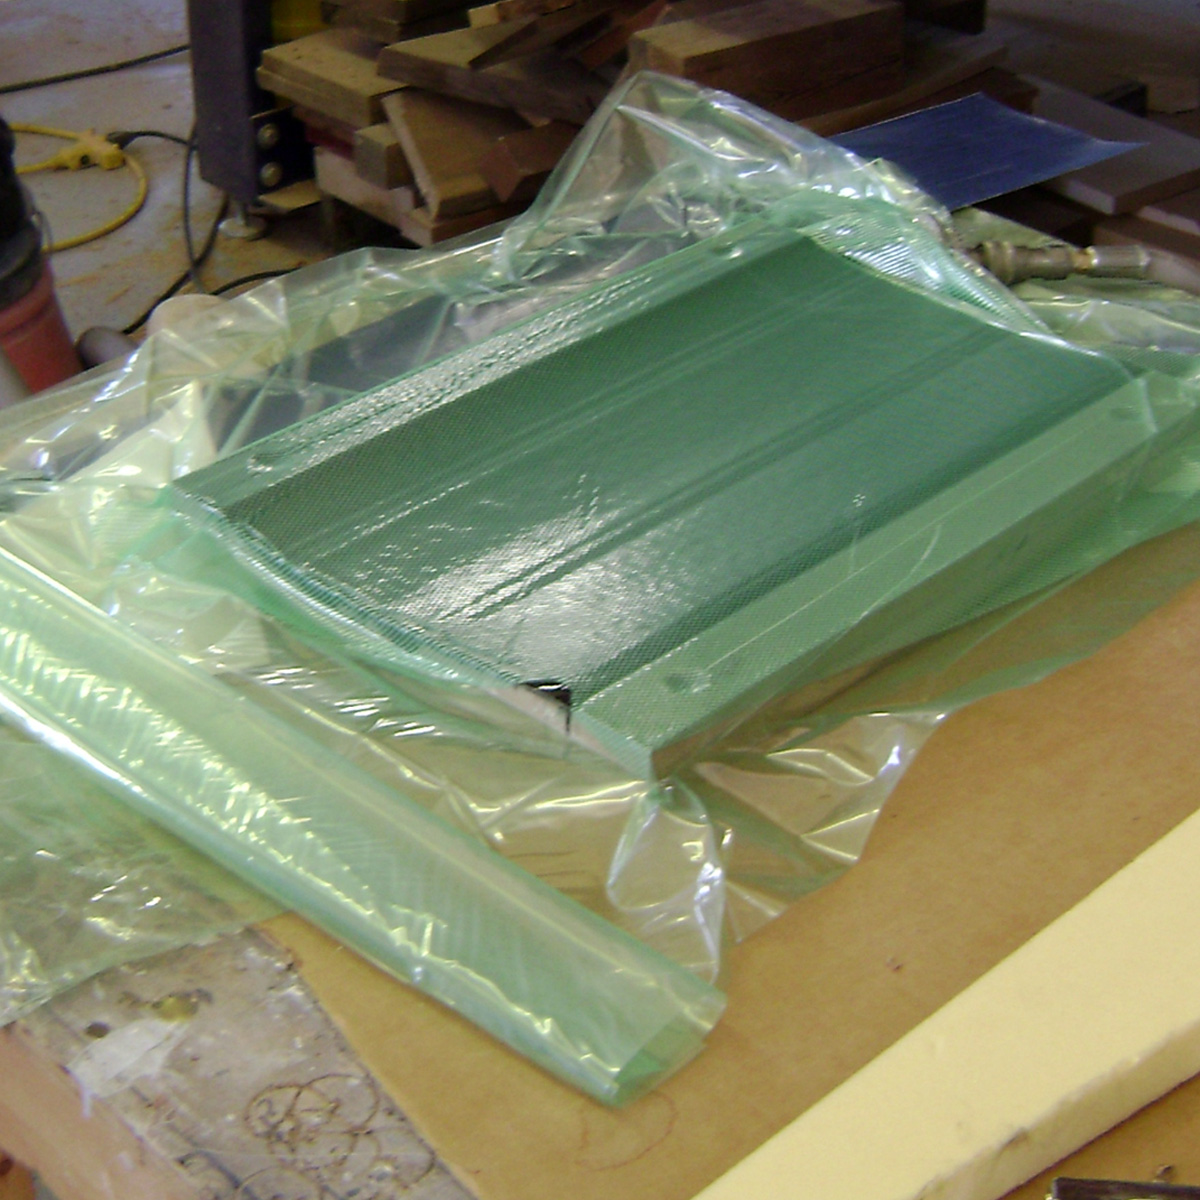
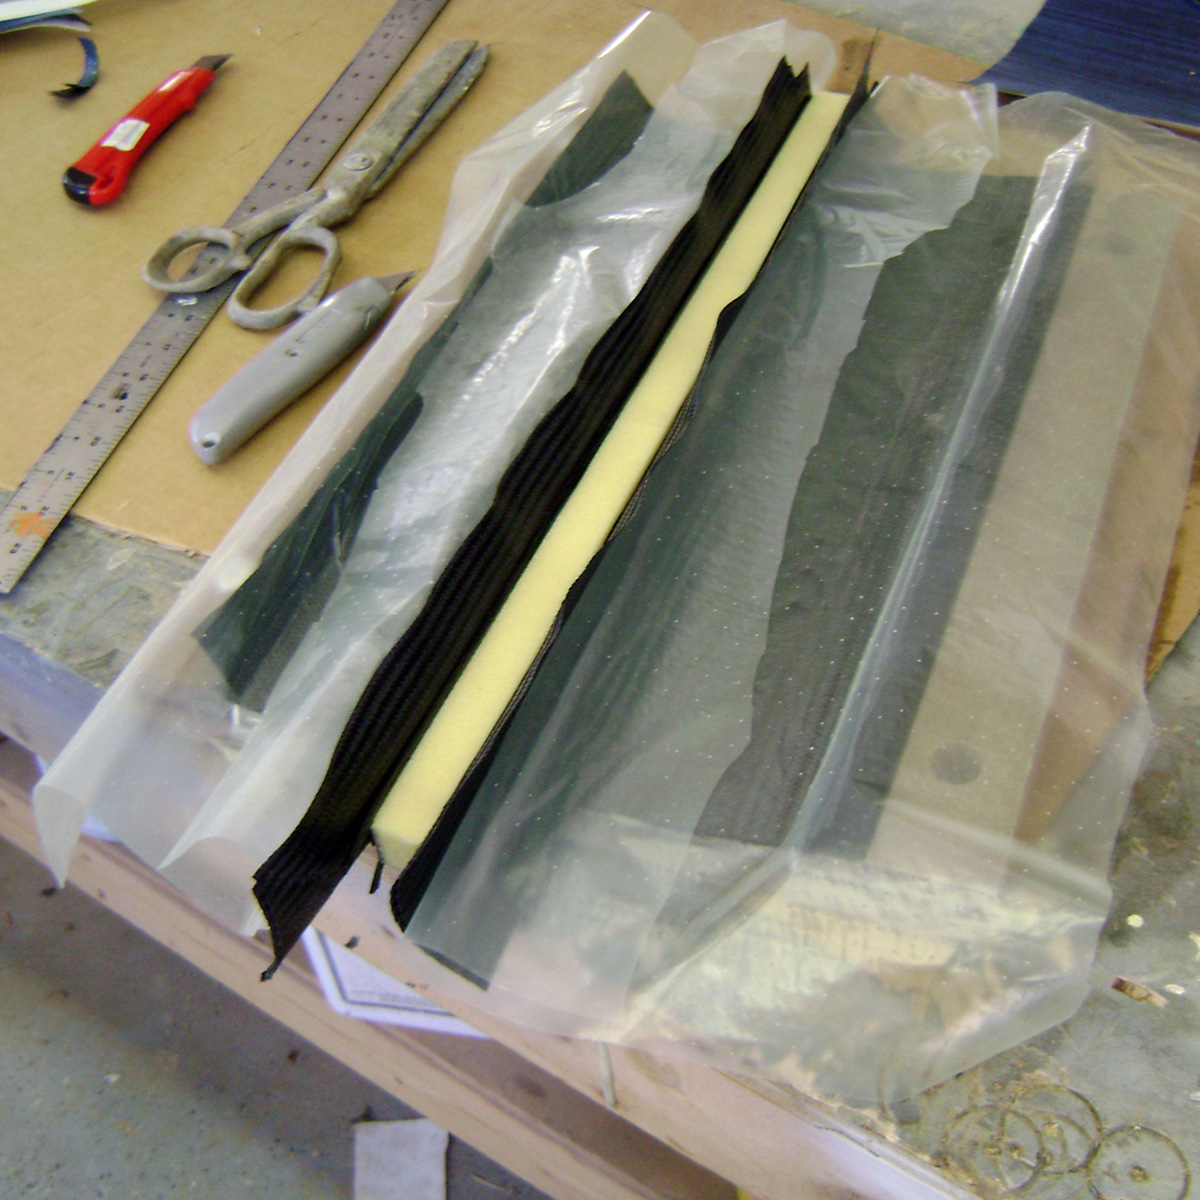
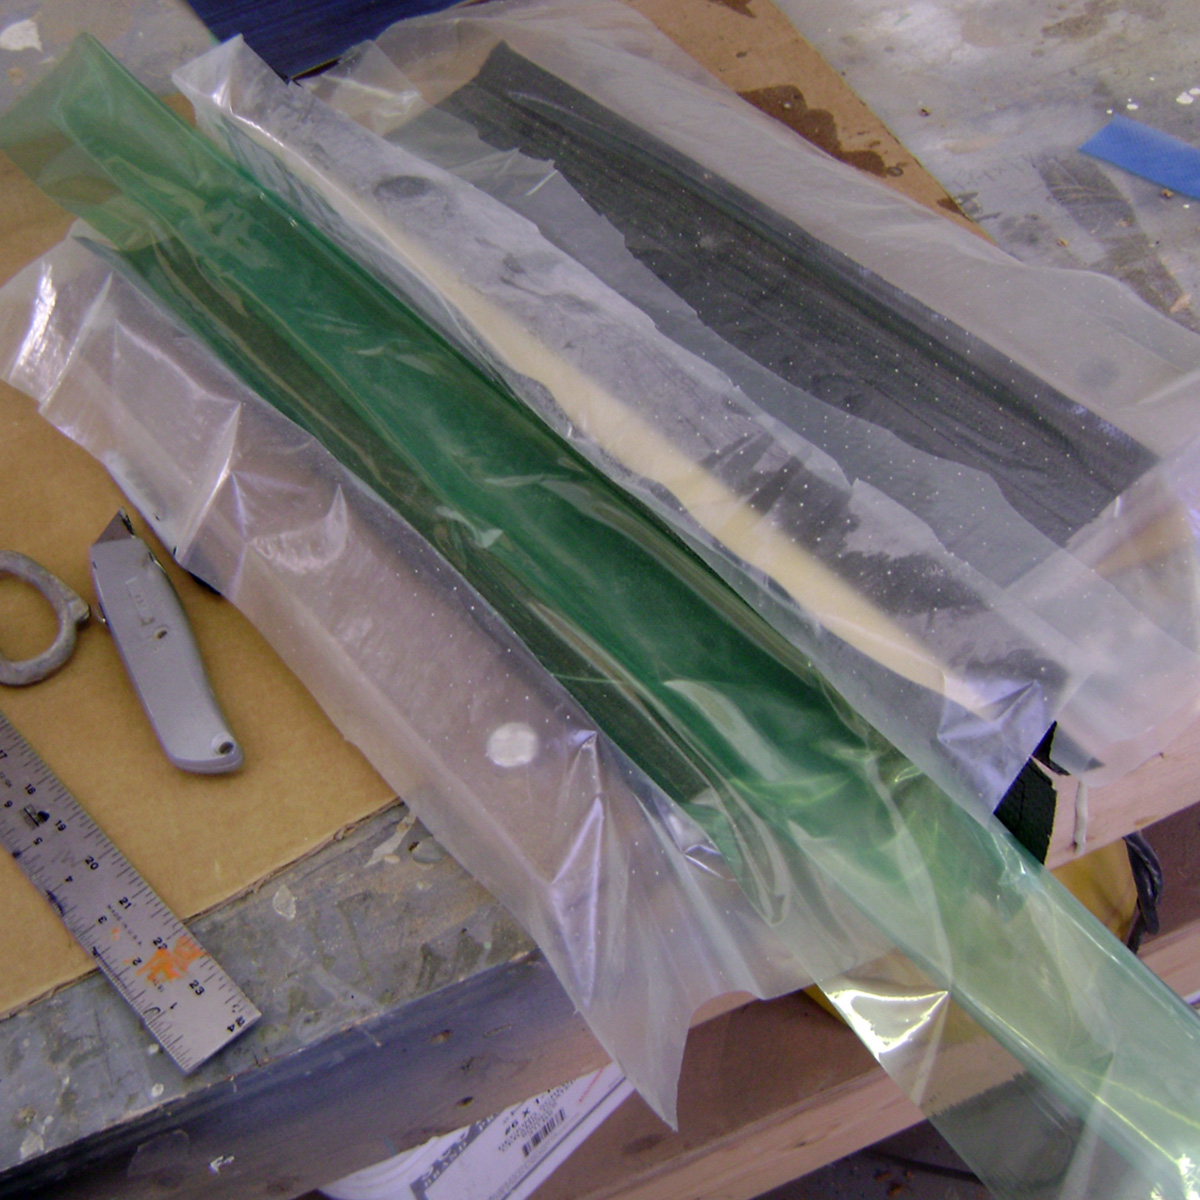
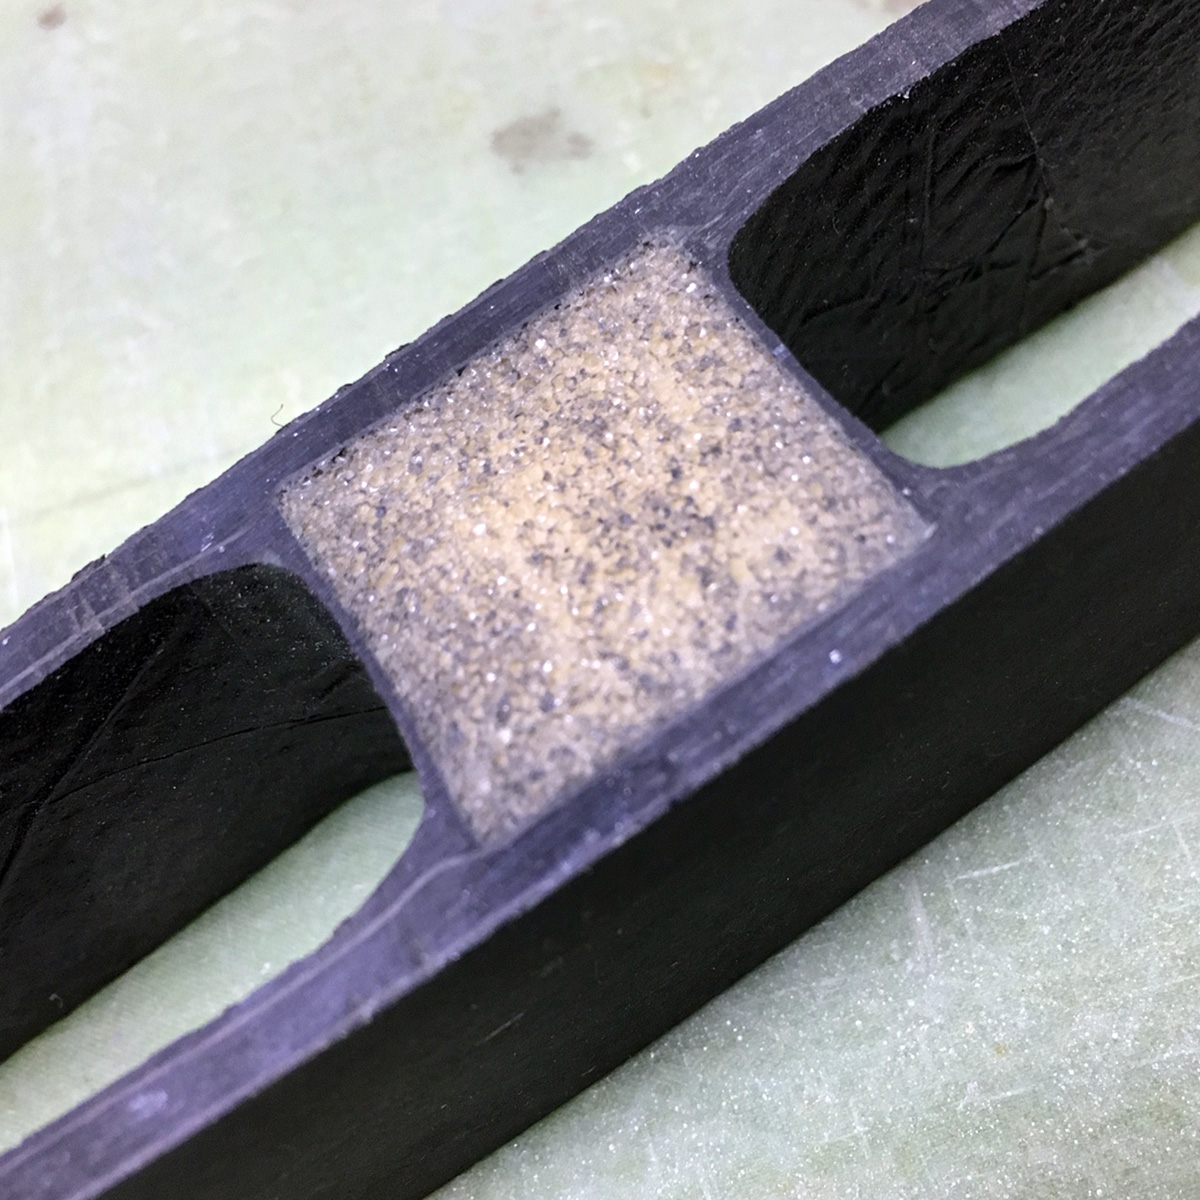
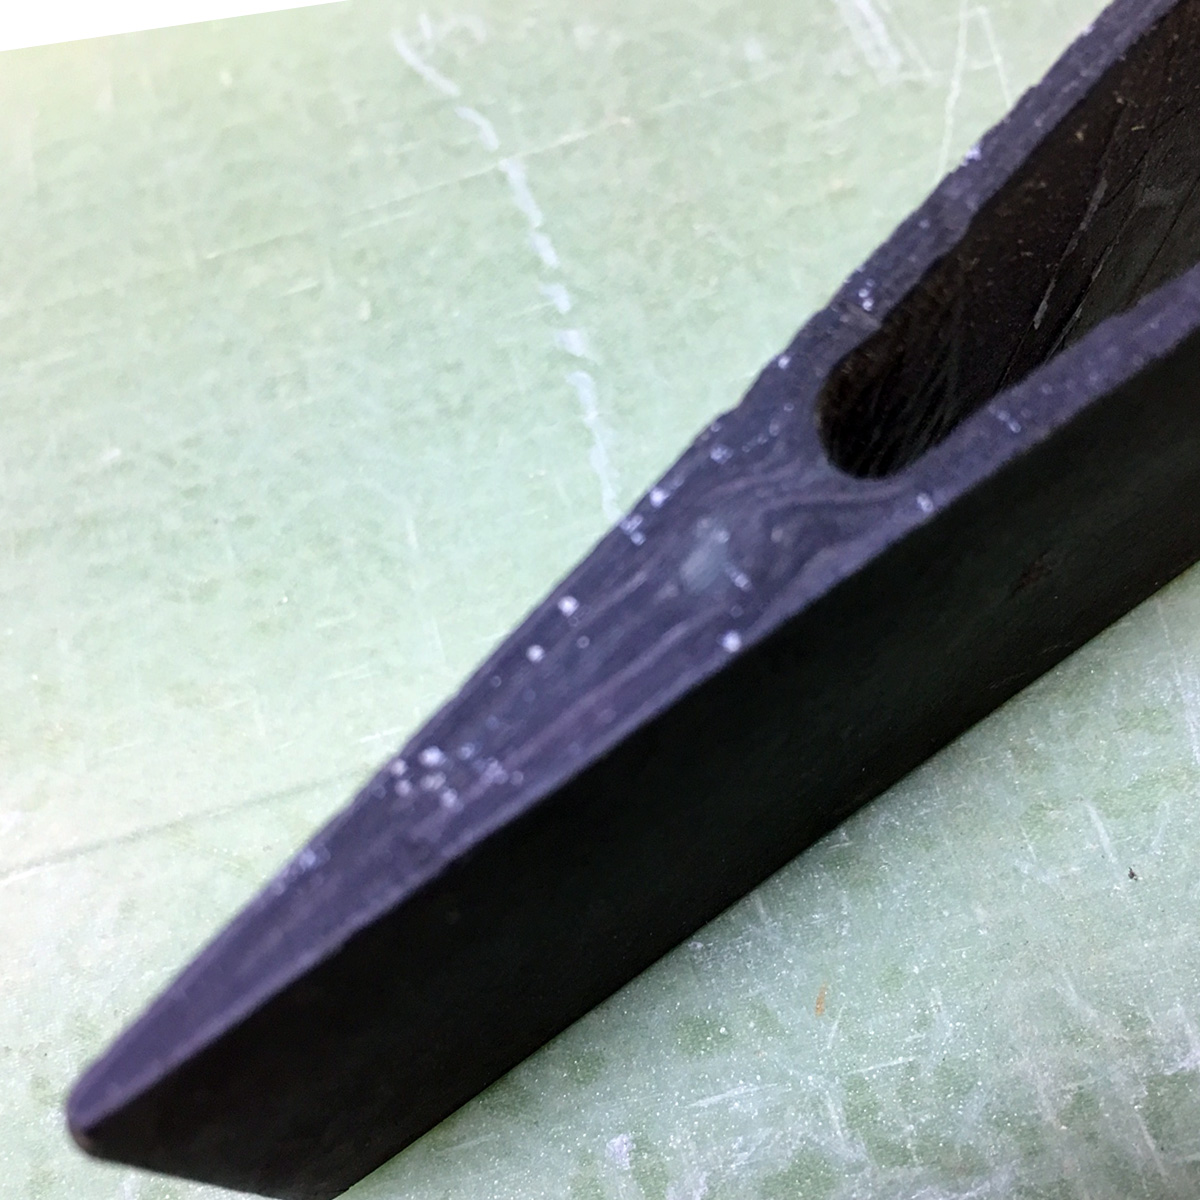
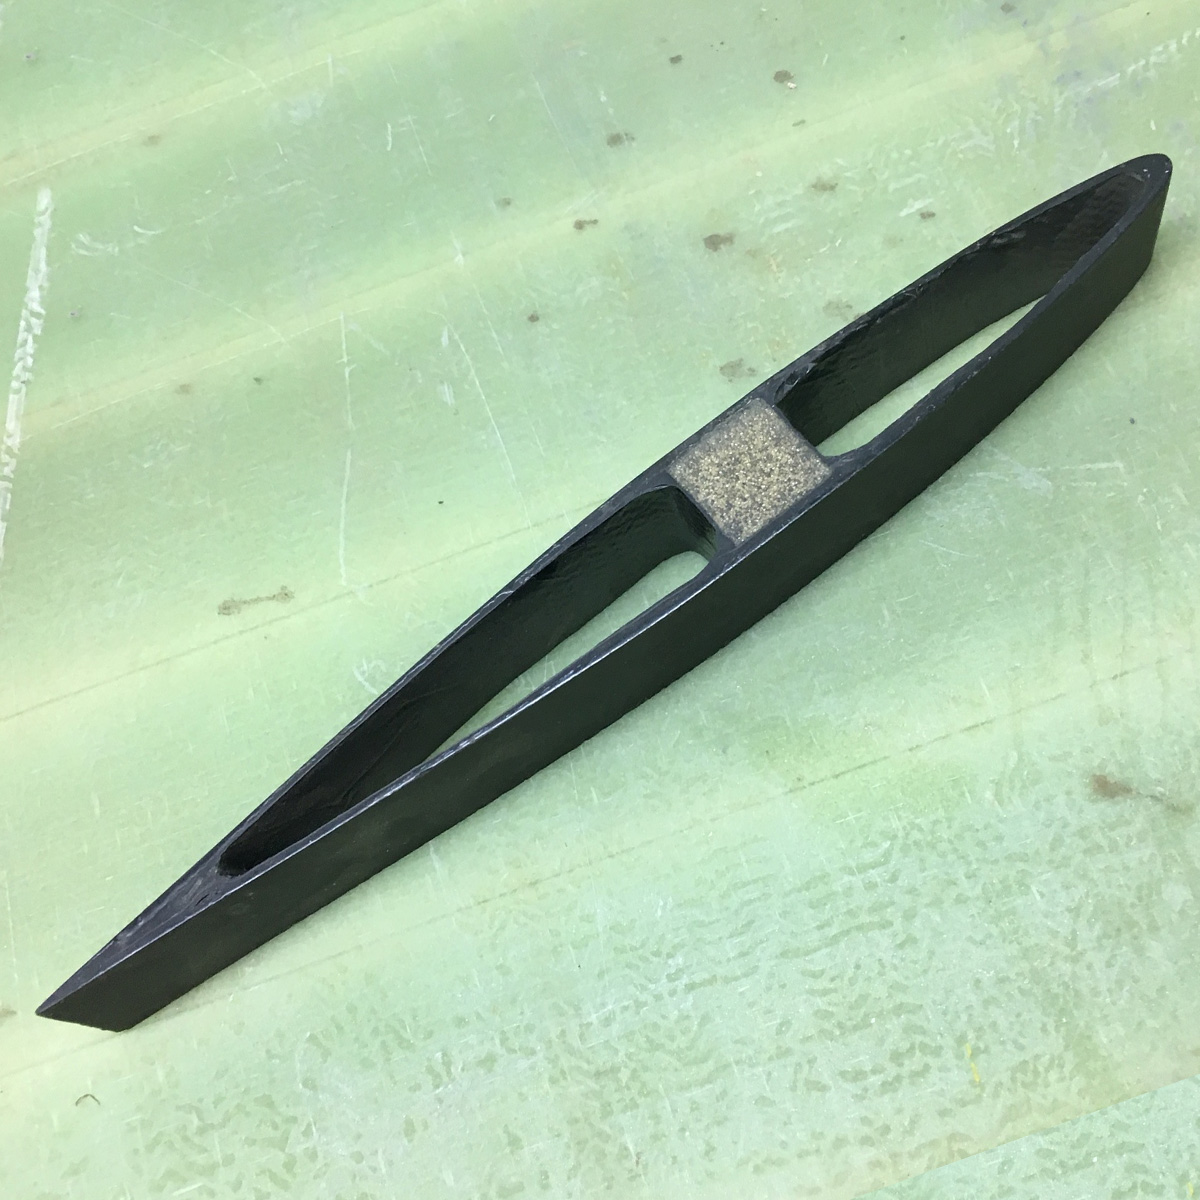
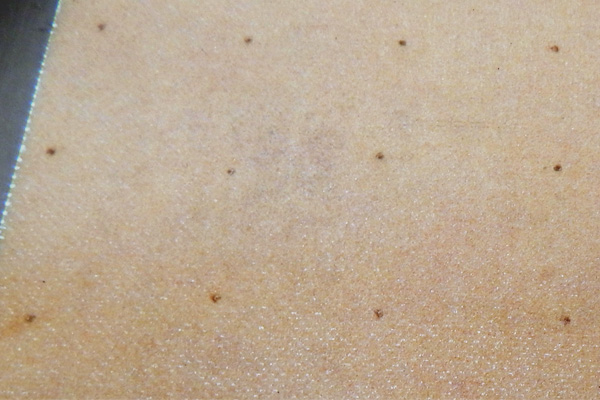
This post is about two samples: #18 and #24. They share the same core (1/8″ / 3mm Divinycell H80) and both use 200g / 6oz skins laminated with epoxy and vacuum bagged. One is e-glass so you can see through it. The other is spread-tow carbon, and you can’t see through it but you can see the big mistake!
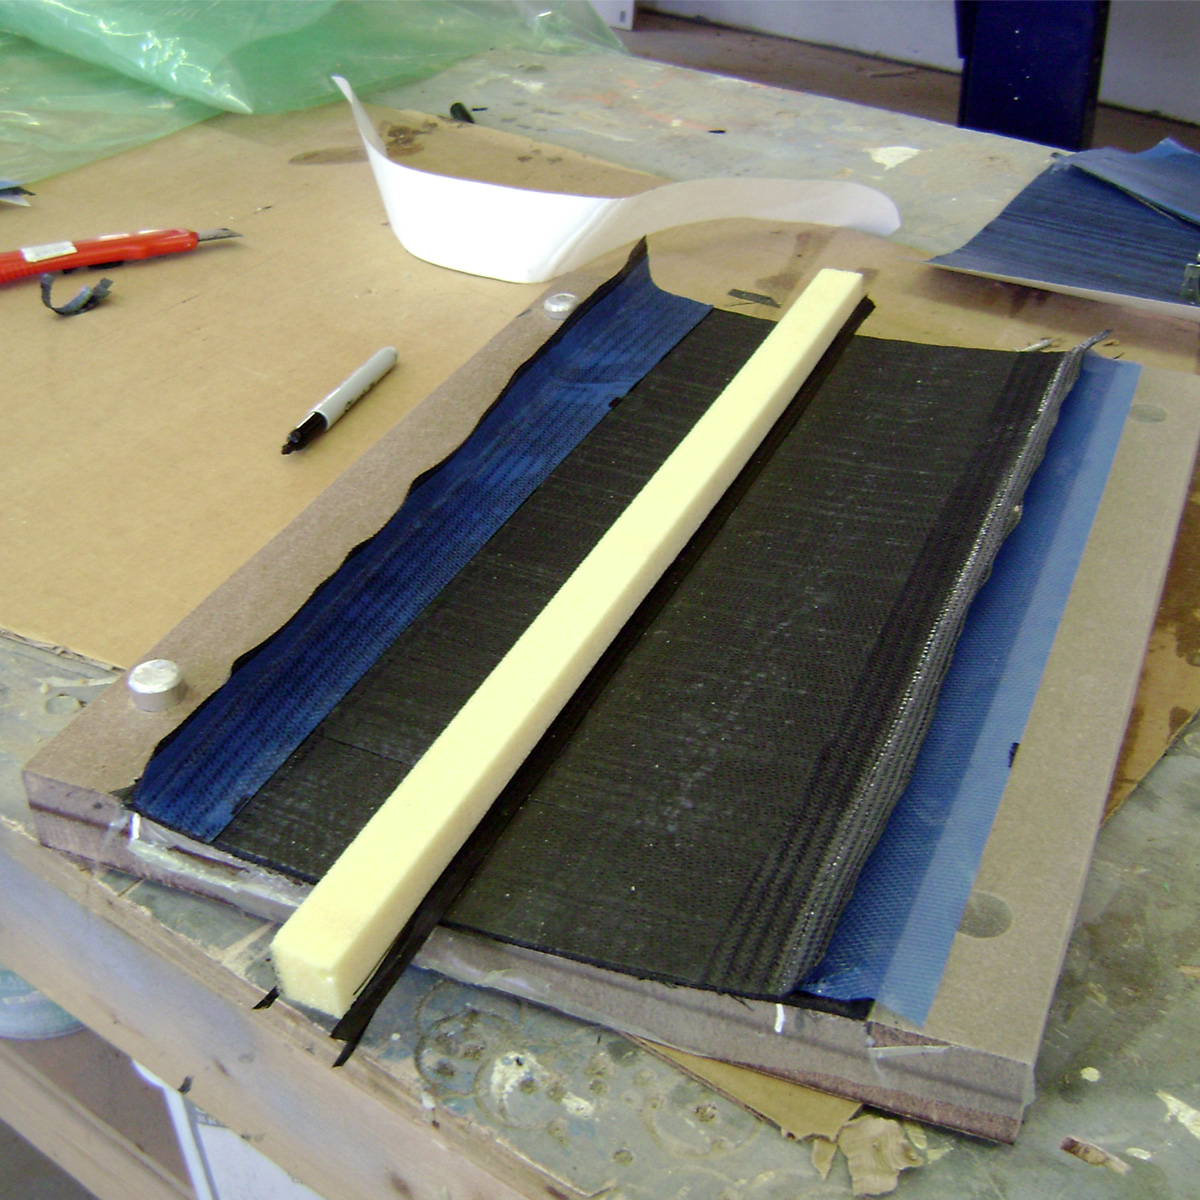
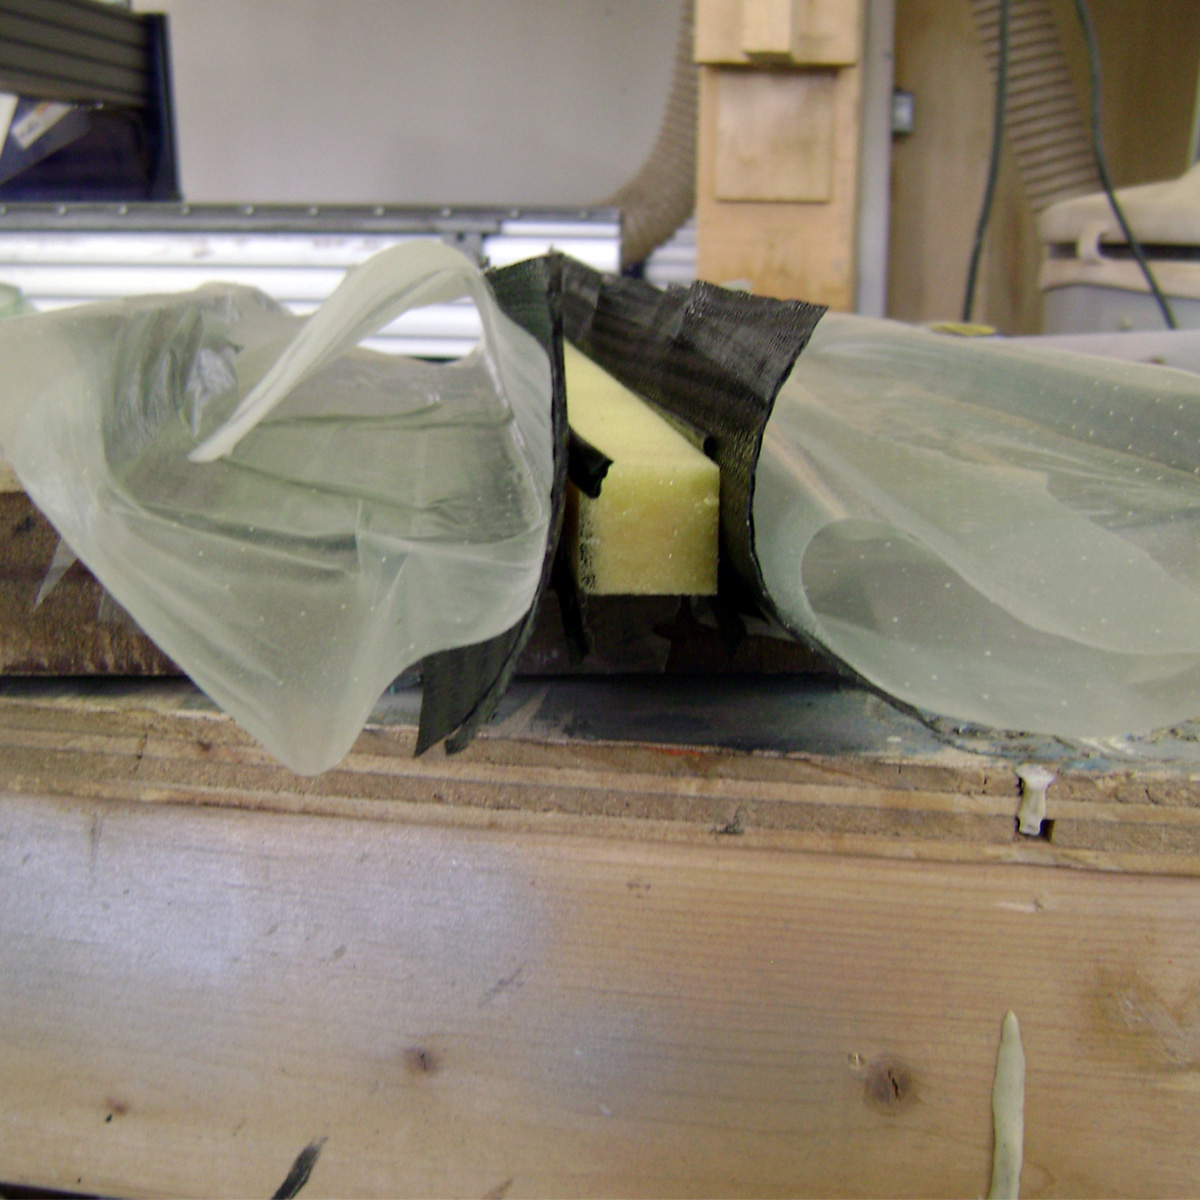
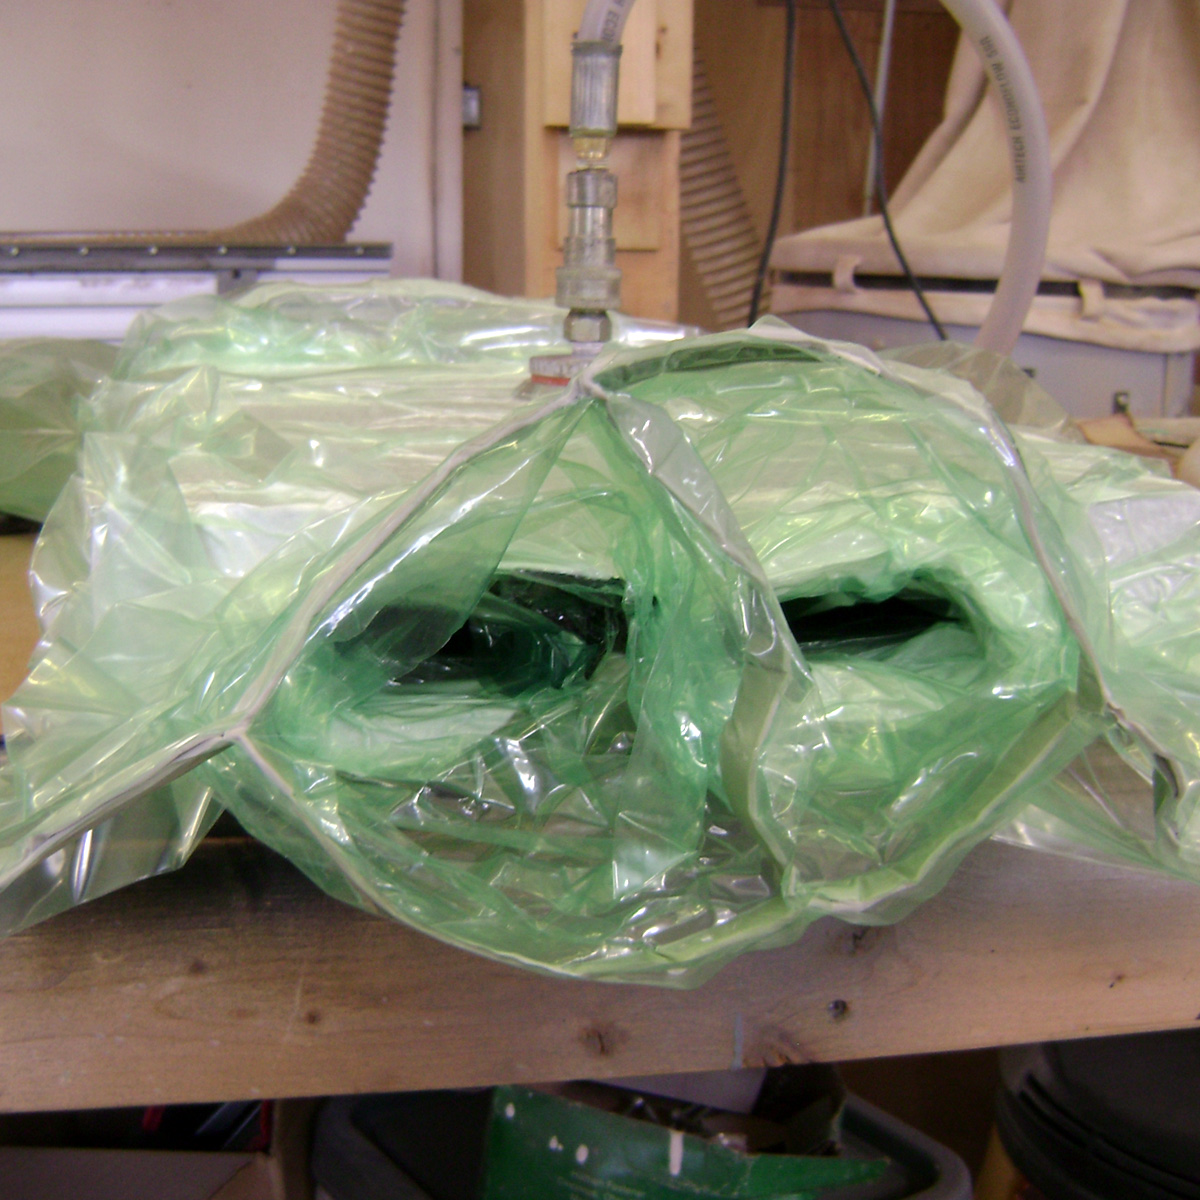
The main idea here is that when you’re vacuum bagging foam (or balsa) cored parts, you need a way for the air and excess resin on the mold side of the panel (the first skin) to get out. This is why core needs to have either holes or slices with a scrim. Both ways allow air and resin to escape. In #18, I drilled a bunch of holes on 50mm / 2″ centers to let that happen and it came out great. On #24 I didn’t – and the bottom skin was full of too much resin, trapped air, nasty surface defects and at least one fairly large non-bond / void area. Ouch! And I had to go and do it with that pretty expensive spread tow… but it makes for a better lesson that way.
Look at that mess – the excess resin and trapped air forces too much thickness in the bottom skin. When I tap this area it sounds hollow like there’s a huge air bubble between the carbon and the foam – because there is!
The Videos
The good one…
…and the bad one:
Pre-drilled Holes
Most foam core manufacturers sell foam with pre-drilled holes. This is great because it saves a ton of time – drilling thousands of little holes is no fun. Usually the holes are the right size for infusion, where the holes allow resin to get to the bottom skin. They’re also fine for bagged wet layup, where they let air and excess resin out. For pre-preg, you may be able to get away with smaller holes.
Hole Spacing and Layout
The ideal size is about 1mm / 0.04″ for bagged wet layup. If you have good control of your resin wet-out ratio this will be fine. If you just pile the resin on there like I did in #24 – you’ll need bigger (or more) holes. Thicker core or core bedded down with thicker filled resin will need larger holes too. The weight penalty for larger holes decreases if you are using a core bedding mix that has a low density filler.
Hole spacing depends on the core thickness, bedding material and how much you expect to bleed off the bottom skin. I’d suggest keeping it closer then 100mm / 4″ so that there is never more than 50mm-ish of distance for air to travel. For filled core bonding resin, go closer. Really, unless you have tested it – 50mm / 2″ spacing is ideal. If you are building big stuff you should totally test it!
I also suggest sticking to a regular pattern. It is appealing to just blast them all random and assume that averages will work out in your favor. The big problem is making sure you don’t leave “islands.” Draw a grid and be systematic. If you have many sheets to do, stacking them and using a pattern and a long bit can speed the work.
Vacuum Level
And about vacuum level and pressure – you can bleed off too much resin if you really hammer on the vacuum. For stuff like this, 15inHg / 500mbar or so is fine. I have seen people use much less for bagging wet laminates and things come out fine! Check out what happens when you really crank up the vacuum in Laminate Sample #5: Vacuum Bagged Wet-layup Carbon/E-Glass with Foam Core. That carbon really shows how resin starved the e-glass is. Its easy to think things are great with carbon but fiberglass telly you what you’re really getting in there!
Note: If you are thermoforming your core, you should get un-perforated core and then drill the holes after you form and slump the core. They close up when you bend the panels and redrilling thousands of holes is bad news.
I hope that helps explain the importance of perforating core with bagged wet layup. Nothing like seeing it on video!