Project by North Shore Composites (2016)
The Project
This project was done to extend the transom of a sailing yacht and add a step and ladder. We didn’t install it or build the hardware – just the composites. It started from a 3D scan of the back end of the boat that a design firm used to create a 3D model of the extension so everything would be fair and line up. Boats aren’t always perfectly symmetrical! It was bonded onto the existing transom and taped with fiberglass/epoxy laminate across the seam before fairing and painting. I had a chance to see the boat several years later and you’d never know it wasn’t built that way – the painters did a nice job!
- For more on vacuum bagging, check out: Introduction to Vacuum Bagging
- And you can read about MDF tooling here: How to Use MDF for Composites Tooling
Tooling Decisions
We decided to build a female mold so we could assemble everything in the mold and keep things the right shape and not-twisted. The quickest way was to strip plank on some stations. The stations were CNC cut from 3/4″ Advantec with “egg-crate” locking joints. We used 3/4″ MDF for the strips and then glassed over the inside and primed it to get a good release. We used a chemical release instead of adhesive teflon because we didn’t want too-good a release – and have it pop out before we were ready! The return flange where it would bond to the hull of the boat was built in-place and was laminated with the inner and outer skin of the foam-cored “hull” laminate.
Core Decisions
Thermoforming foam or using contour-cut would have been an option but we decided on strips because we only had solid sheets of foam on hand – and it was 1″/25mm thick. The strips near the middle were straight-sided and as we got out where things curve, they had a fixed bevel to approximate the curve so they wouldn’t have huge wedges of filled epoxy in the joints. The strips of foam were fit dry. The outer skin was laminated and bagged and then the stripes were bagged in the next day. They were bedded in epoxy thickened with Q-Cell microspheres and fumed silica (Cab-o-sil). After fairing up the foam and adding 2:1 bevels, the inside glass skin was bagged on.
Building the Hull Part
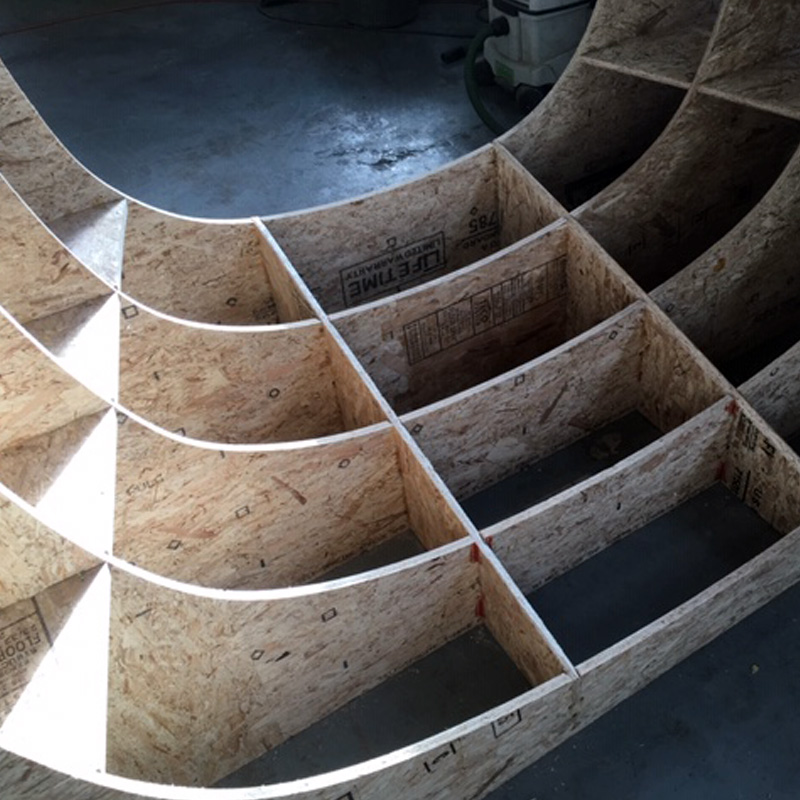
This is the base “egg-crate” for the strip planking. 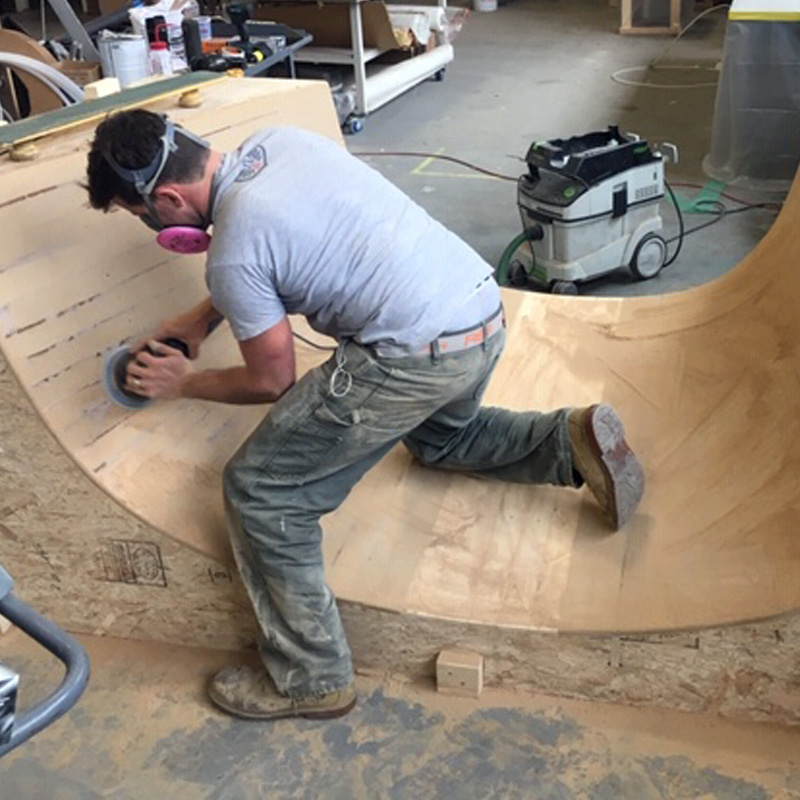
This MDF was sealed with epoxy and then laminated with a layer of 6oz boat cloth. 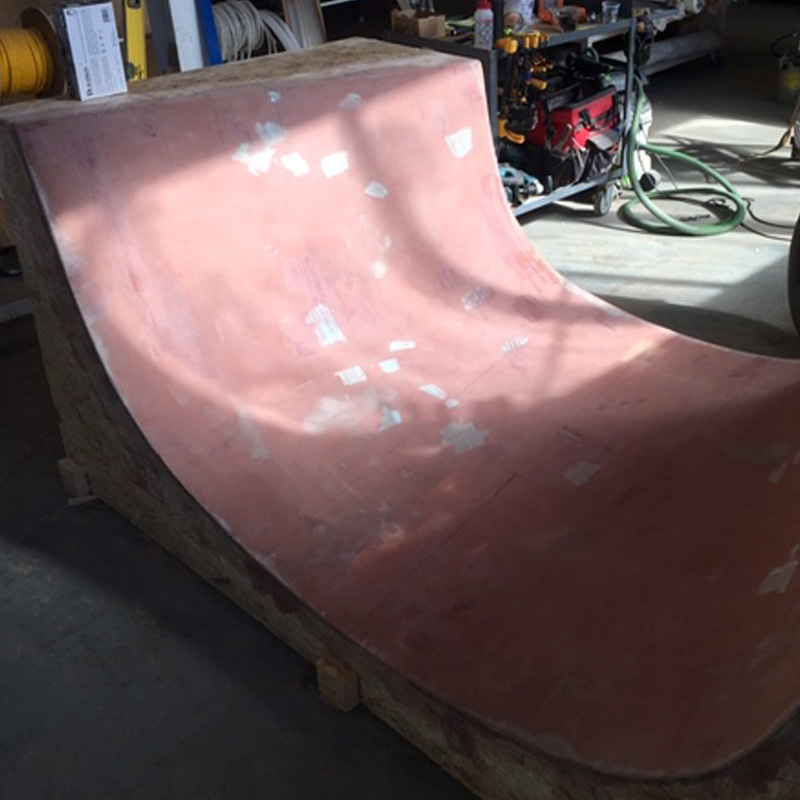
Before it fully cured, the fiberglass cloth was skimmed with thickened epoxy fairing compound to fill the weave. 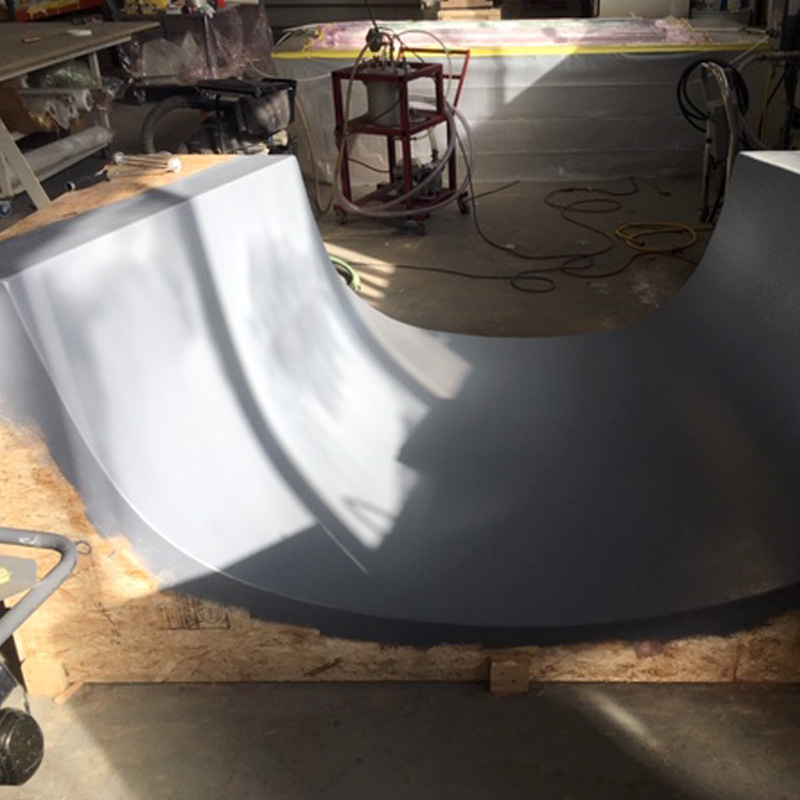
Glassed, faired, and coated with some primer to seal for vacuum and to take a release coat. 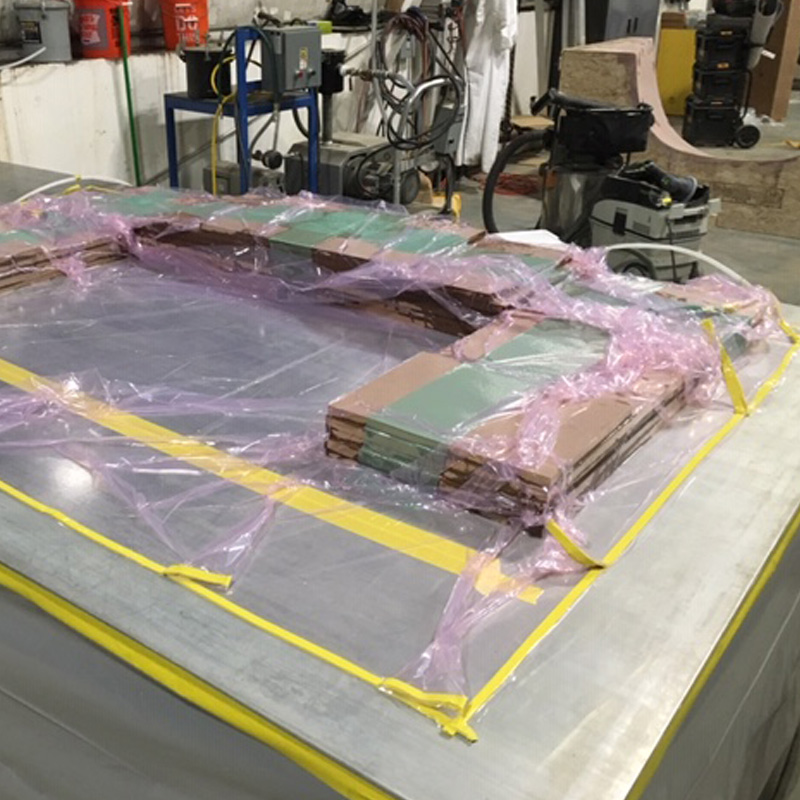
Blank glued for machining the curved plant. 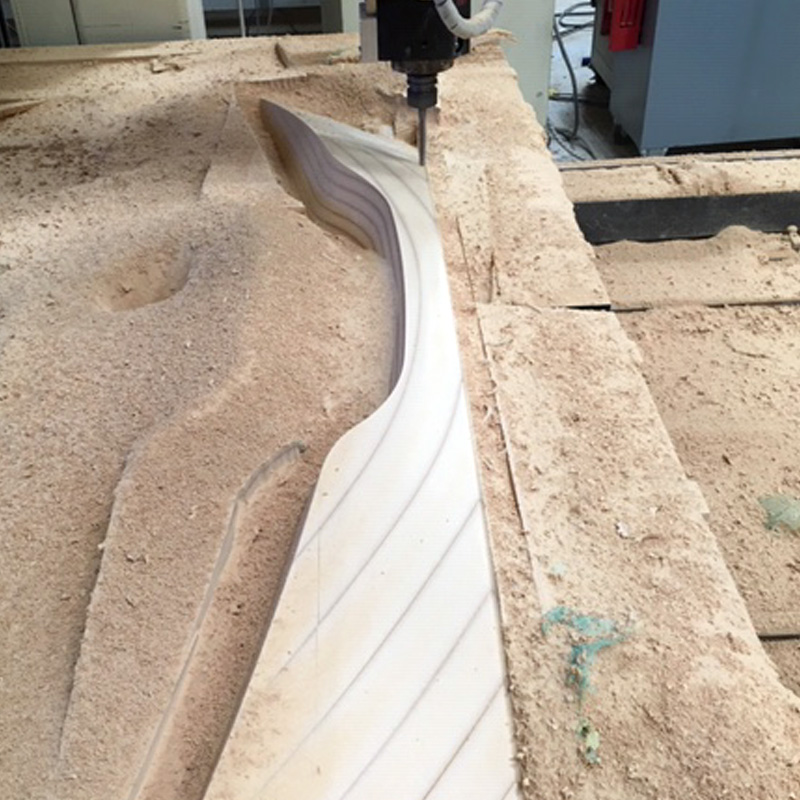
(This is actually the return for the transom mold) 
Curved mold plant in place. 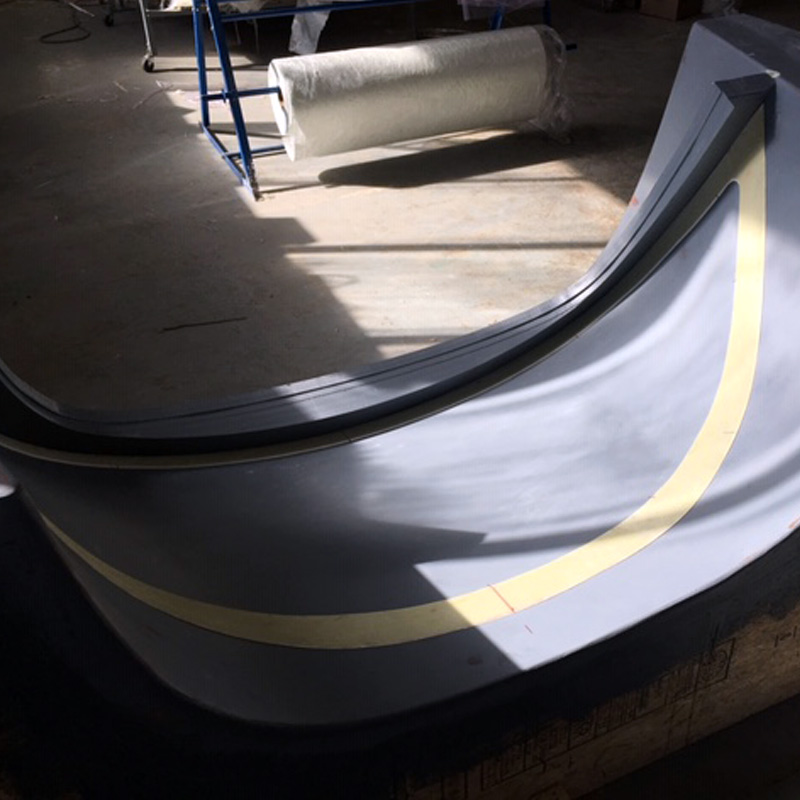
Note the rebate-former made of a few layers of fiberglass laminated by hand in the mold, cured and then trimmed to the shape of the rebate. 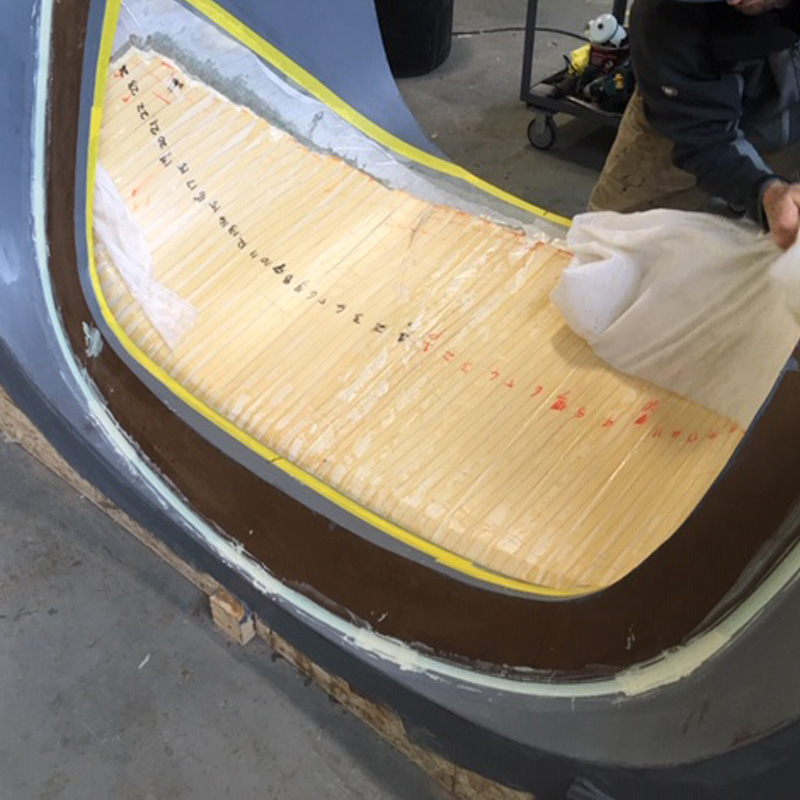
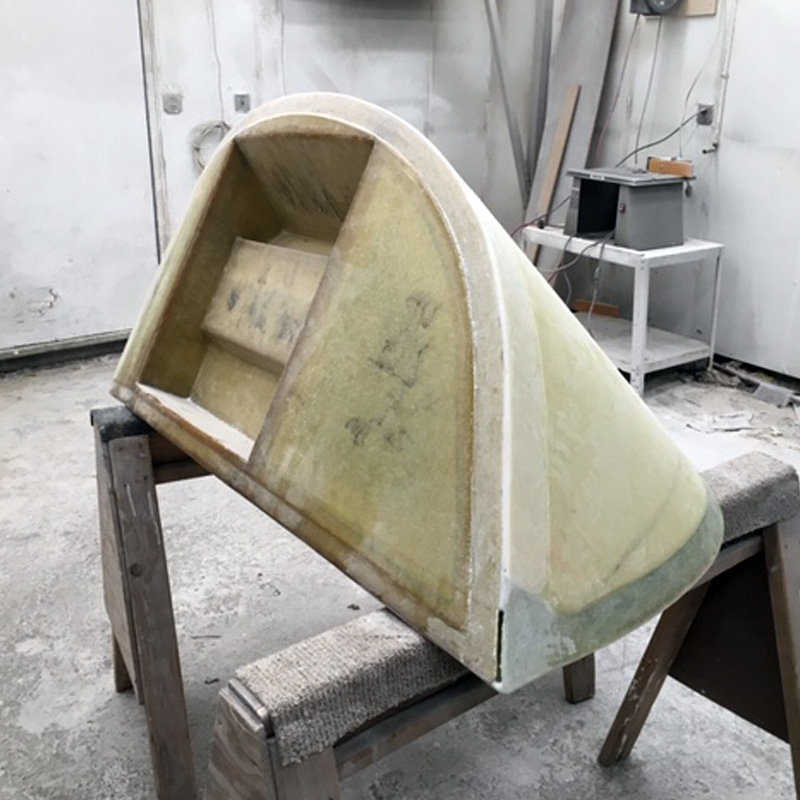
Outer skin and strips of Corecell foam.
Building the New Transom
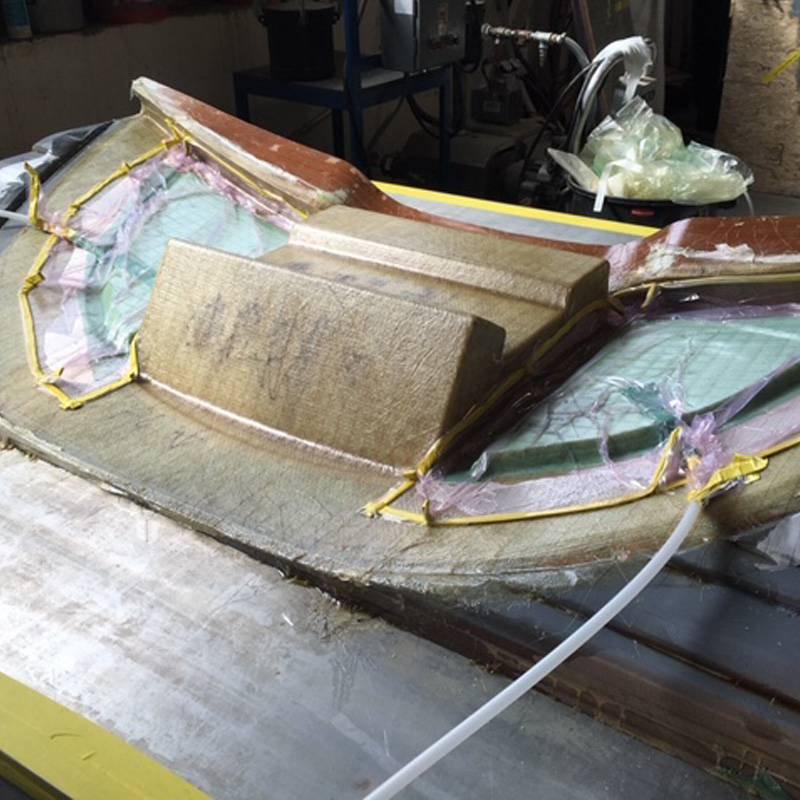
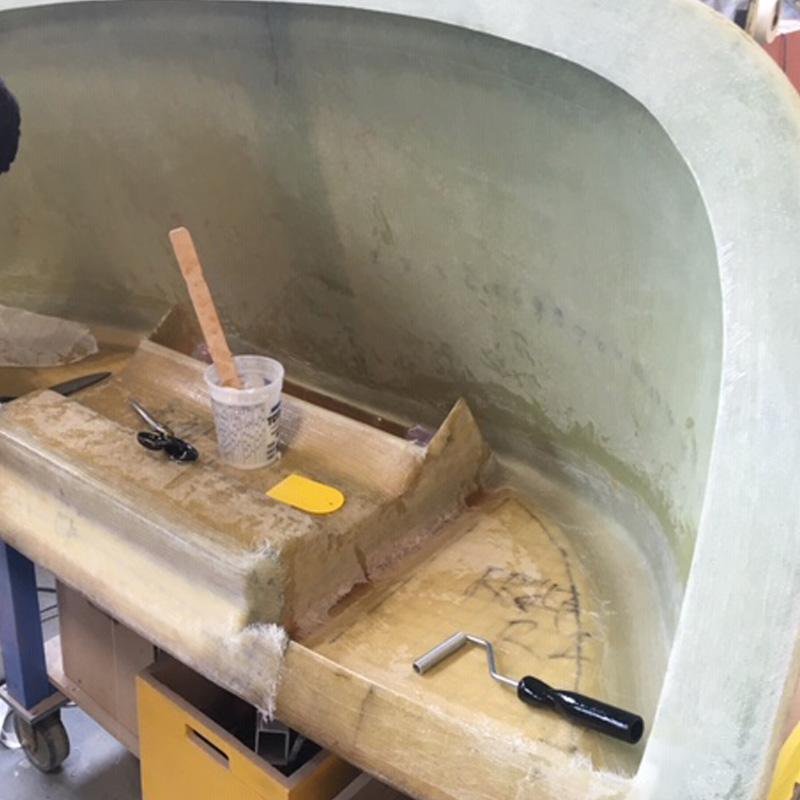
While this was happening, we machined a mold the the curved face of the new transom – complete with a recess for a folding stair. This was laminated on a table, and just like for the hull piece, we applied the top skin of fiberglass over the core as a second lamination so we’d be able to fair the core edges where there was a 2:1 taper. Note the undercut in the step recess – so we had to demold this on an angle once the plant that formed the flange had been removed. This panel (which included the continuation of the flange) was demolded and fit carefully into the hull piece which remained in the mold. These were filleted together with thickened epoxy and the inside was taped with a layer of biaxial e-glass which was peel-plied but not bagged – more laminate would be added later.
Skin and core laminated on transom mold – inner skin getting bagged over the cored areas. 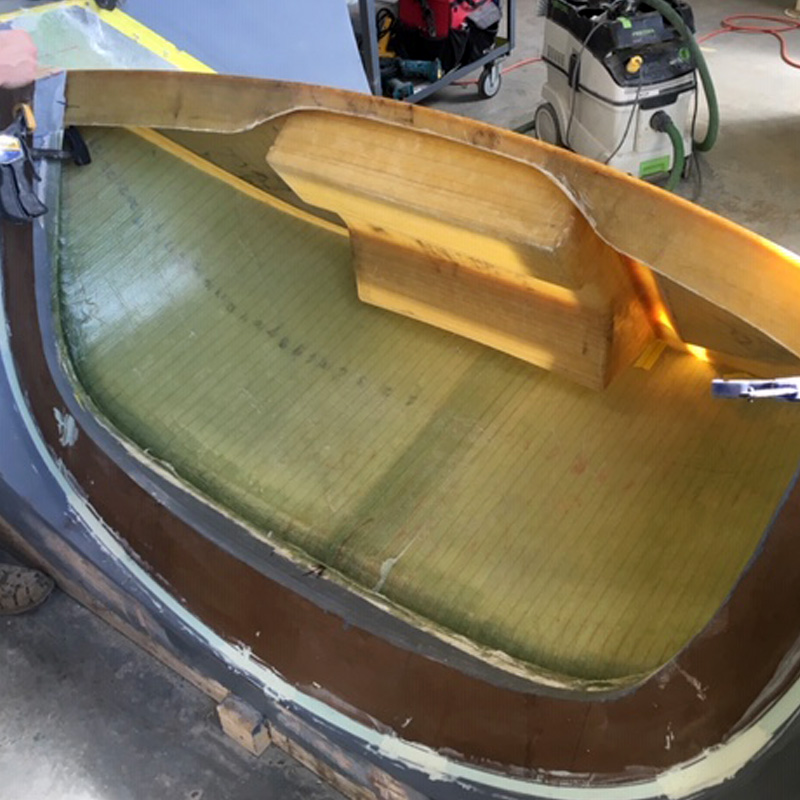
Test – fit. I always like to leave peel-ply on as long as possible to protect the surface. 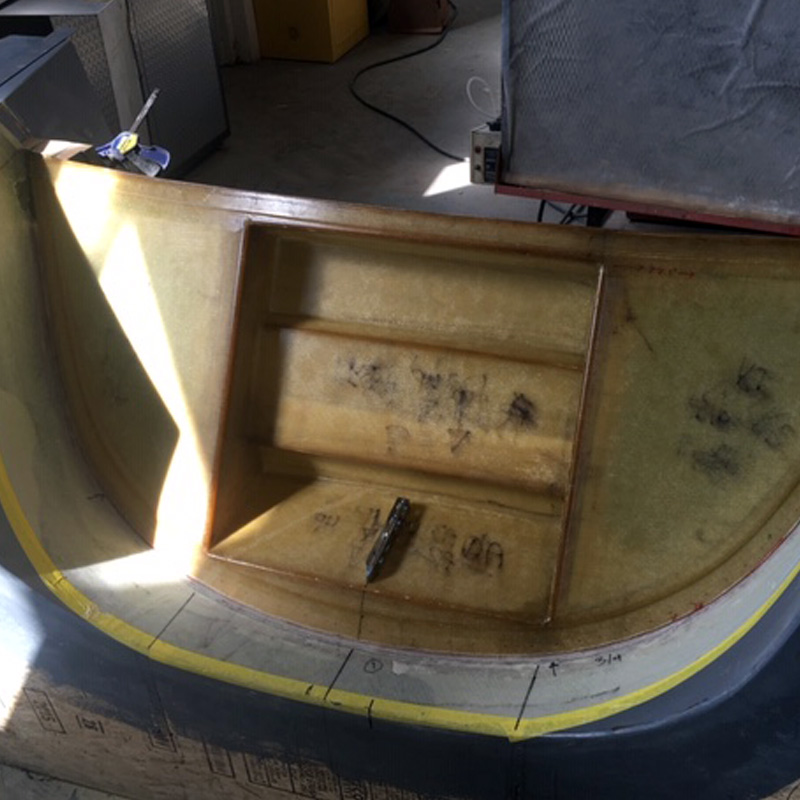
Transom bonded into hull using mold as a guide. Inside seam bonded with thickened epoxy fillet – peel ply over with +/-45 cut peel ply run into the fillet with a dry chip brush.
The Door and Step
Meanwhile the door/step part was infused (if I remember right) on some machined MDF molds and those were assembled. We left them un-bonded so the boatyard installing the part would be able to insert hinge hardware. This had a “shoe-box” style joint for the bonding of the outside face – which was curved to match the transom camber. The mold for the main part had a plant that went on top to form the recessed part of the joint – guess I forgot to take pictures of the lamination!
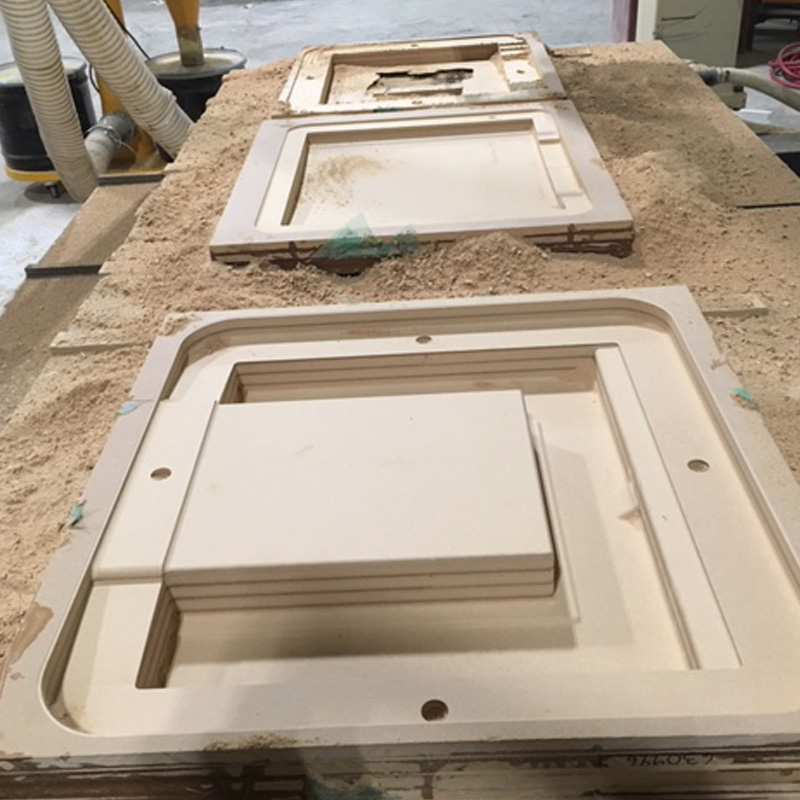
Mold for the step hatch – cavity close with rebate former on far end. 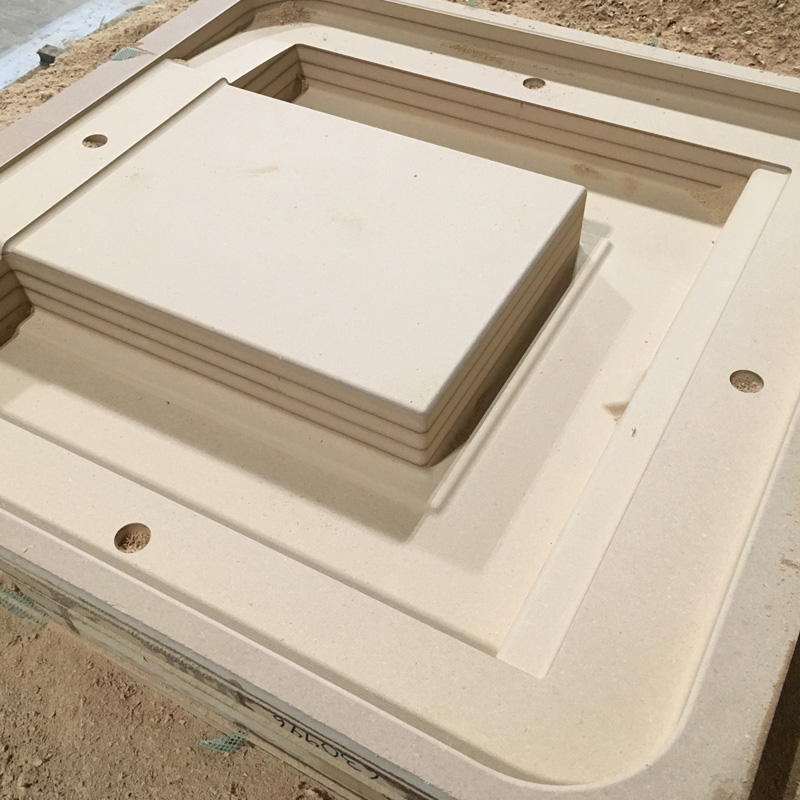
Alignment features for the curved rebate former. Molds were coated with epoxy and sprayed with primer. 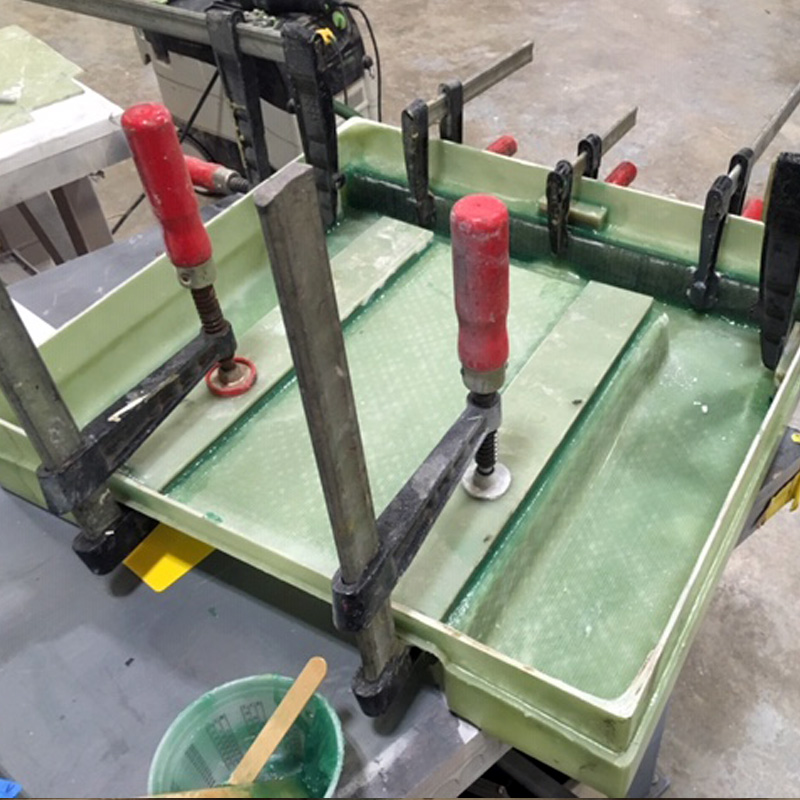
Bonding stiffeners in the step with Proset adhesive and very gentle clamp pressure. 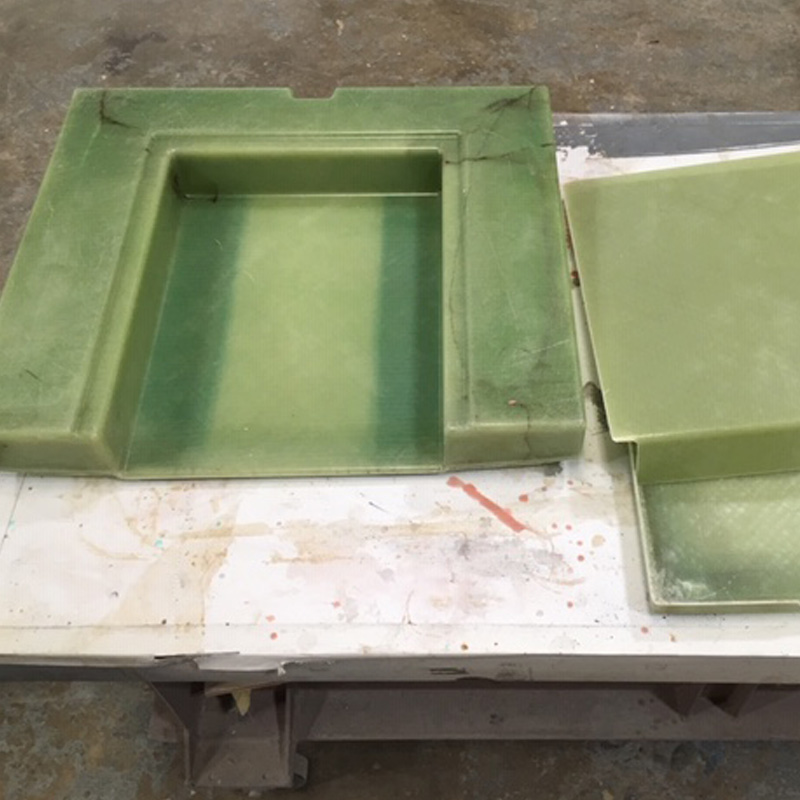
The pocket for the ladder. 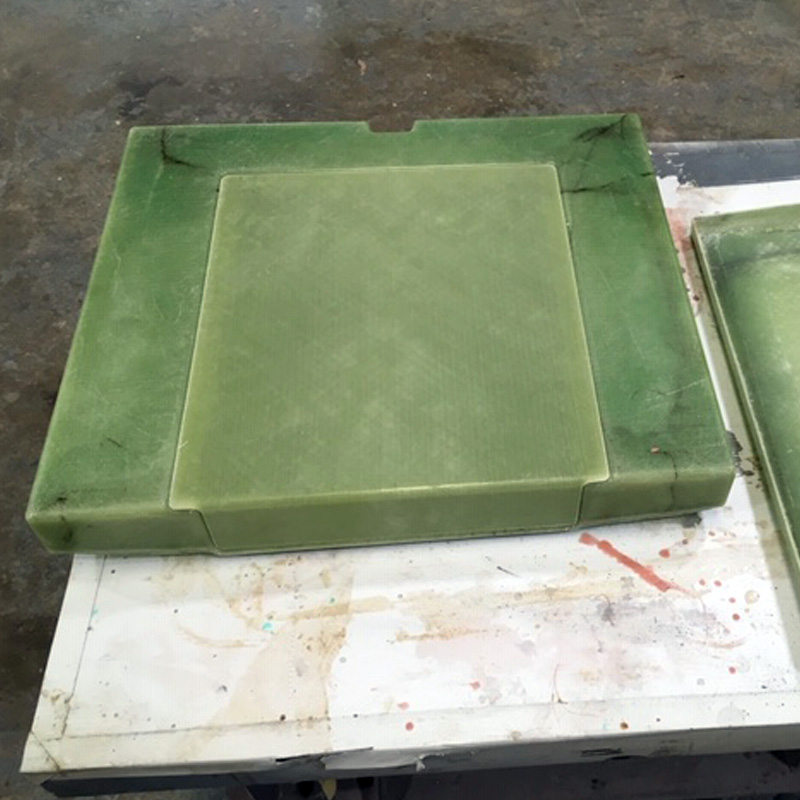
Cover for the ladder pocket. 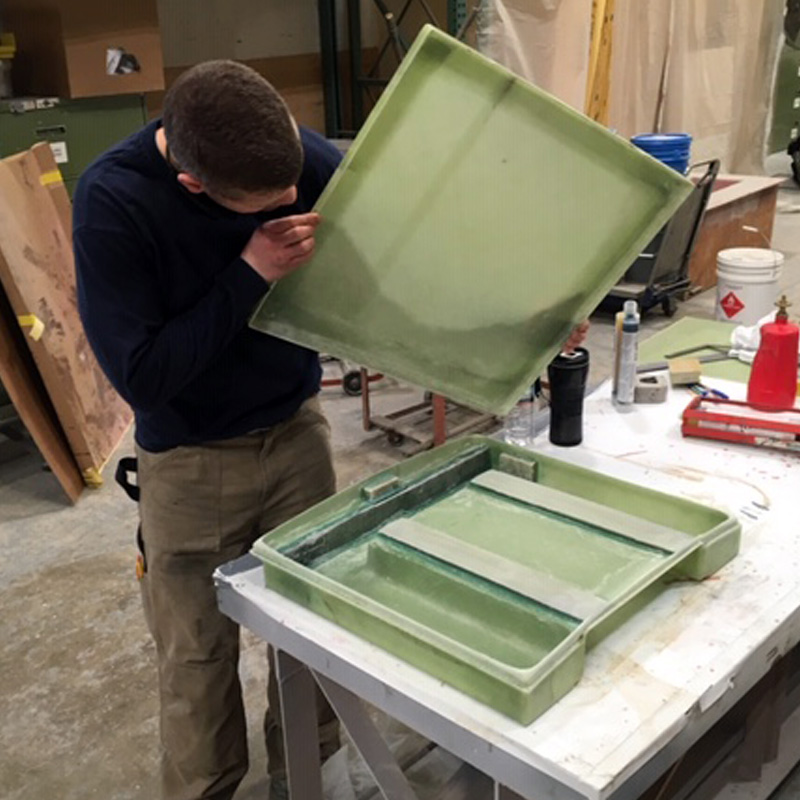
It goes like this!?
Bonding Laminate and Finishing
Now the whole thing was demolded and prepped for the tape that would tie the outside corner of the two pieces together. Other areas were laminated at this point too and the bag wrapped around and into almost the whole part. The whole thing got a coat of Awlgrip 545 primer before some Awlfair fairing compound around the outside edge. When the part was installed, the in-turned flange was bonded to the existing transom, and the boats hull laminate was ground back to accommodate a few layers of laminate bridging the joint – we left a rebate in the part for this material. Then it was all faired up and painted!
Demolded, prepping for tape on the outside corners. 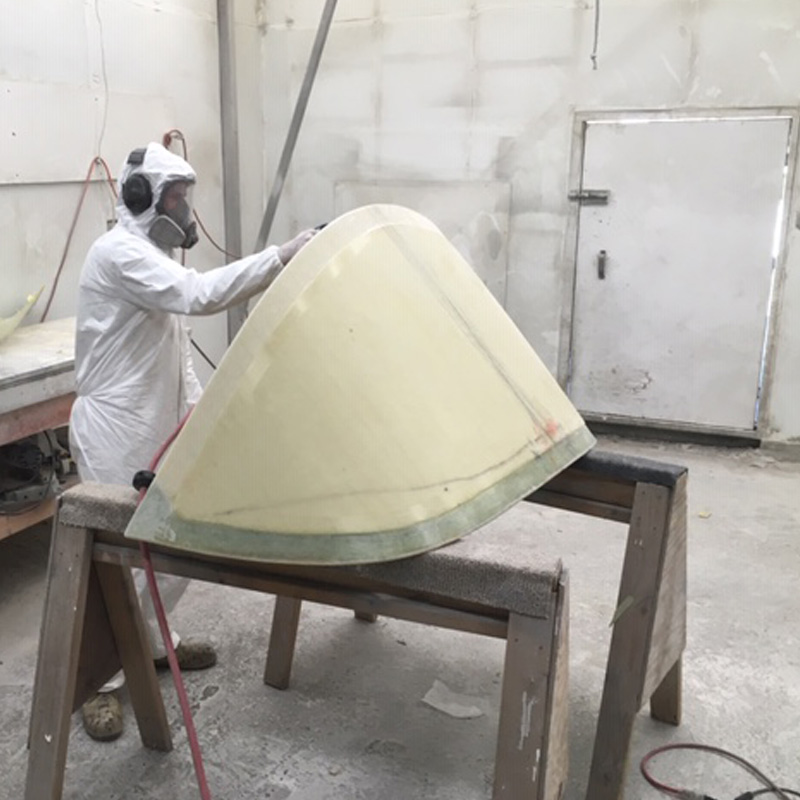
Outside joint taped first – but no pictures of that. 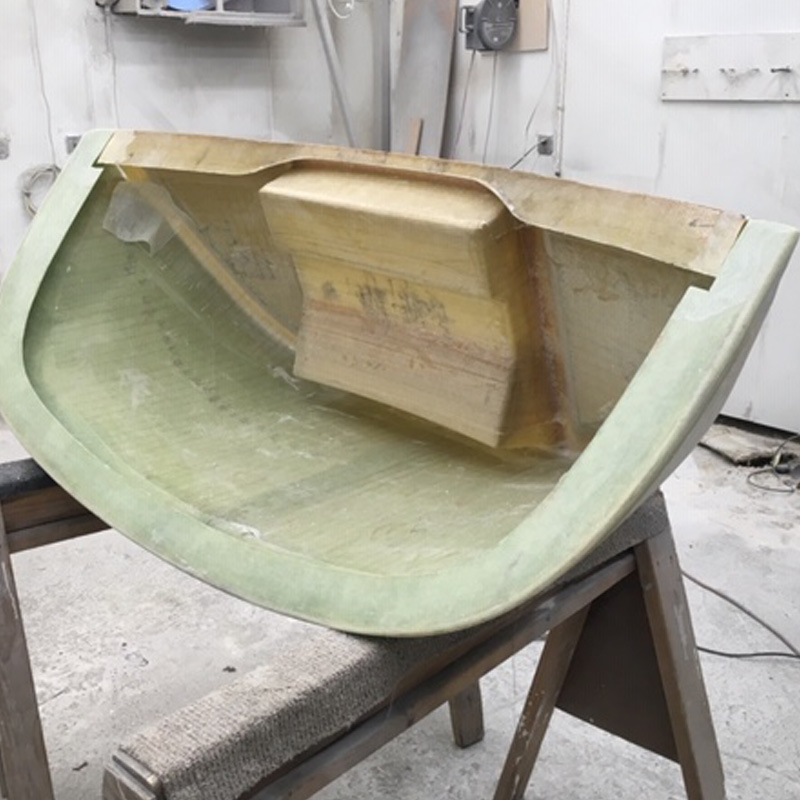
Laminating the inside tapes. Two layers of +/-45 degree 12oz (400g) biaxial. 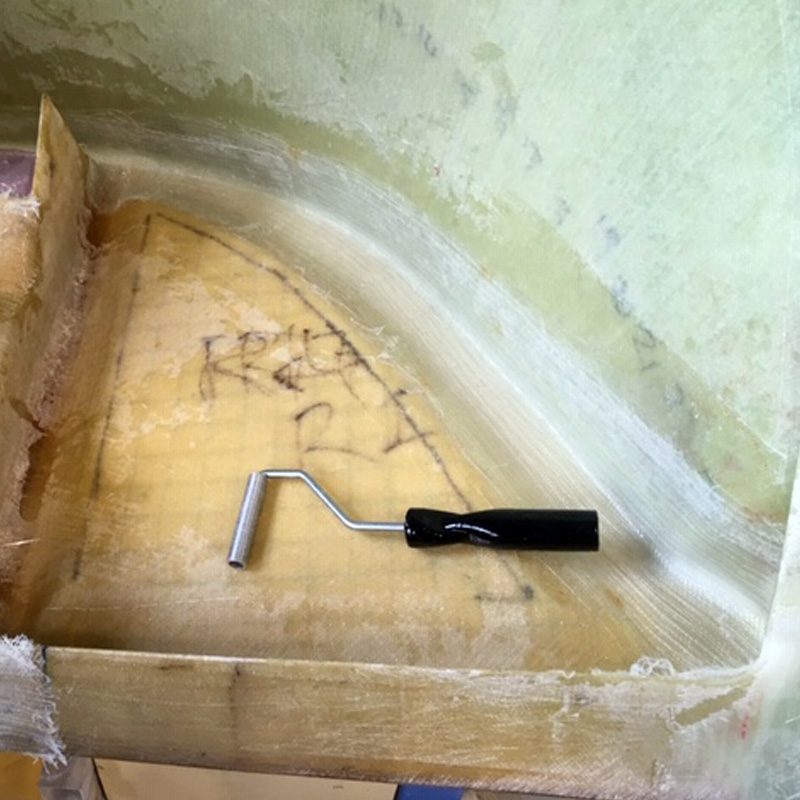
Several layers of 12oz biaxial glass. 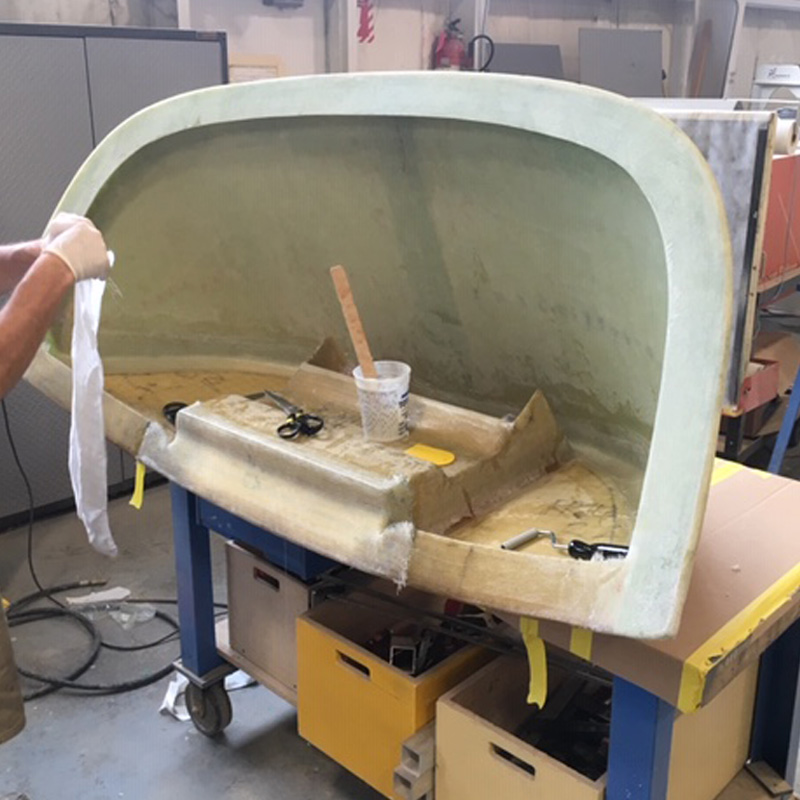
… and peel ply, perforated film and breather. 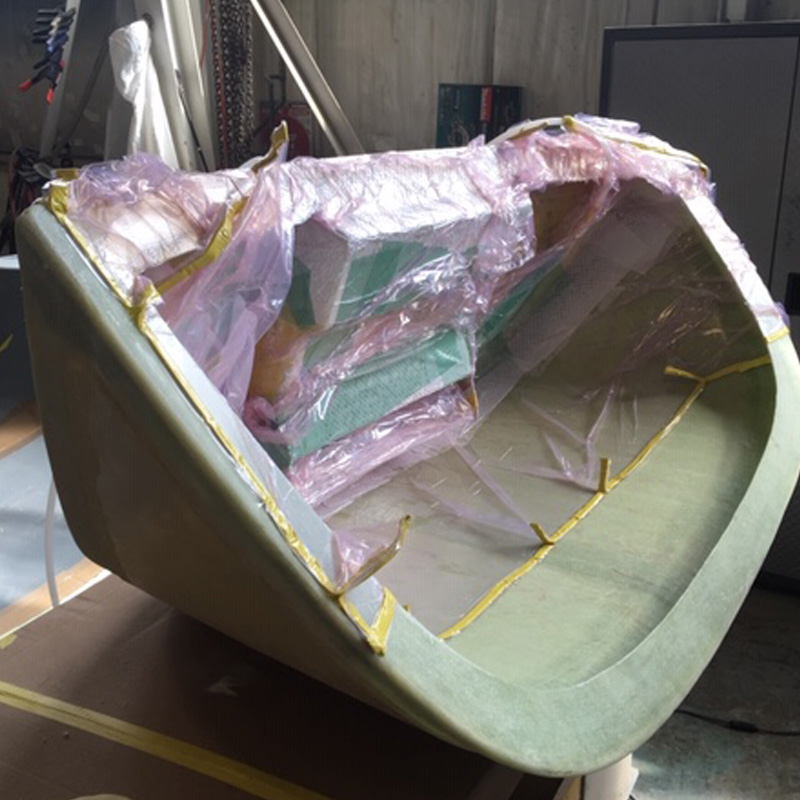
Bagged. Some green infusion mesh ties together any areas where resin by saturate the breather. 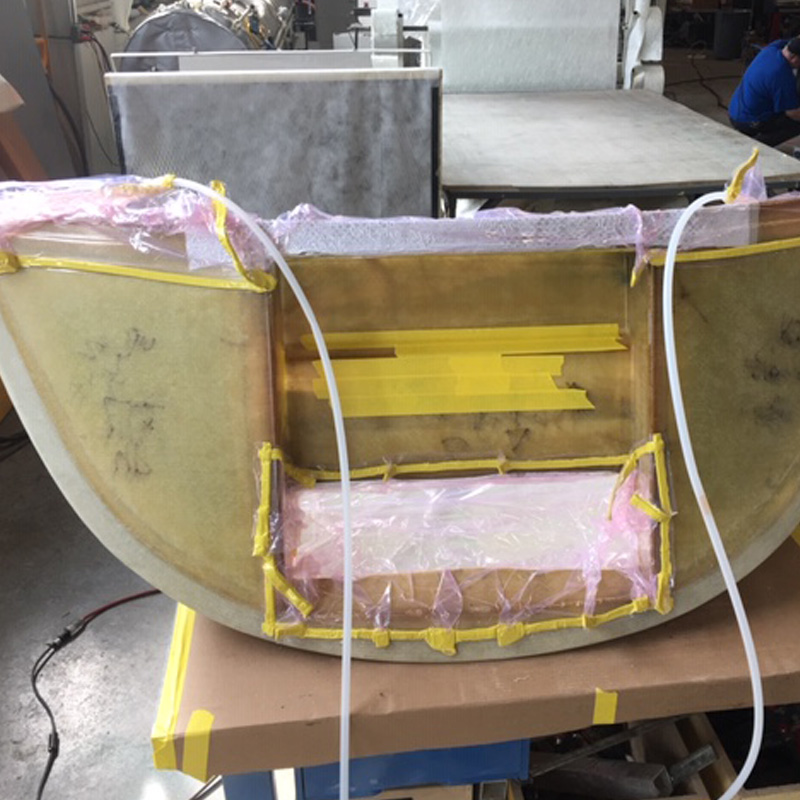
And a little bag over the back where there were holes. 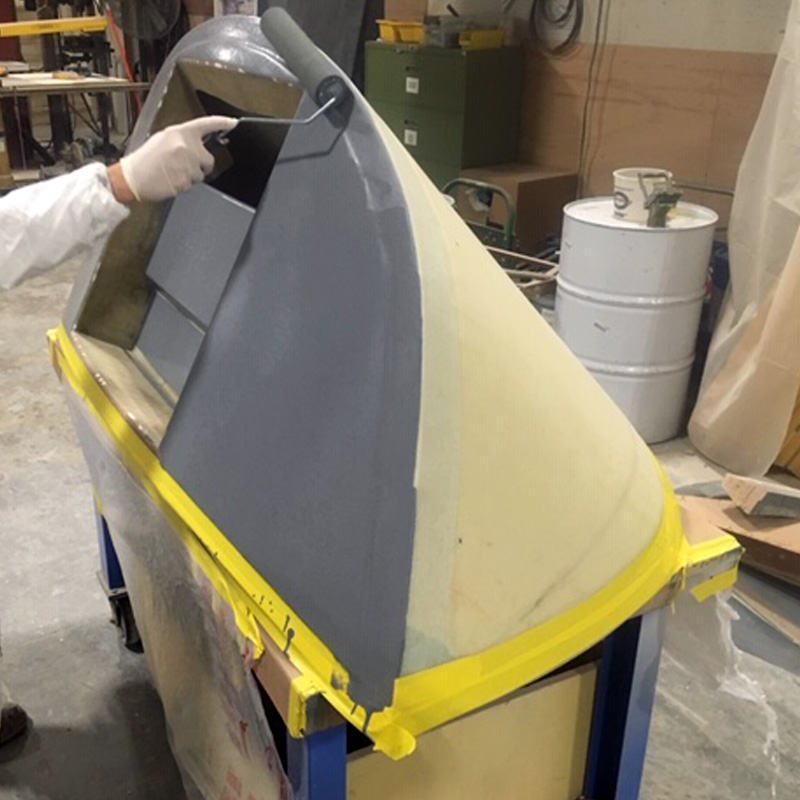
Primer time.
It all came out nicely and the process didn’t have any major setbacks or problems. This was small enough to be completed almost entirely by one person – and he totally crushed it! The design was well detailed and the 3D models made machining parts very easy. I’d probably want to do it the same way again – there was some machining but not as much as there could have been – and the strip planked mold was perfect for a simple shape like this.