This is a picture gallery of a bunch of sailing yacht rudders built over the years for different kinds of vessels – and with designs from different engineering and design firms. Generally these are very nice but not crazy high-end racing boat (America’s Cup, TP52, etc.) level build techniques. More expensive rudders would use composite tooling and more sophisticated layup and in-process machining – and fewer big glops of adhesive! The goals here were strong, safe – but also light – rudders at a reasonable price. Most are one or two-offs – so tooling had to be kept inexpensive – so lots of high quality MDF.
A few different stock construction methods are shown, but the overall process is pretty consistent. First the stock is built, then bearing build-ups and finally bonding it into a blade-mold with skins and cores already in-place. Once the rudder is one-piece, the nose is usually laminated over with some material and the whole thing is faired and painted. Female molding blades saves lots of work and ensures a as-designed shape. It is really only an option if you have access to CNC machining equipment – or are an amazing wood carver!
- More on pre-preg laminating here: LAMINATING WITH PRE-PREGS
- More on MDF molds here: HOW TO USE MDF FOR COMPOSITES TOOLING
Building the Stock and Bearing Build-ups
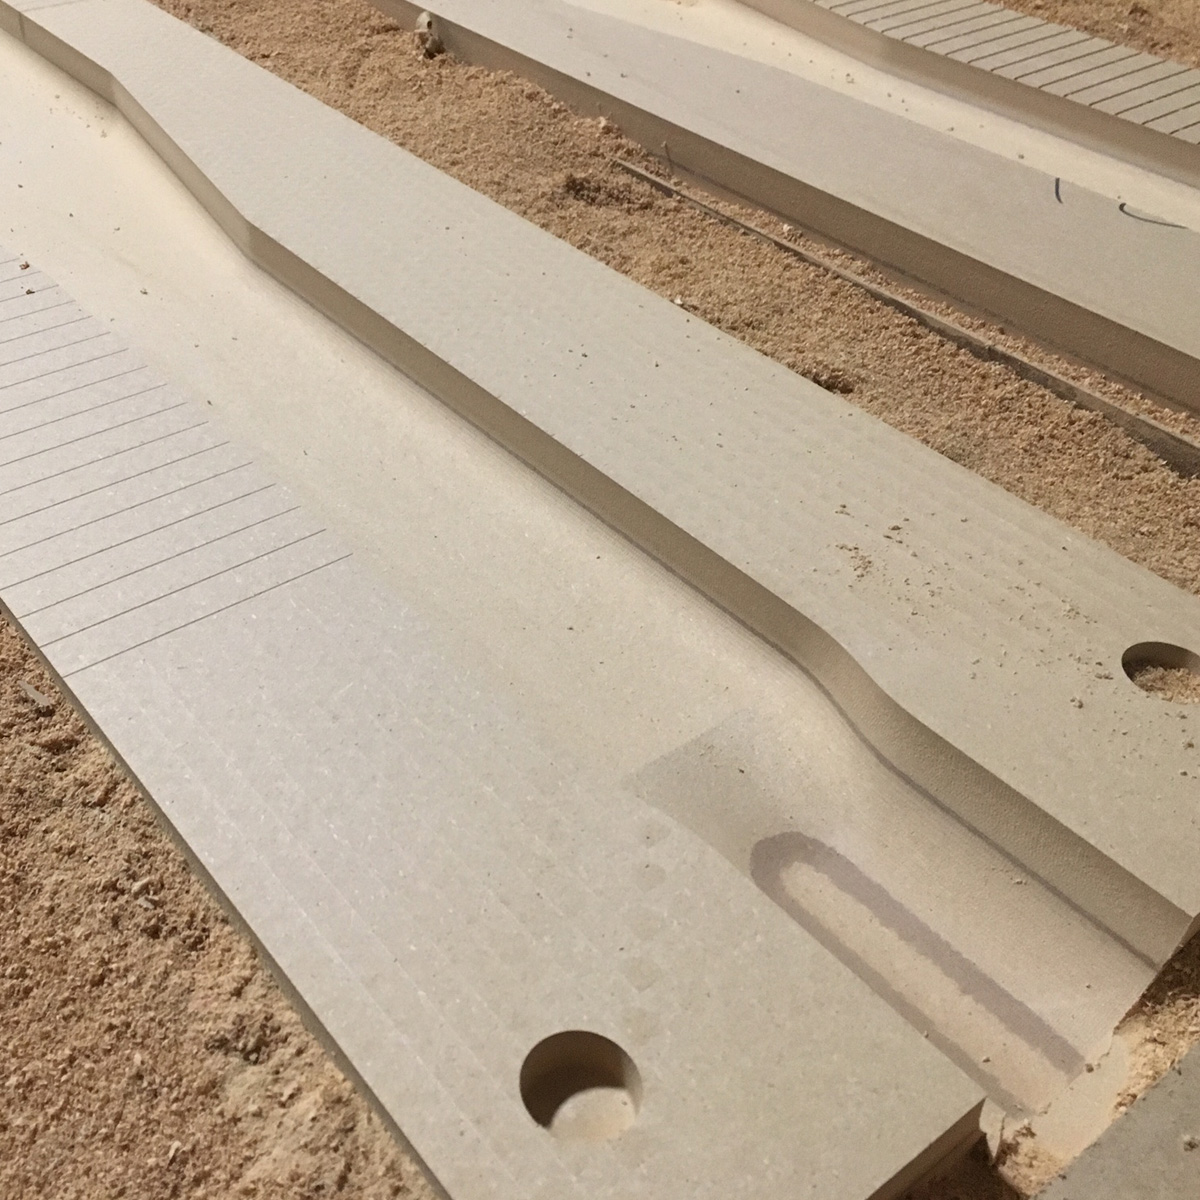
Machined MDF stock mold with markings for laminate drop-offs. 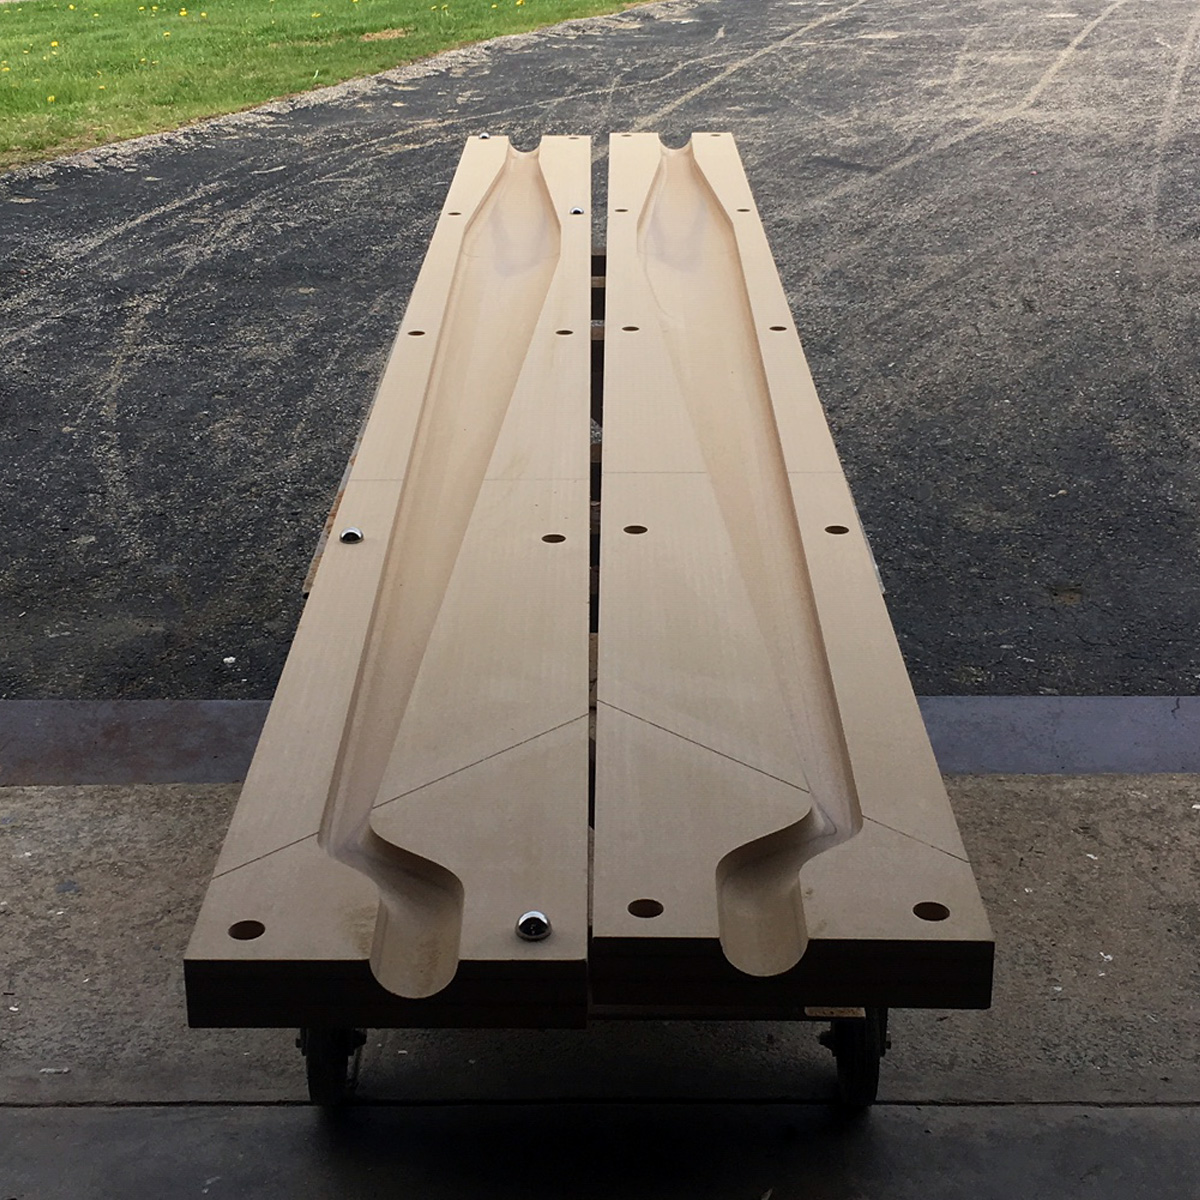
Stock mold cleaned up showing alignment ball sockets and trim scribes 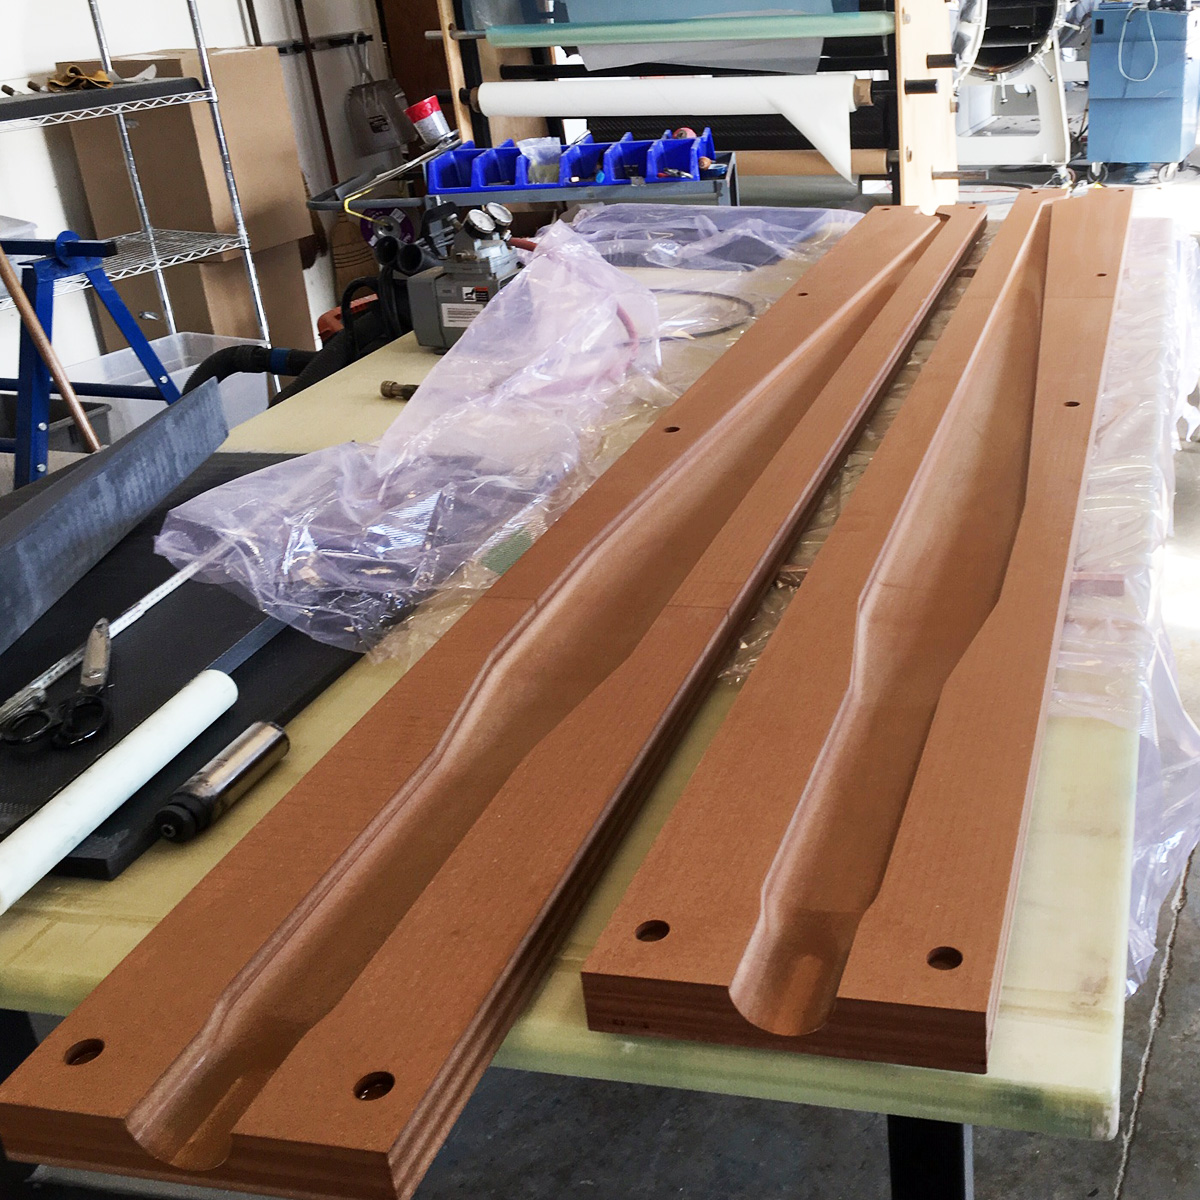
Molds coated with epoxy and sanded before applying adhesive teflon release film. 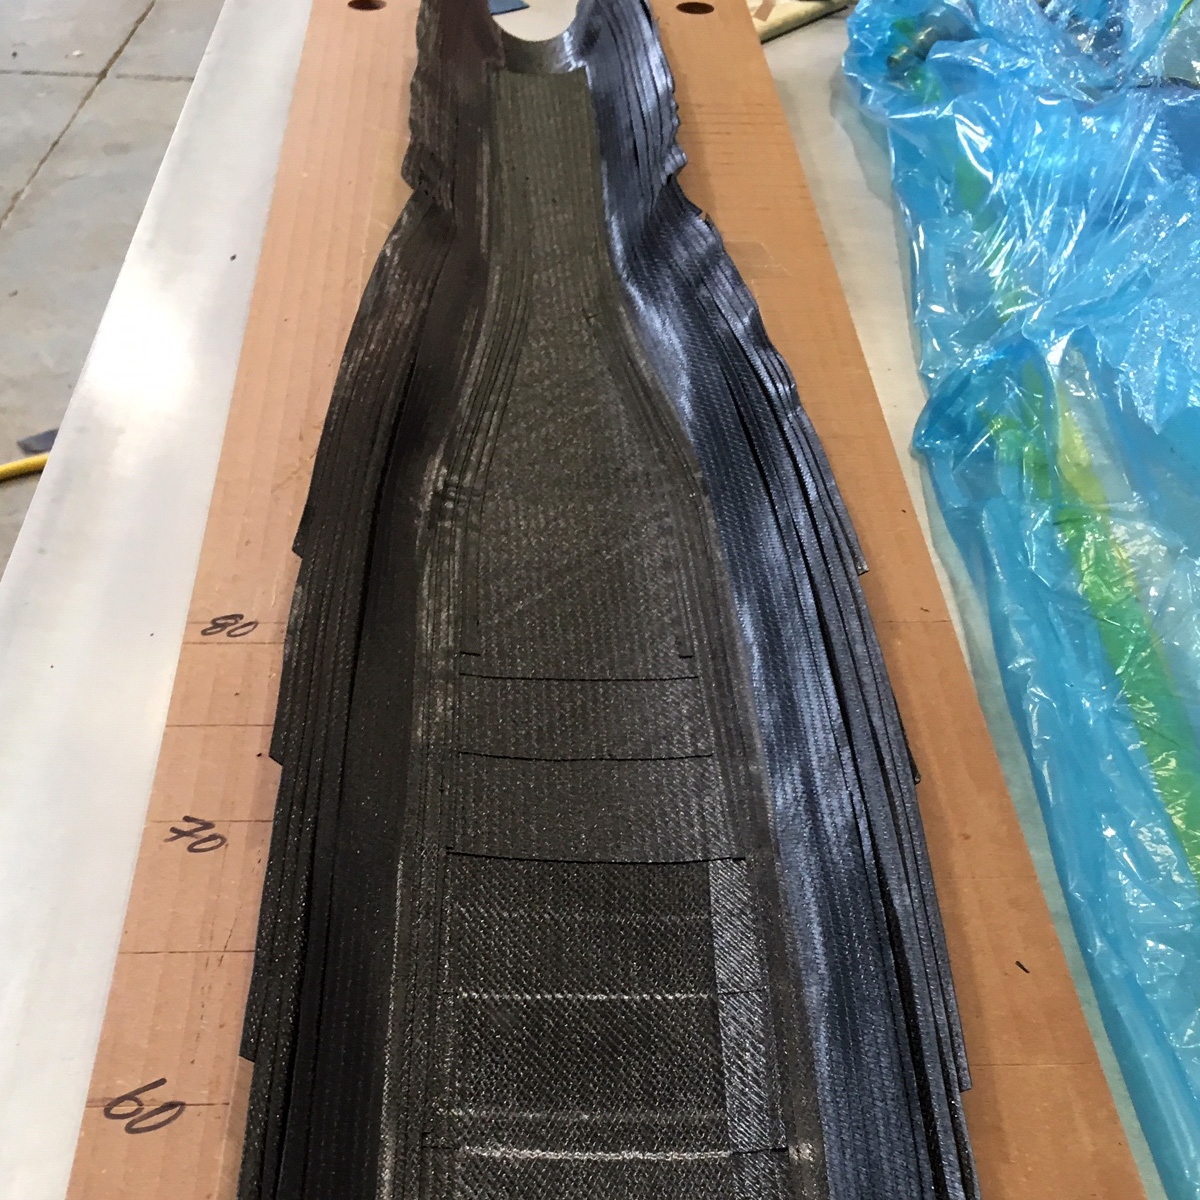
Layup of structural plies (30+ unidirectional and off-axis) and application of “connection laminate” to tie halves of stock together. 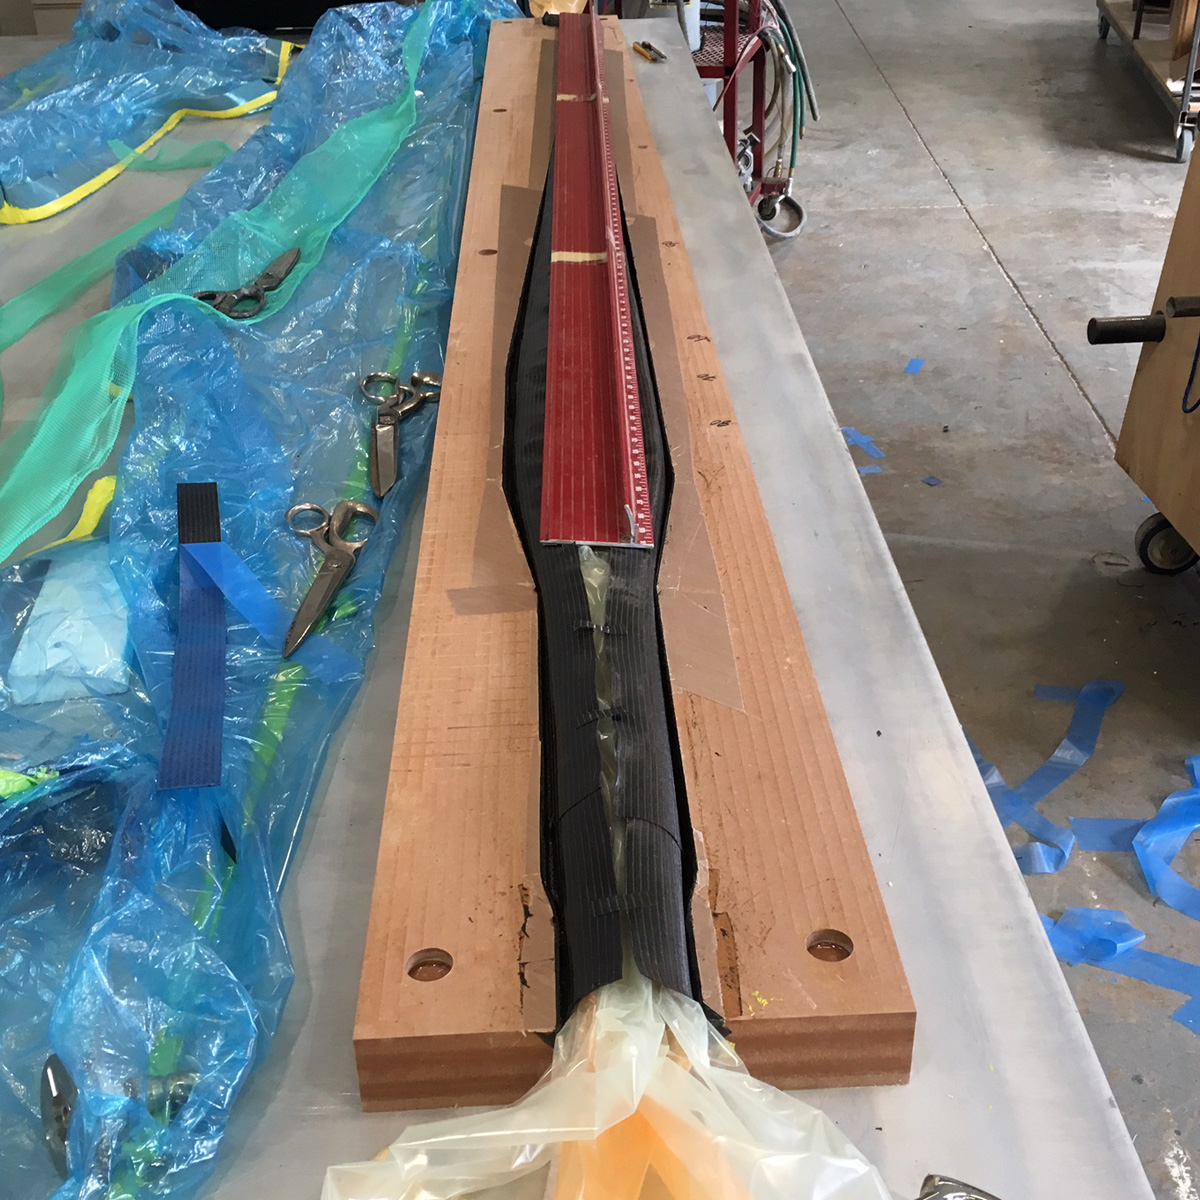
Connection laminate folded over internal vacuum bag (and release film) ready for other half of stock. 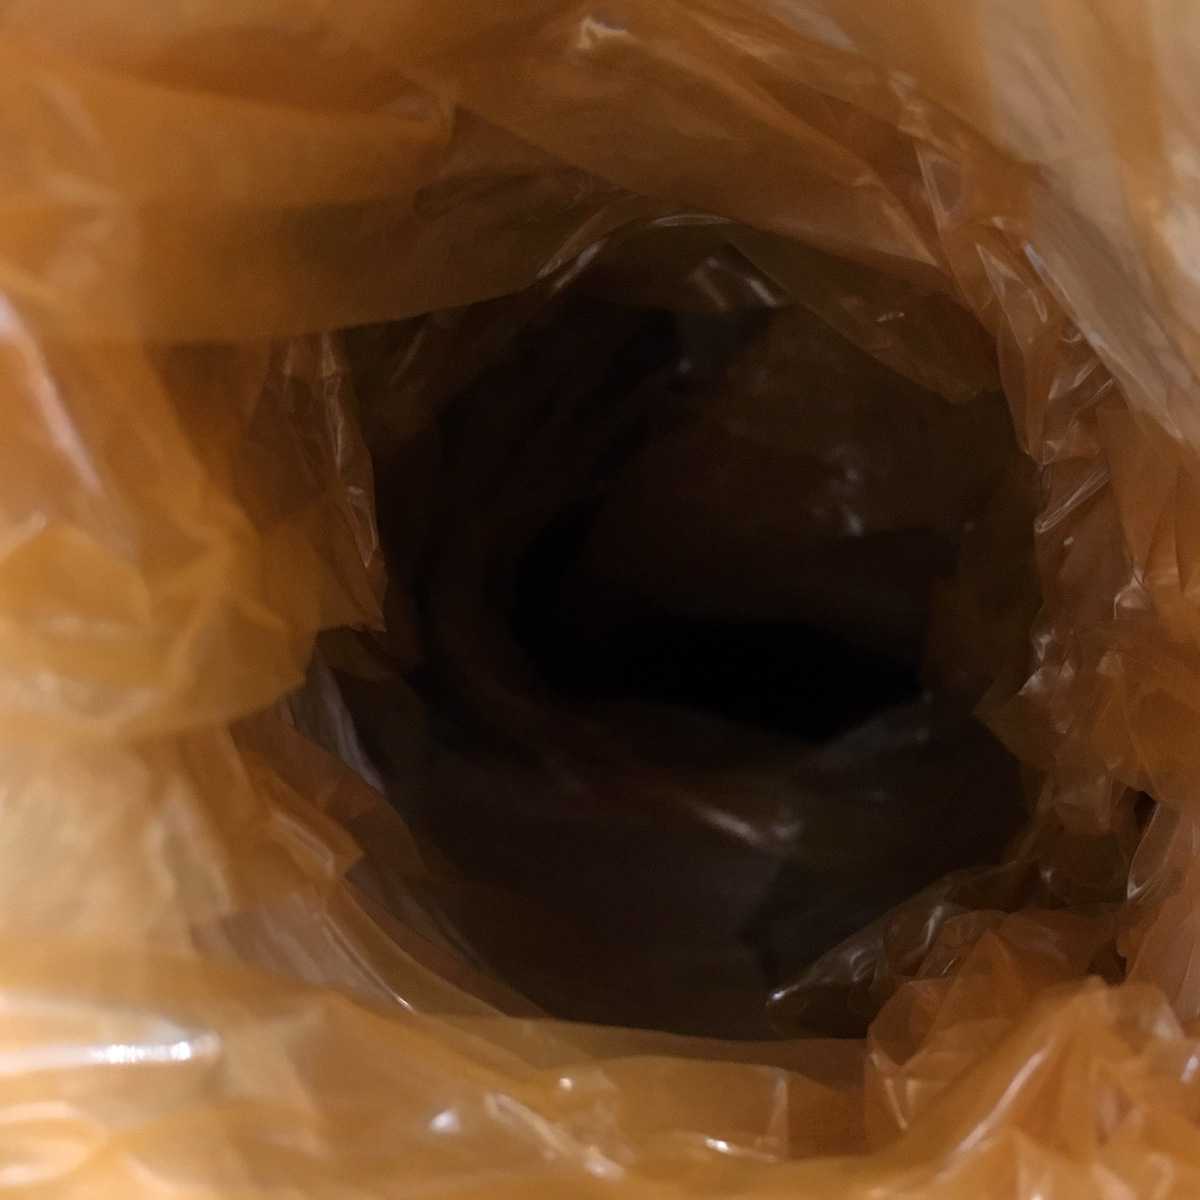
Internal vacuum bag, a second bag covers the outside and they are connected like a very long doughnut. 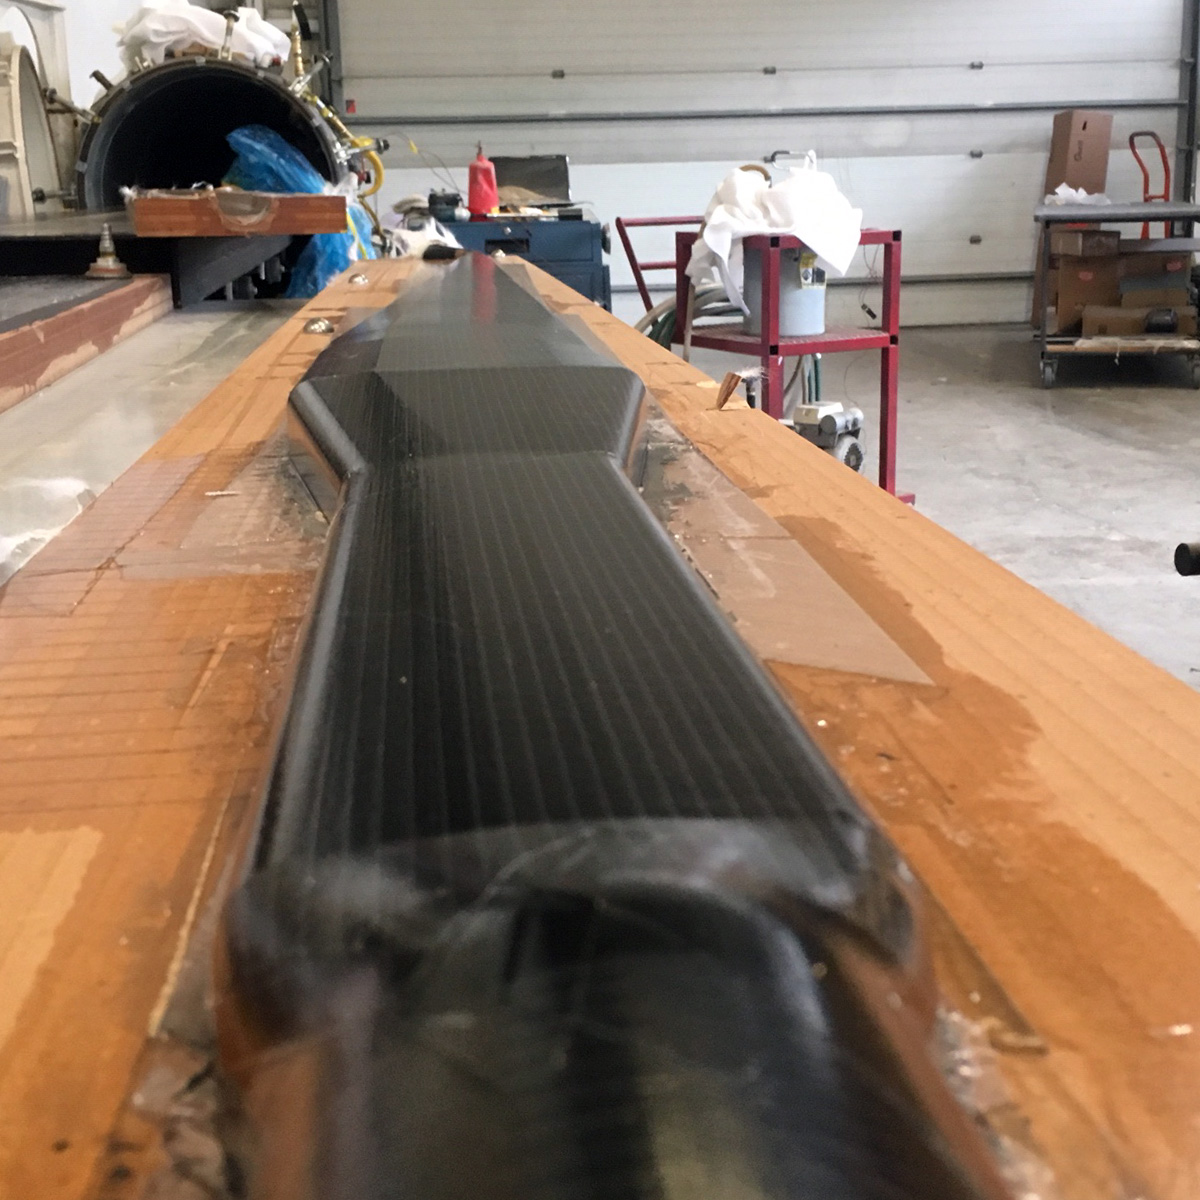
Fresh out of the autoclave and a 50psi / 95C cure. Initial stock molding will have more laminate applied on the front and back to connect the halves. 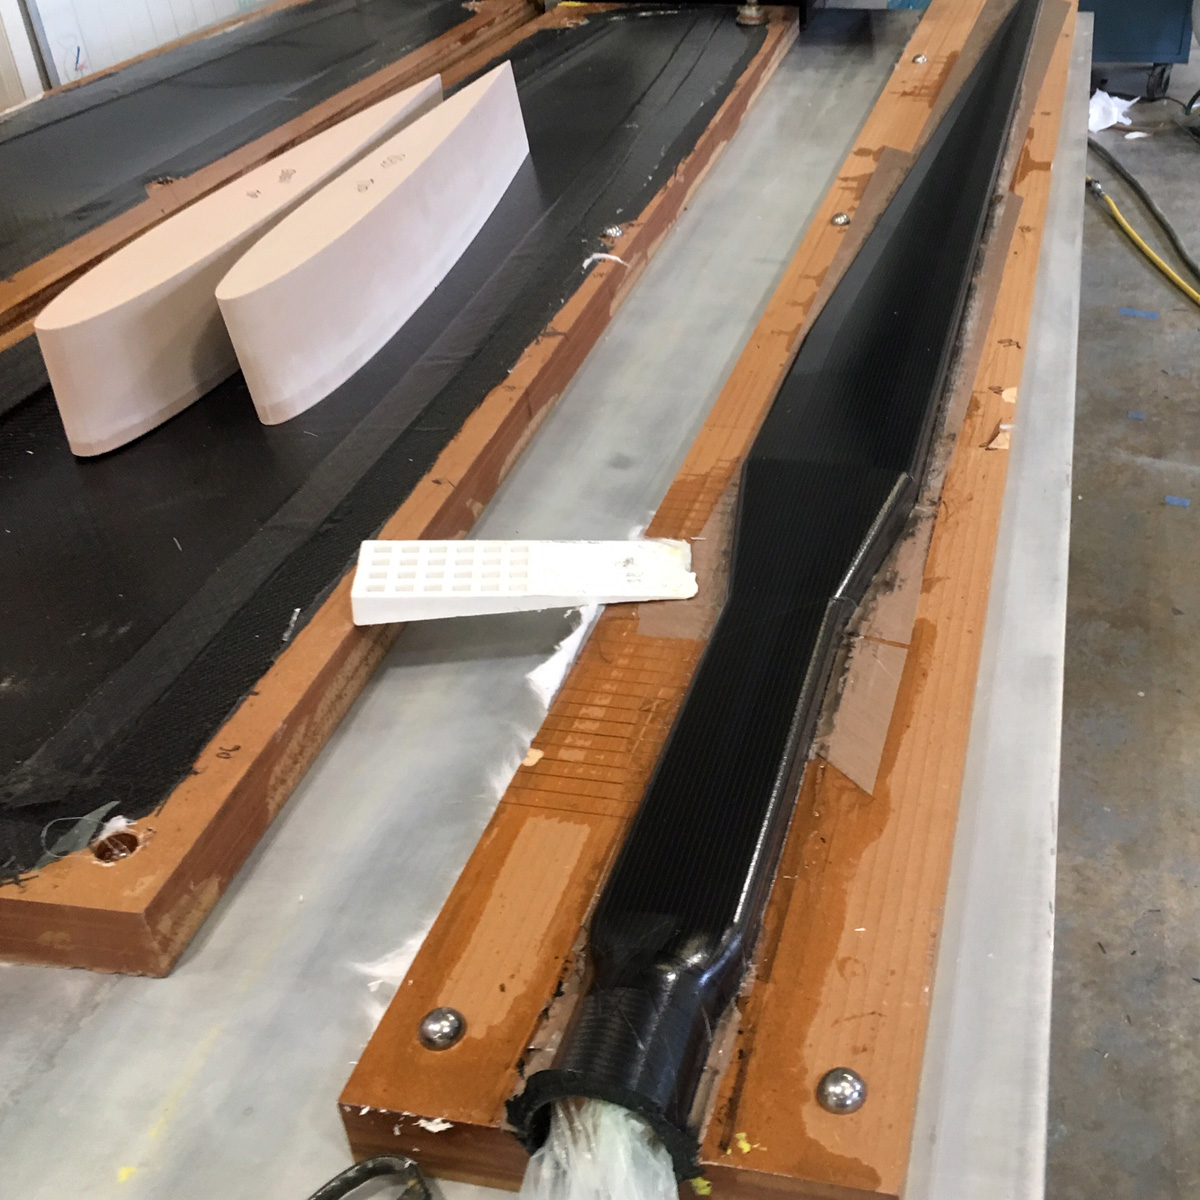
Note beveled front and back to receive extra +/- 45 degree connection laminate on the outside. 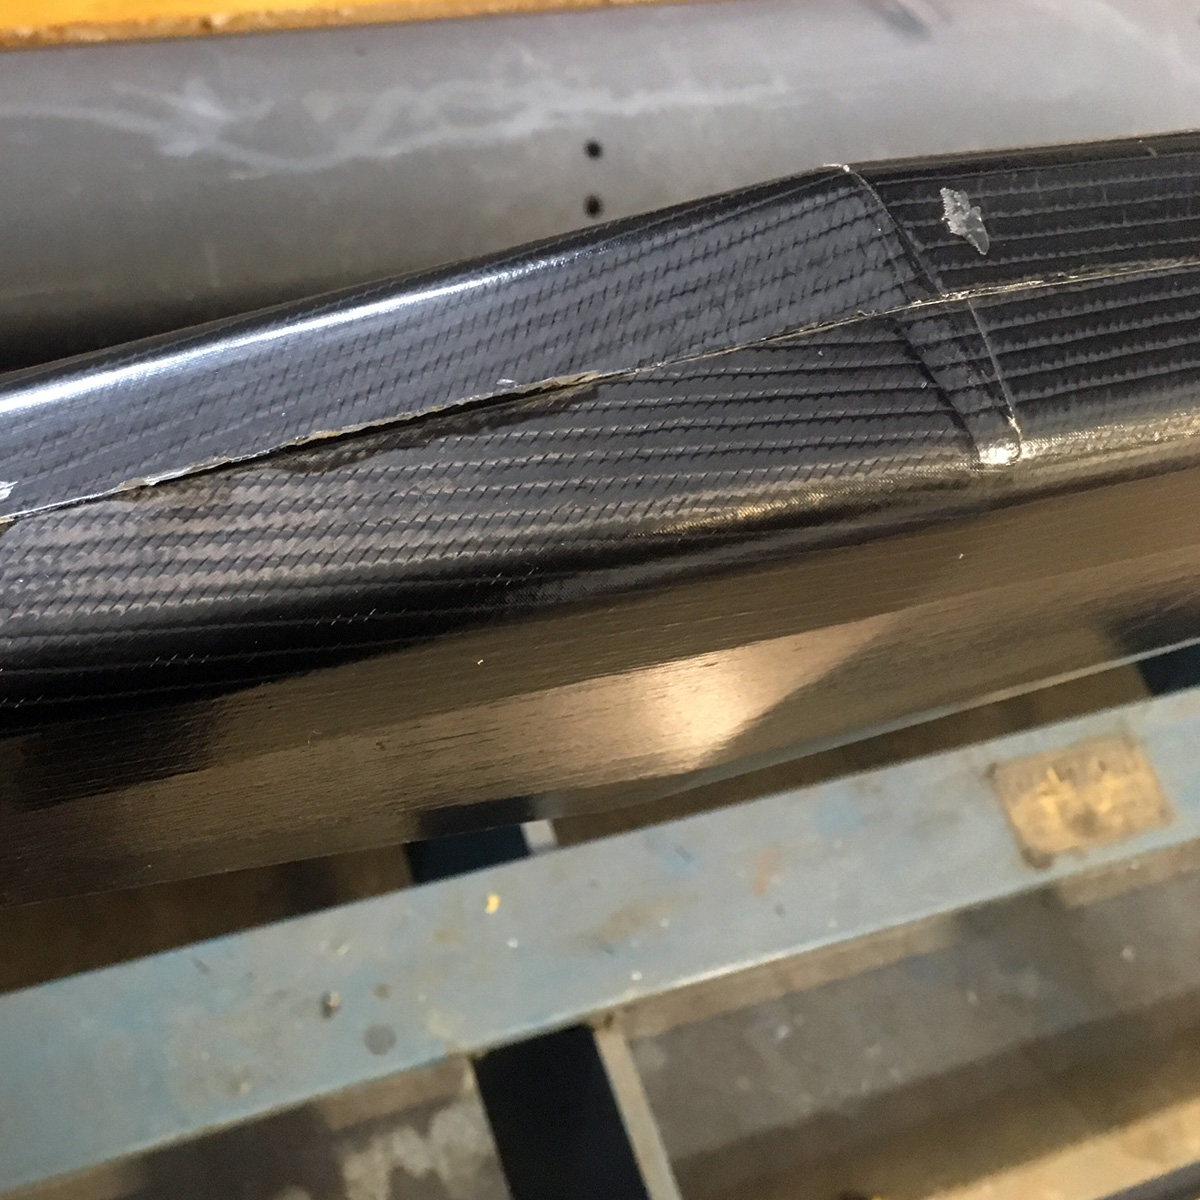
Preparing to apply it here after mechanical abrasion. 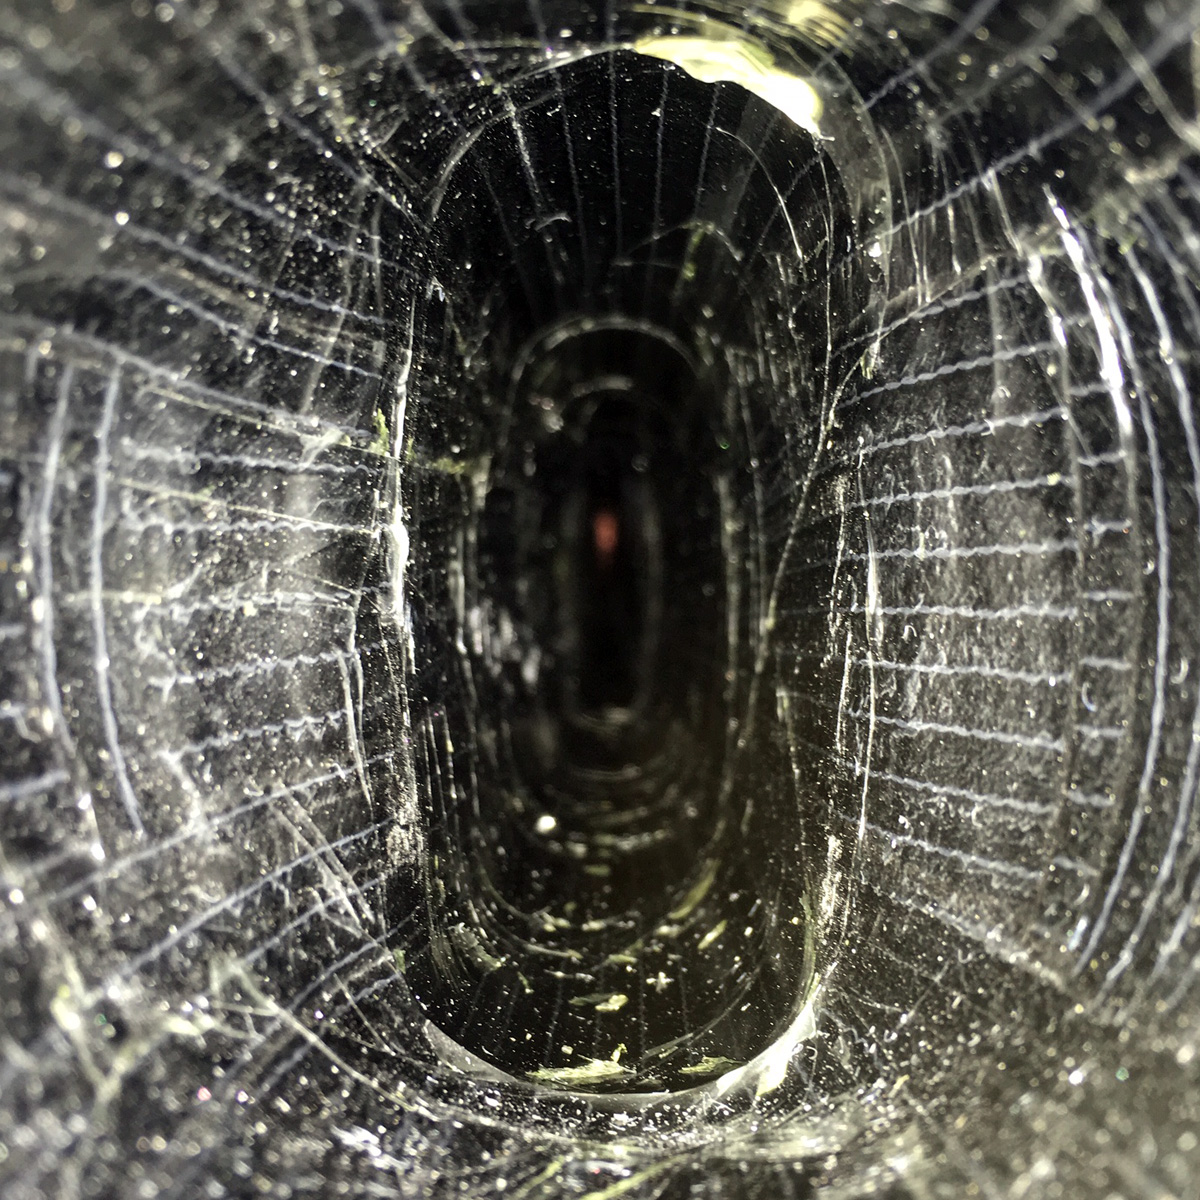
View inside cured stock showing internal connection laminate. 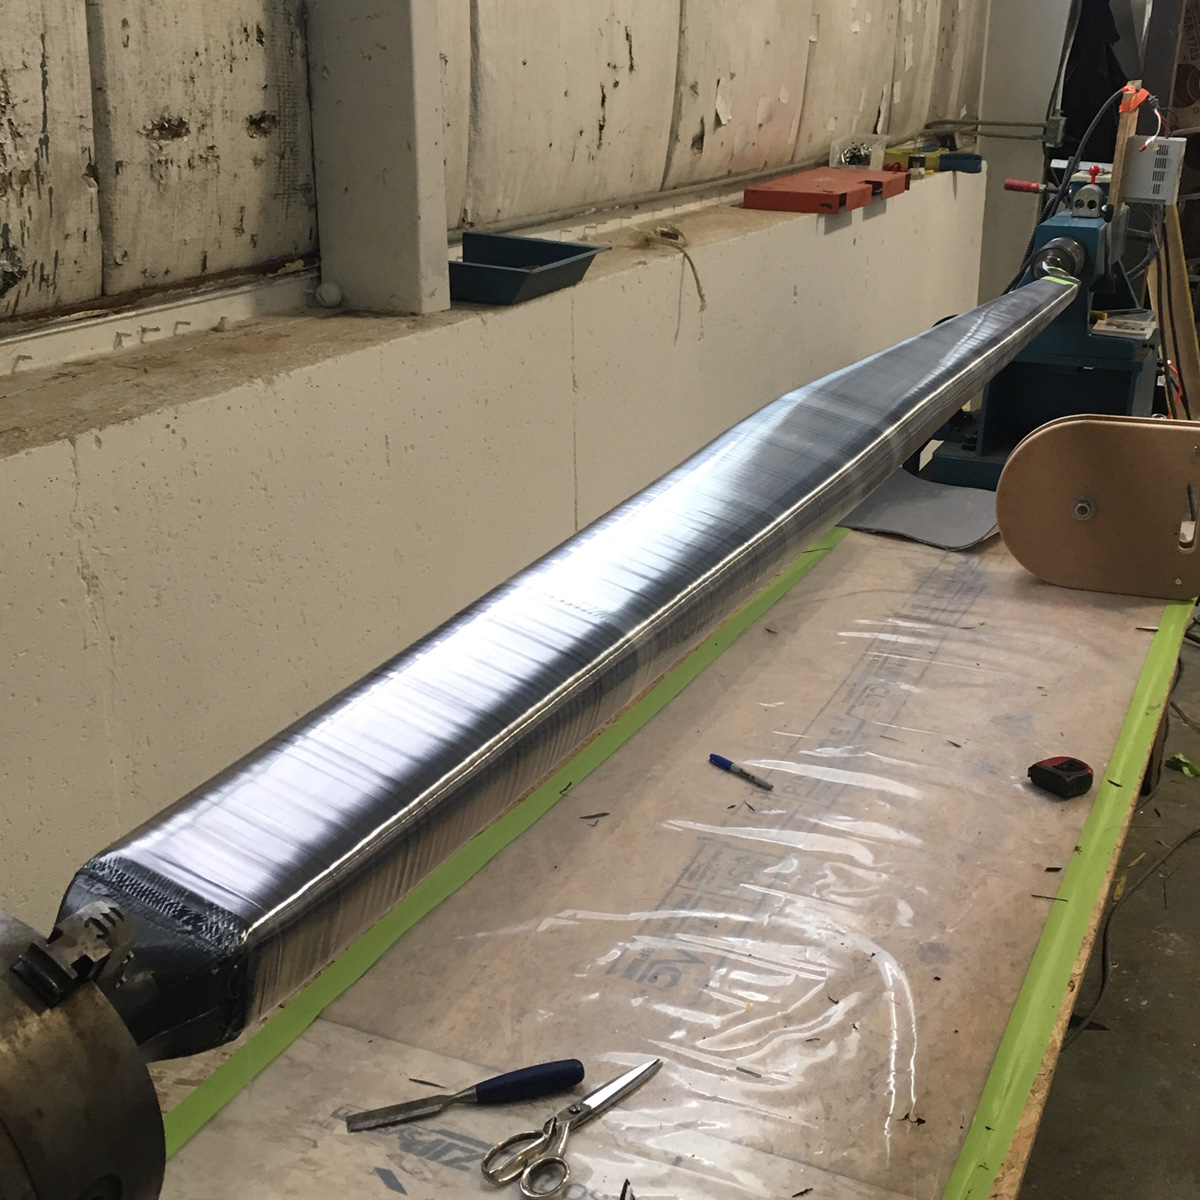
External laminate applied and “pull-tape” wrapped before bagging and curing in autoclave. 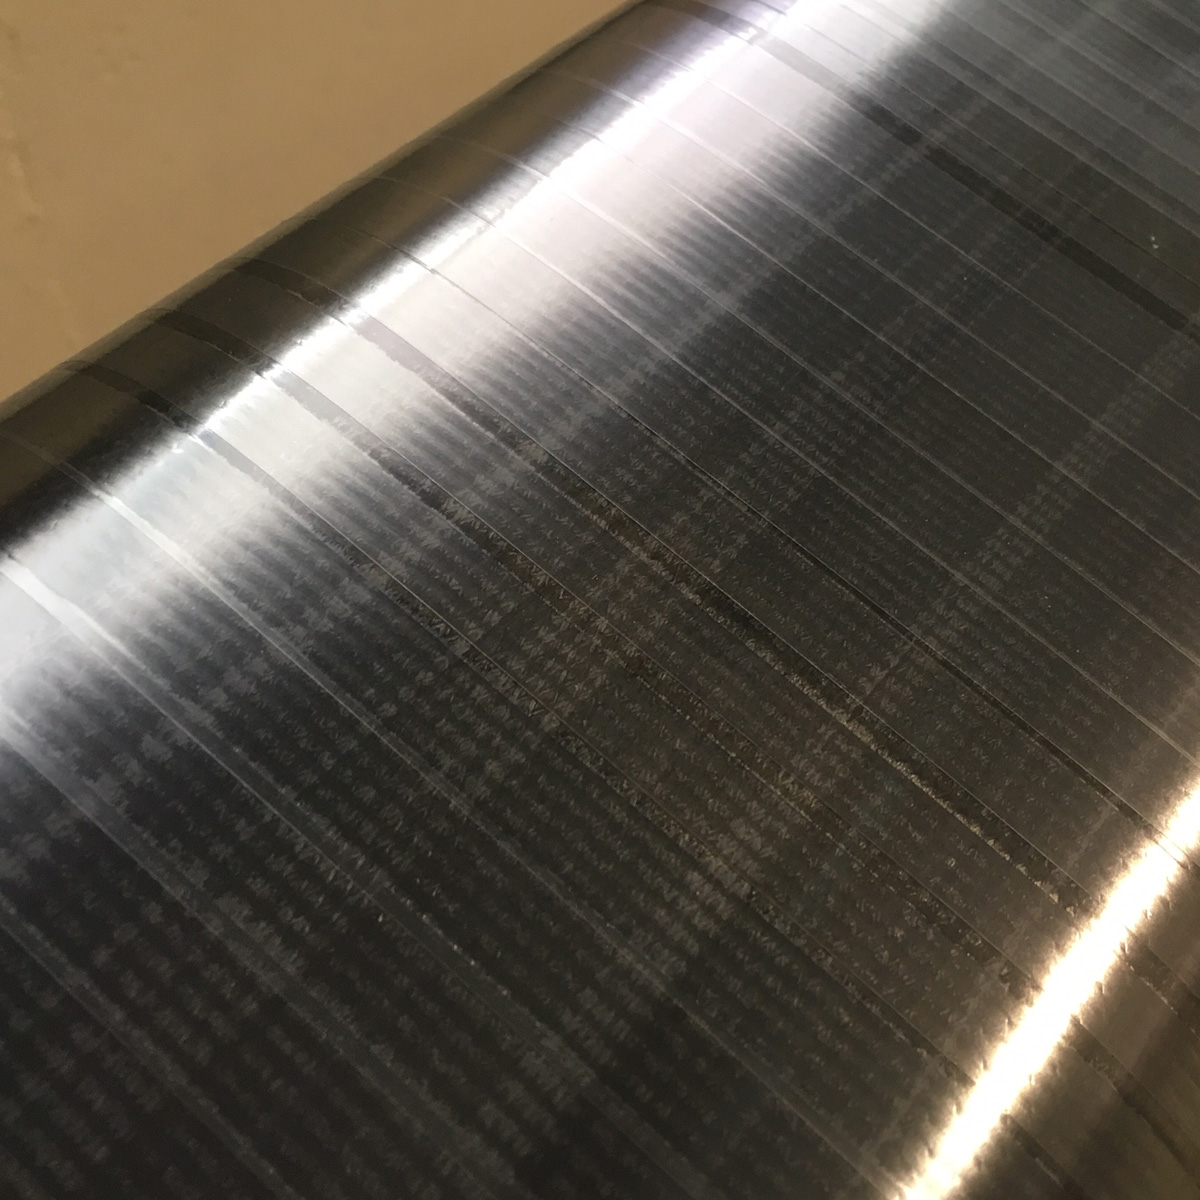
Close-up of tape-wrapped stock. Depending on the engineering this is a lot or a little! 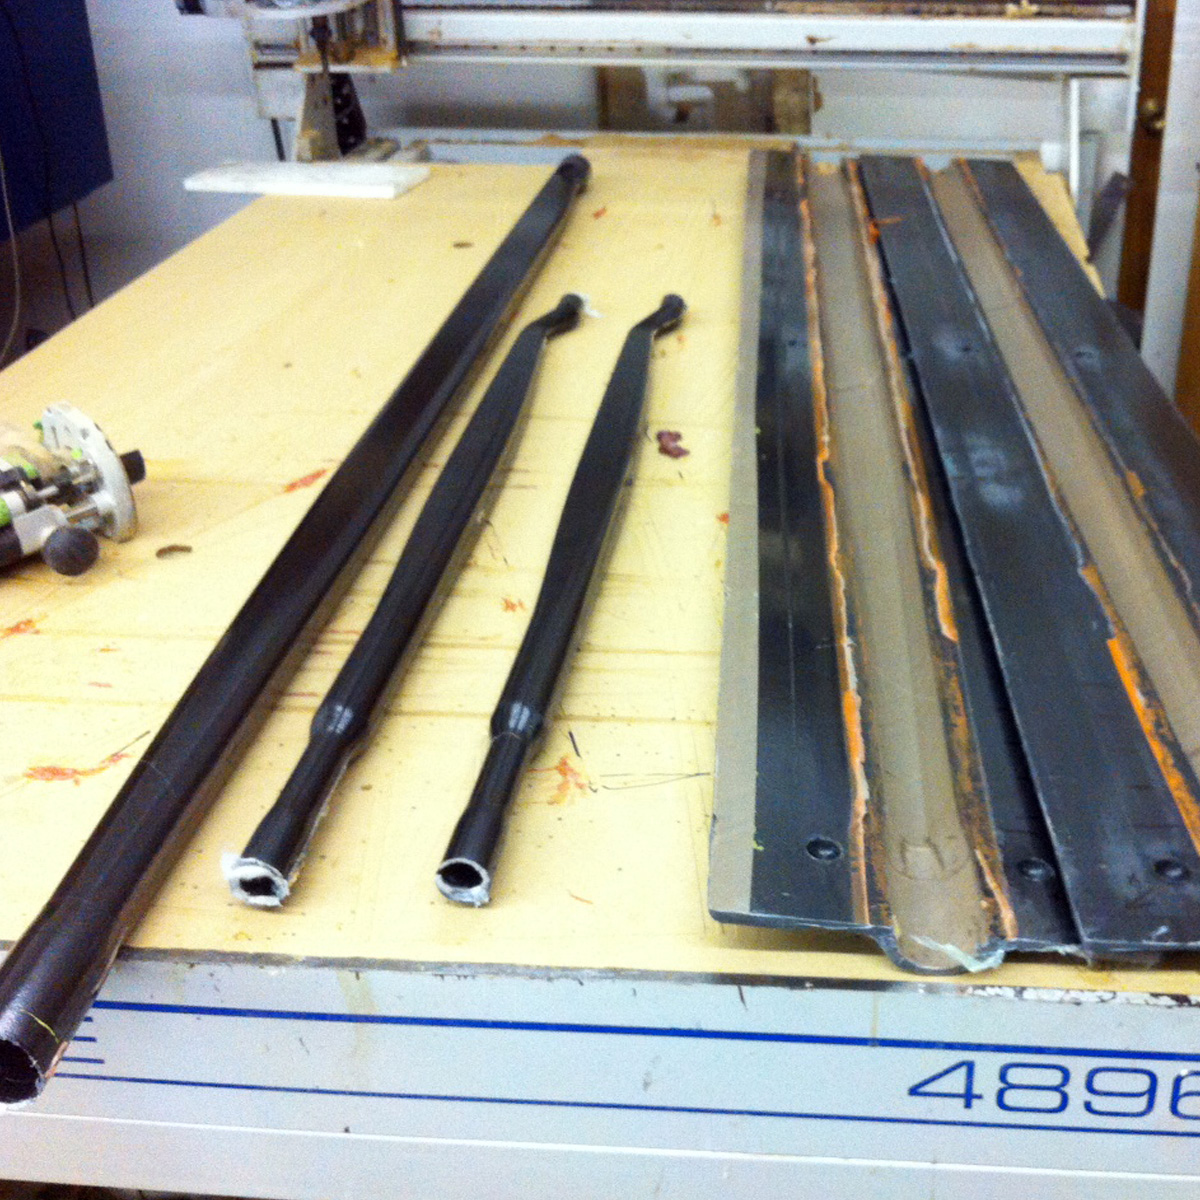
One bigger and two smaller stocks demolded. The jog on the end provides a center for turning the bearing build-ups. 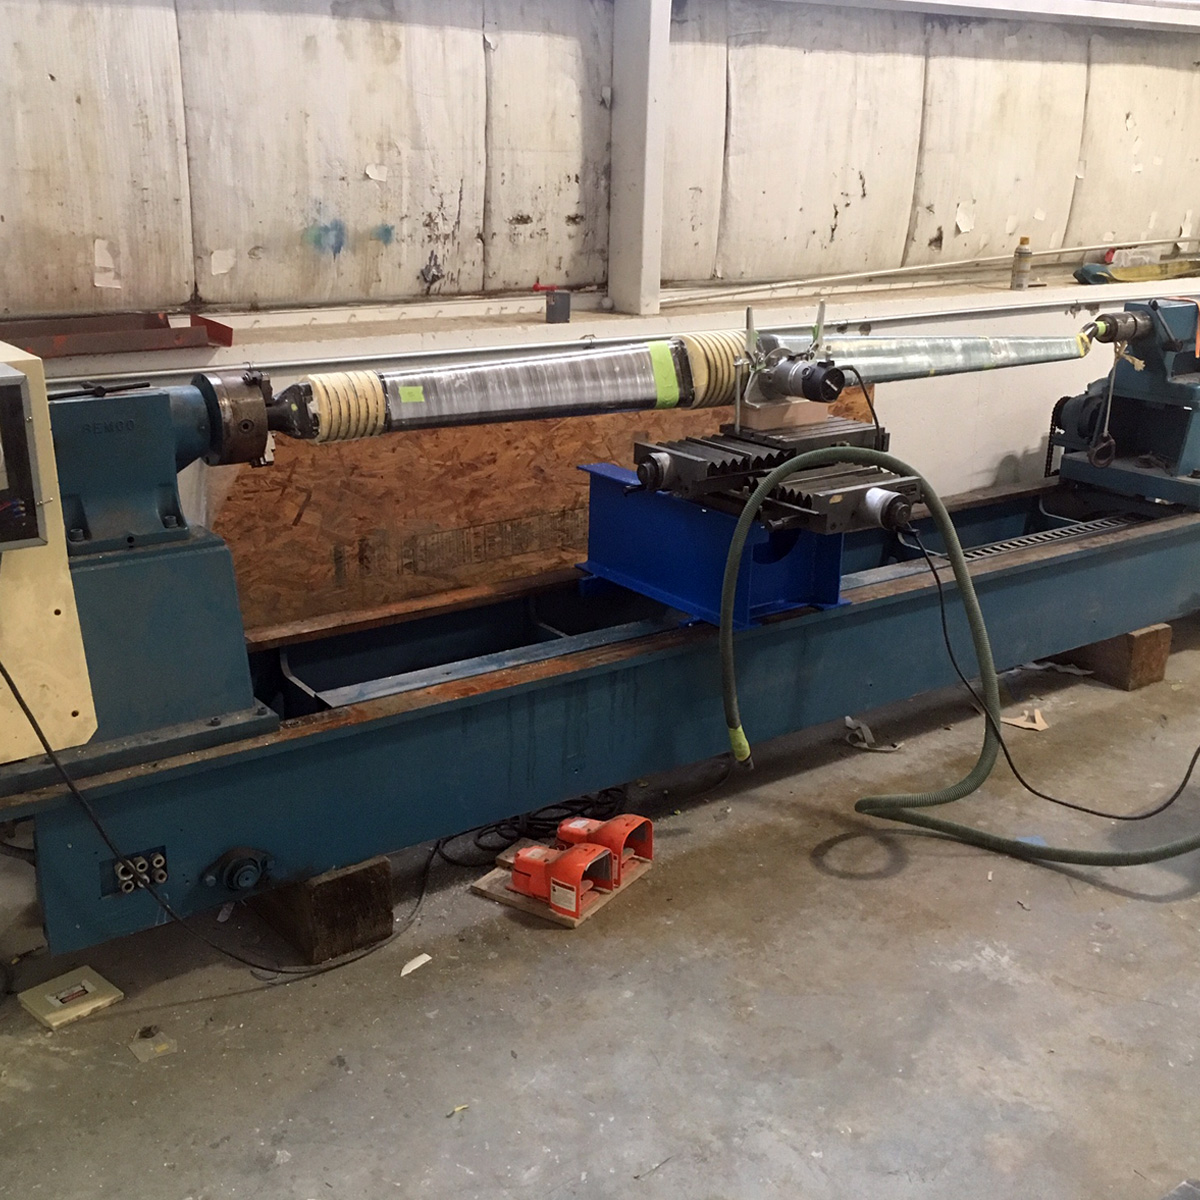
Foam and carbon stacks glued on for bearing build-ups and then turned before adding a wrap of glass. 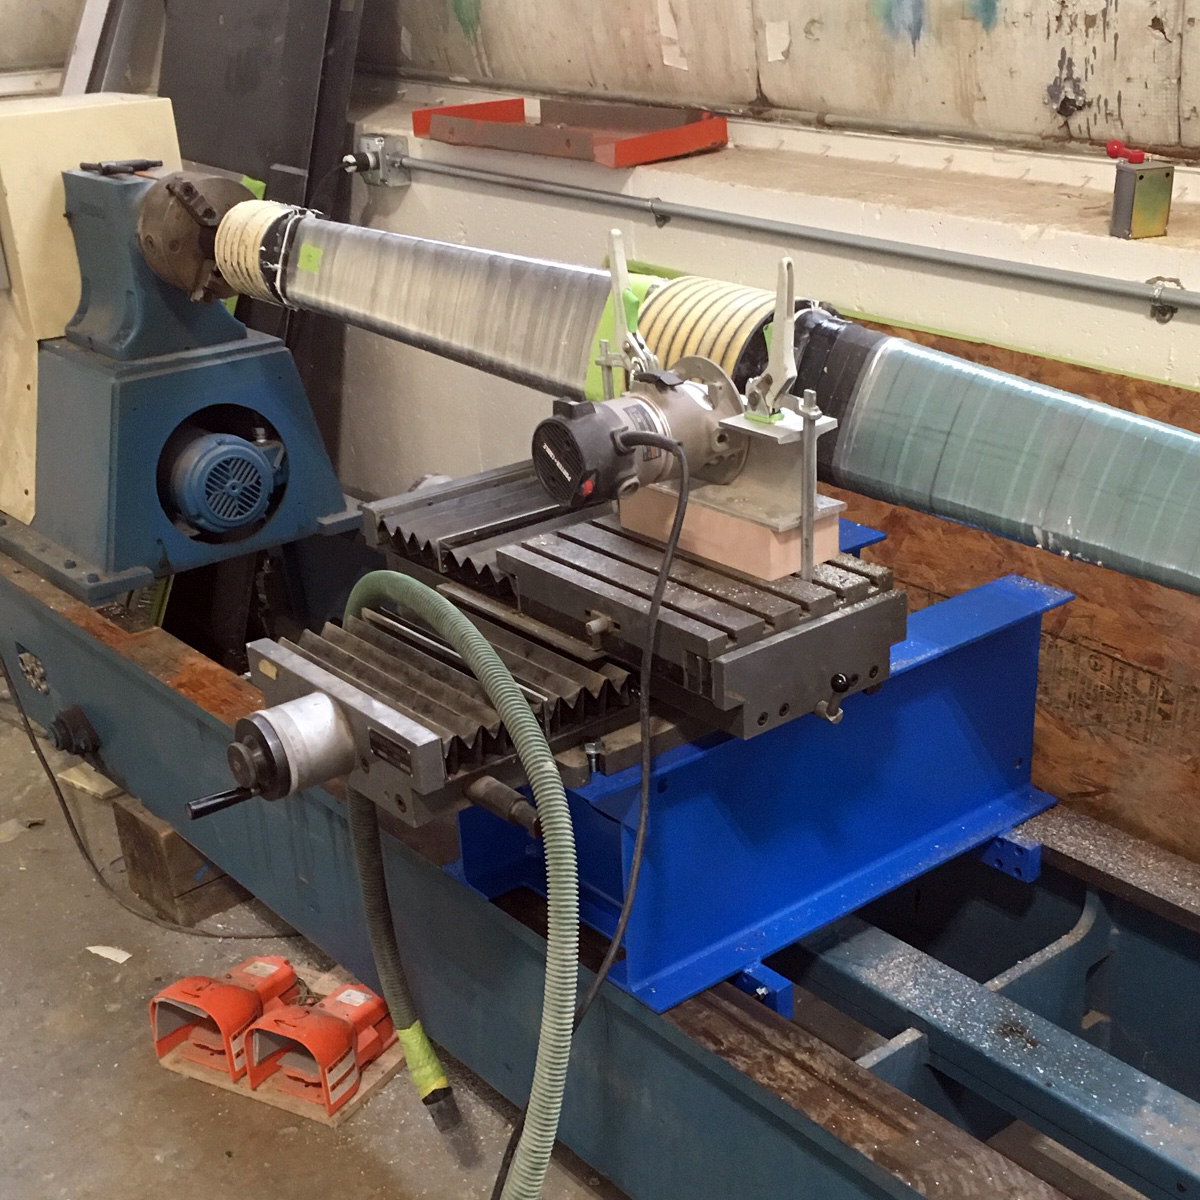
Another view of the “lathe” I used to have for this stuff. 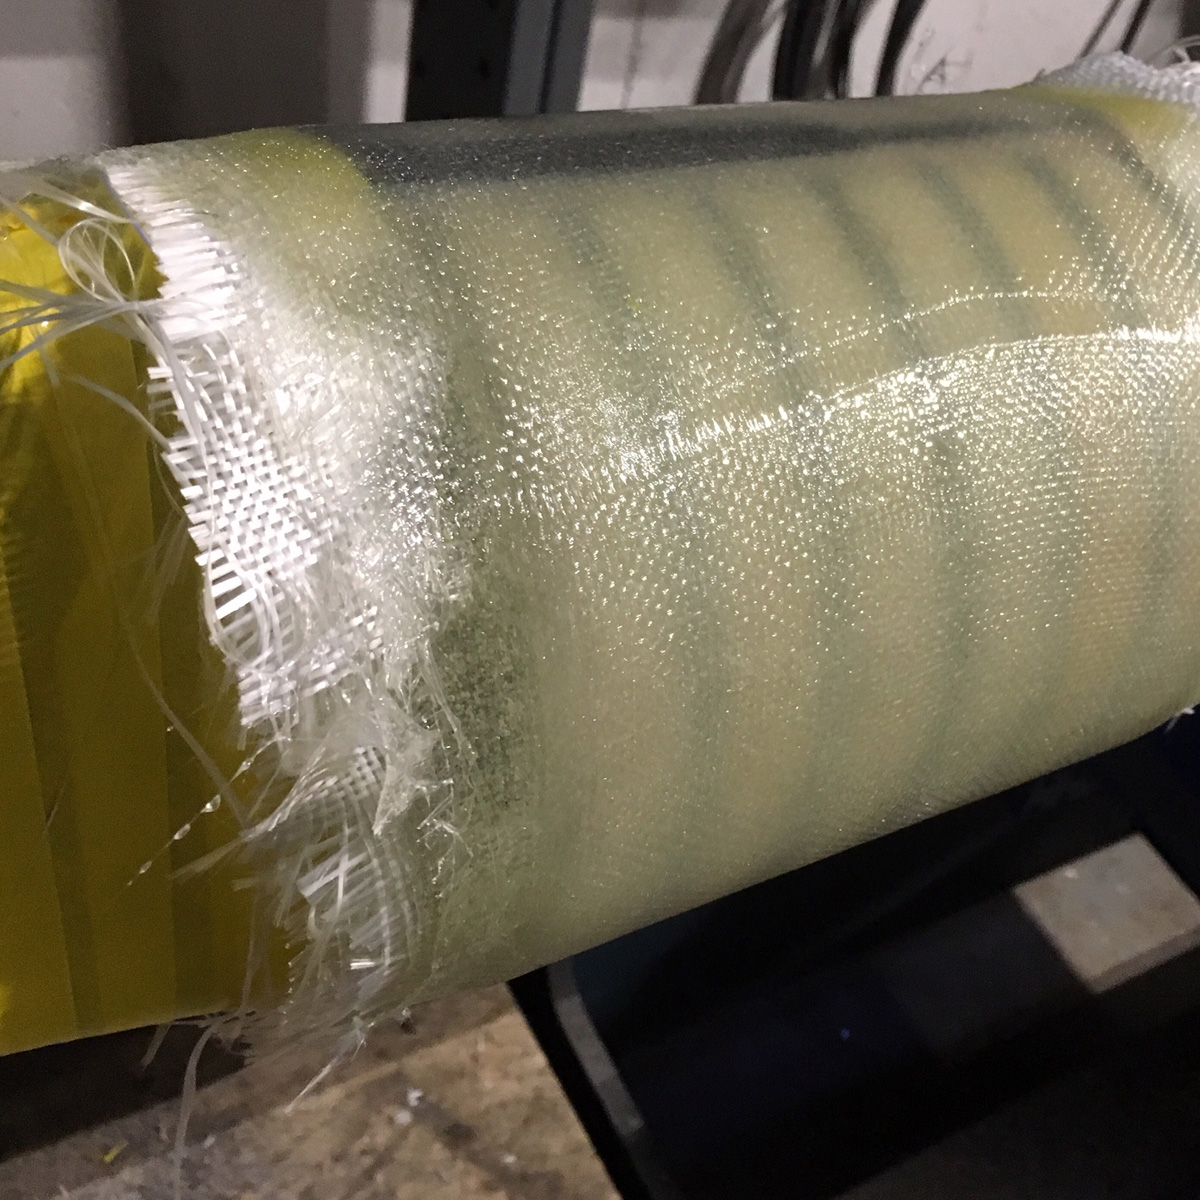
E-glass laminated over the turned foam and carbon stack. 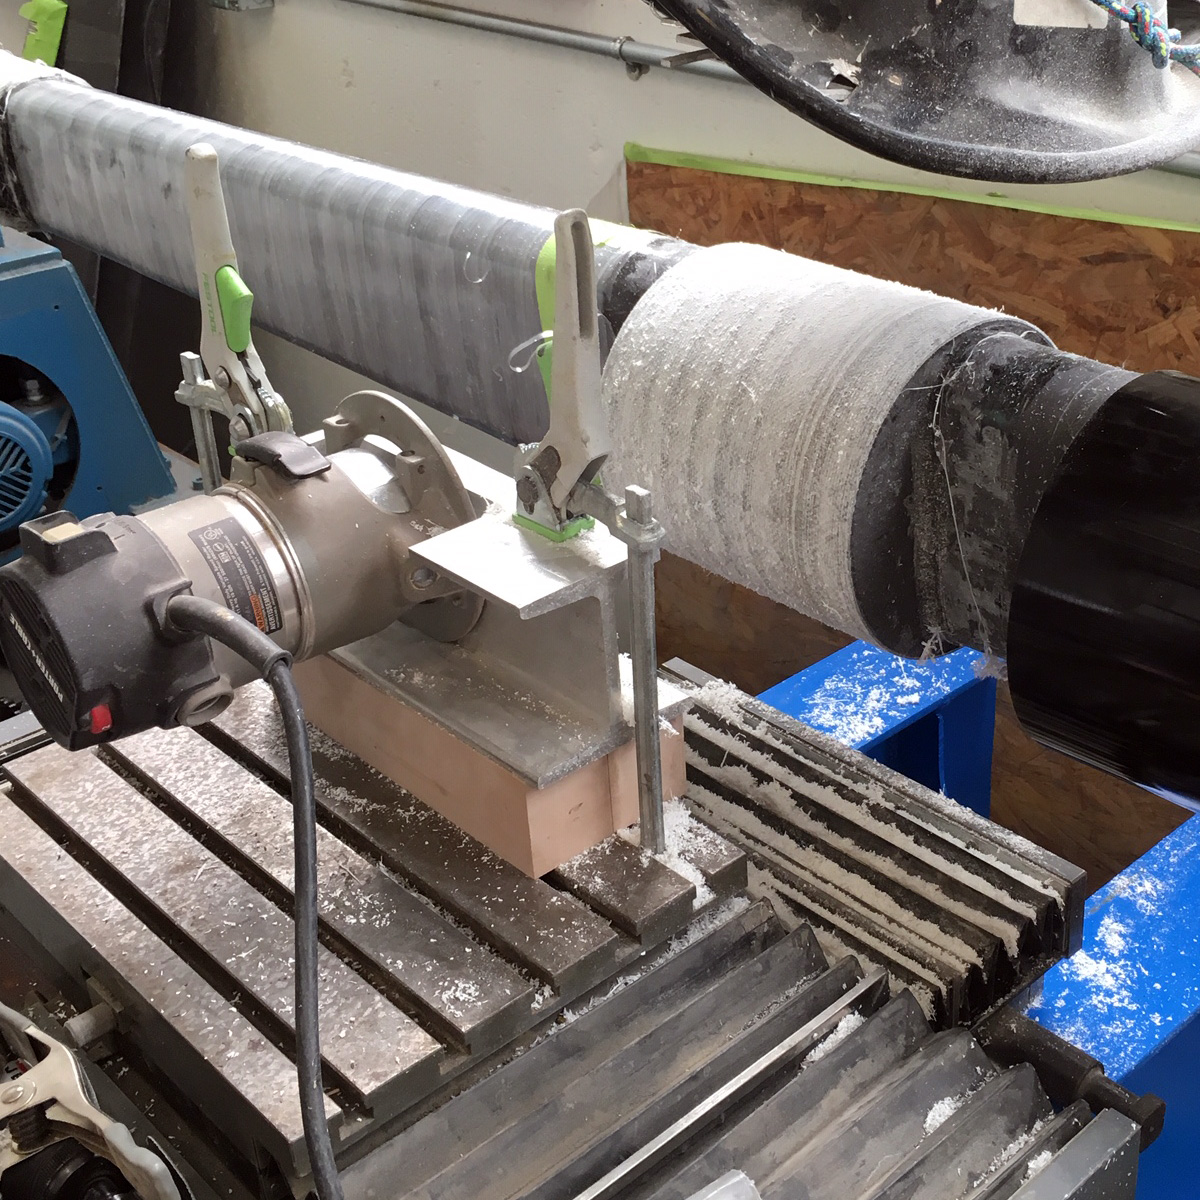
Turning the glass cover laminate to the final diameter. 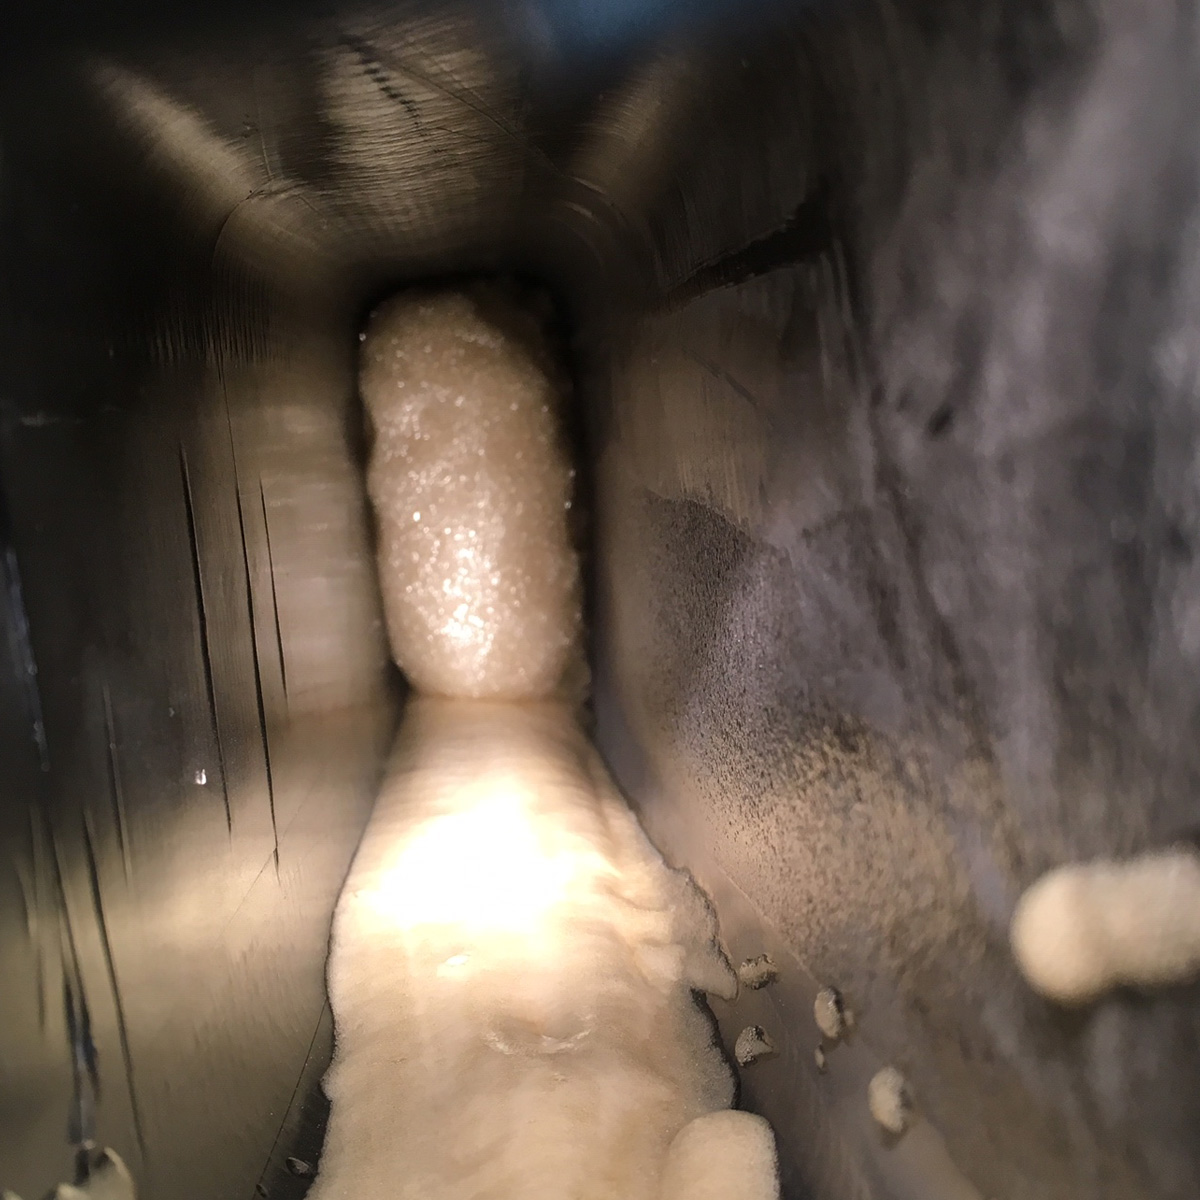
Filling the inside of the stock with low density pour foam. Not structural, but fills the void.
Stocks are the structural spine of the rudder and the rest is there to make the water happy as it flows by – giving the rudder the lift and drag profile needed to turn the boat. The bearings are mounted in the hull of the boat and the stock spins in them on the bearing sleeves that will be glued on over those build-ups.
Blade Skins, Core and Bonding the Assembly
Now moving on to the blade, and the fiber and core that makes up the less-structural part of the rudder.
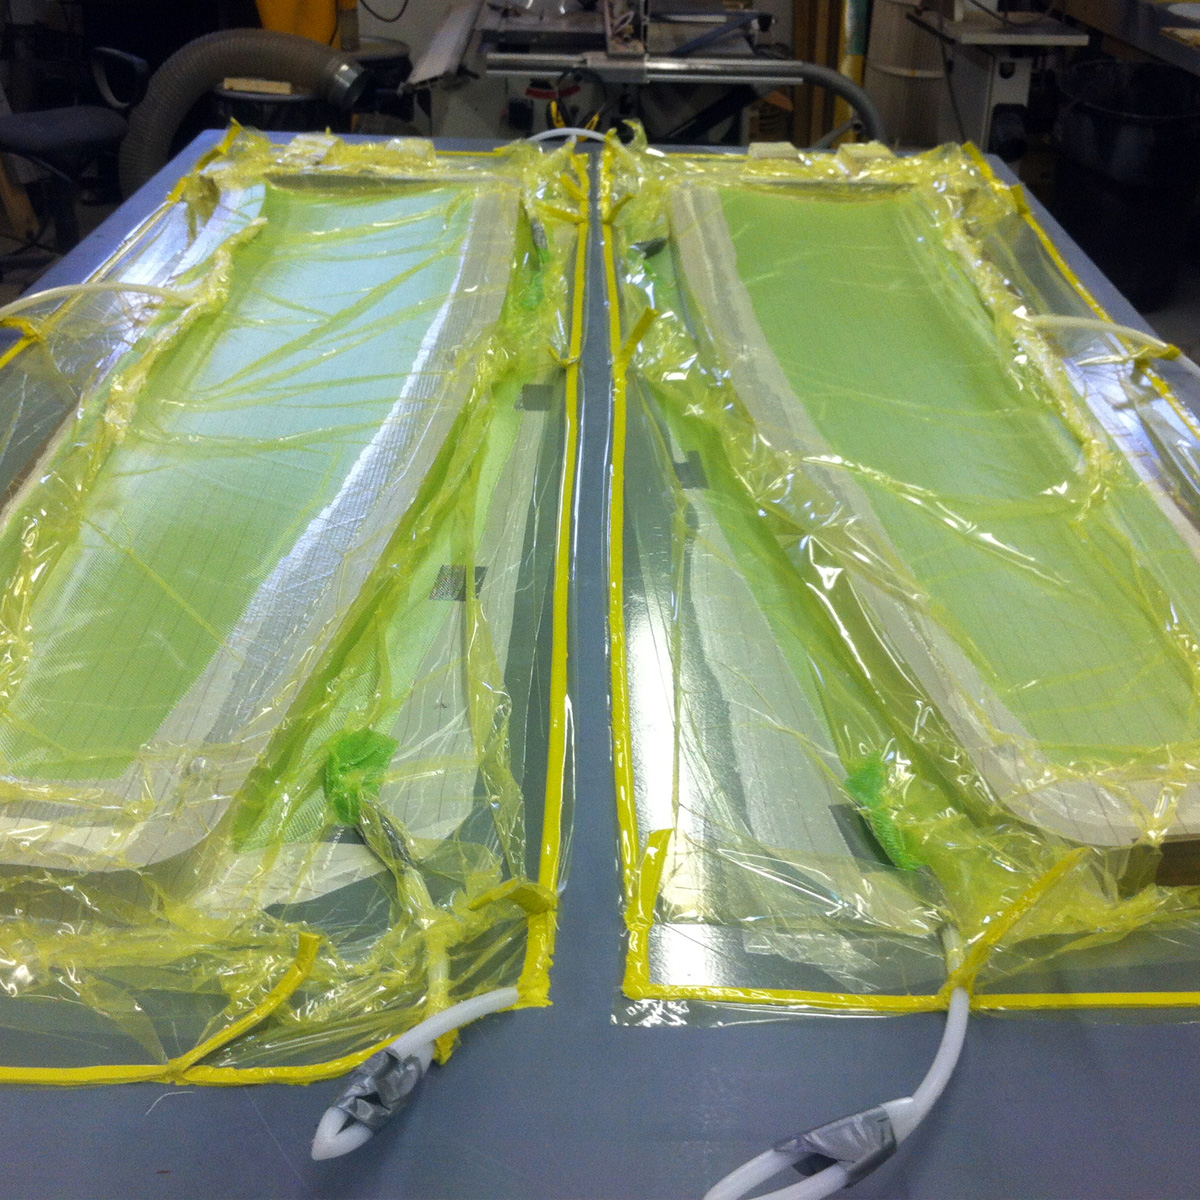
Blade molds are machined MDF sealed similarly to the stock. Here the skin is infused into each half. 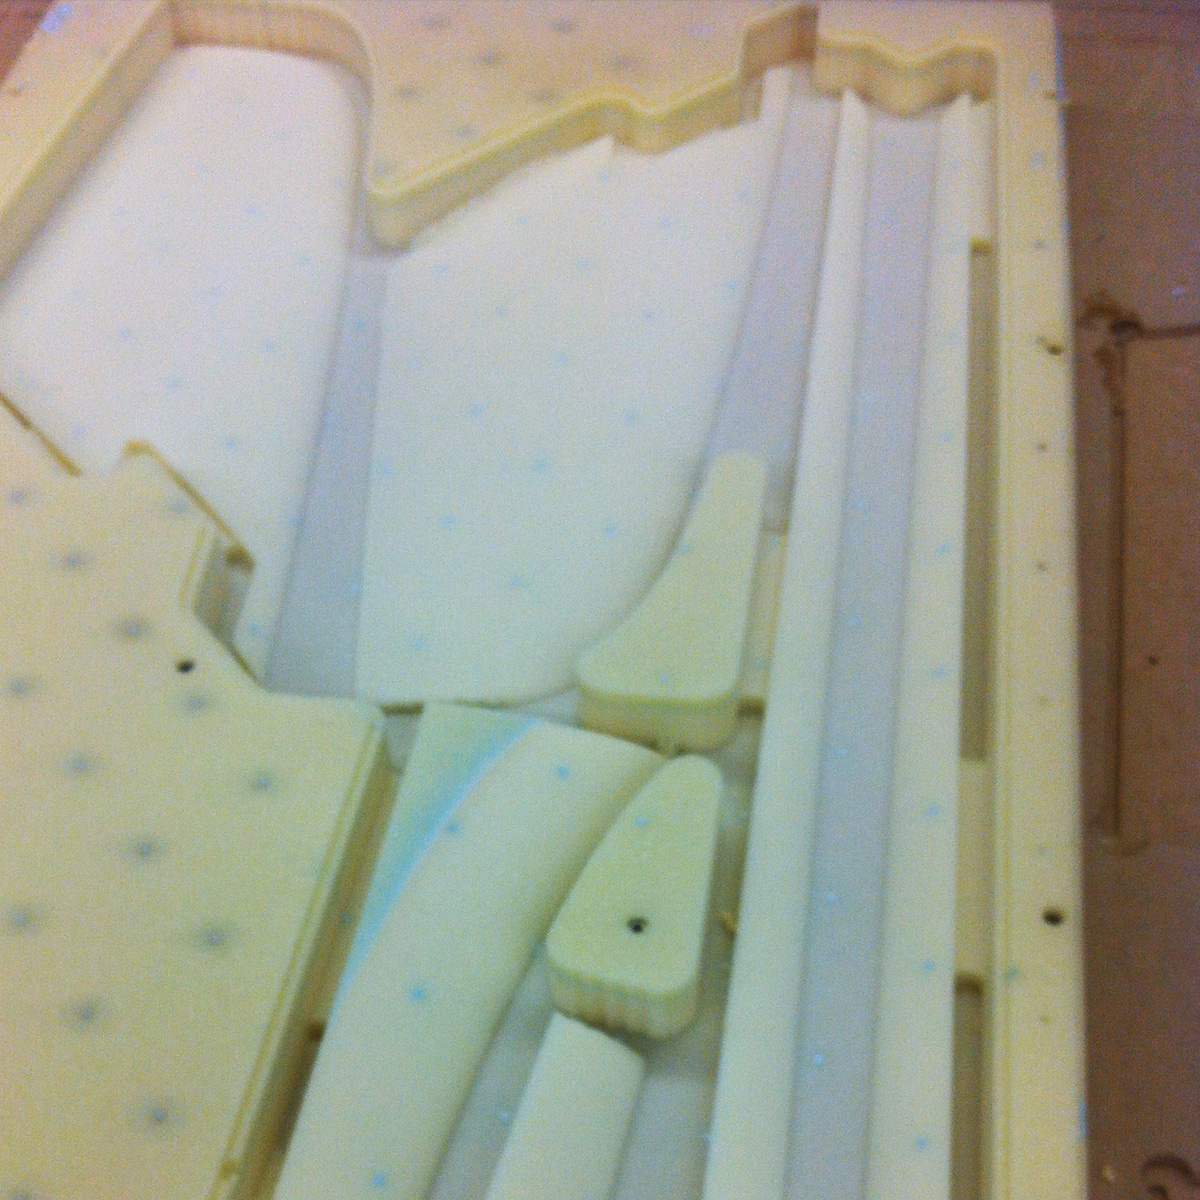
Machined core kits for a rudder – depending on the engineering different density core is used in different places. 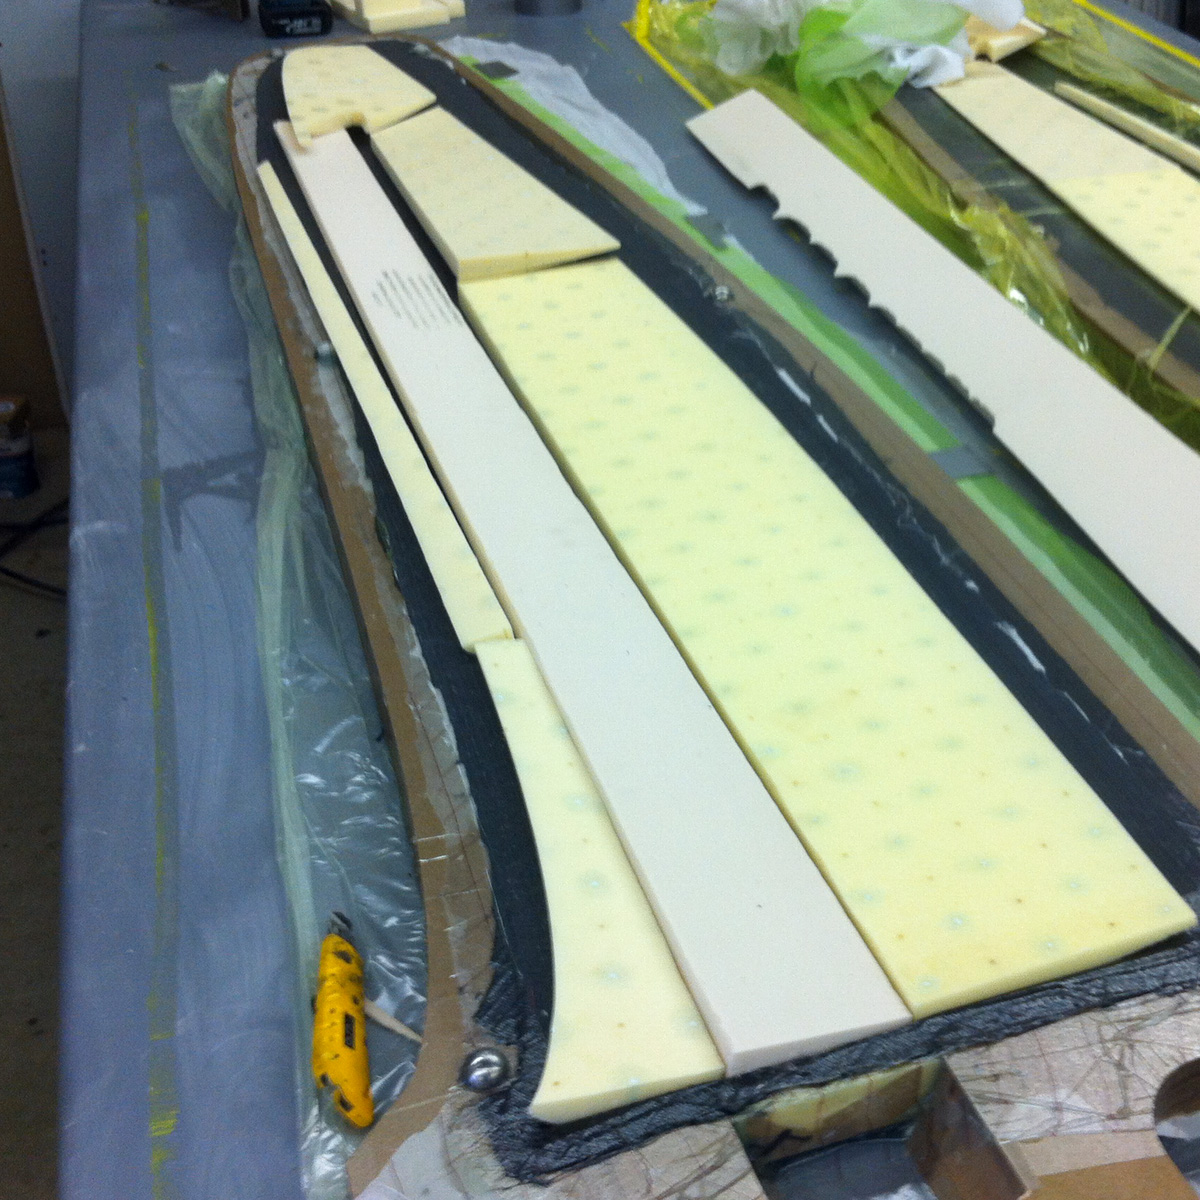
Test-fitting core. Here I used a low-density foam “dummy stock” to hold everything in place. 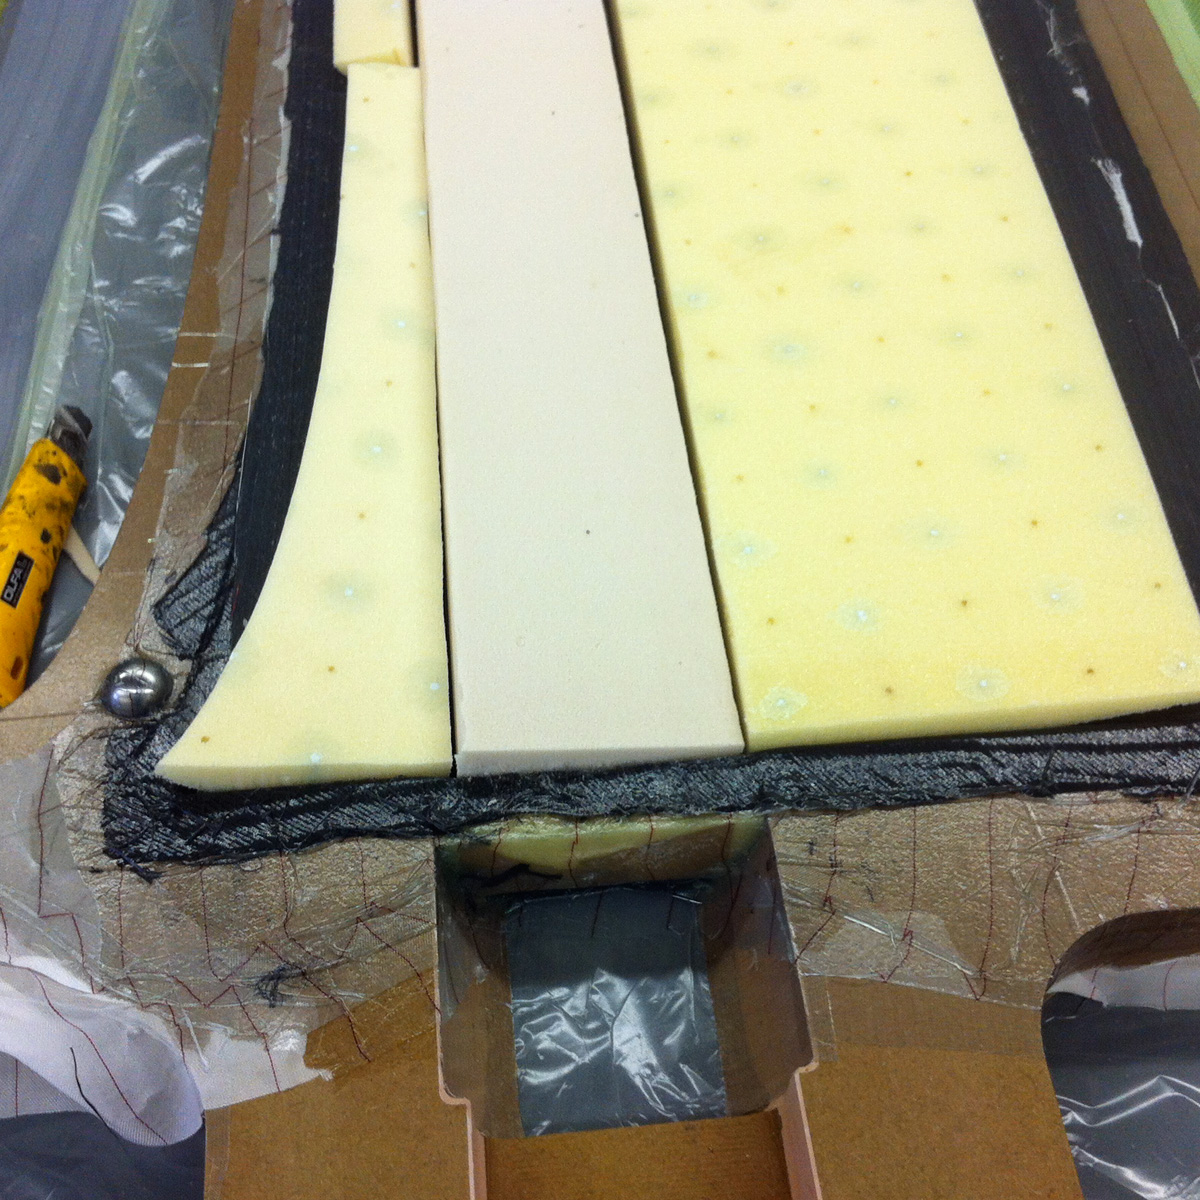
The dummy stock is going to be covered in release film and peel ply so it comes out. 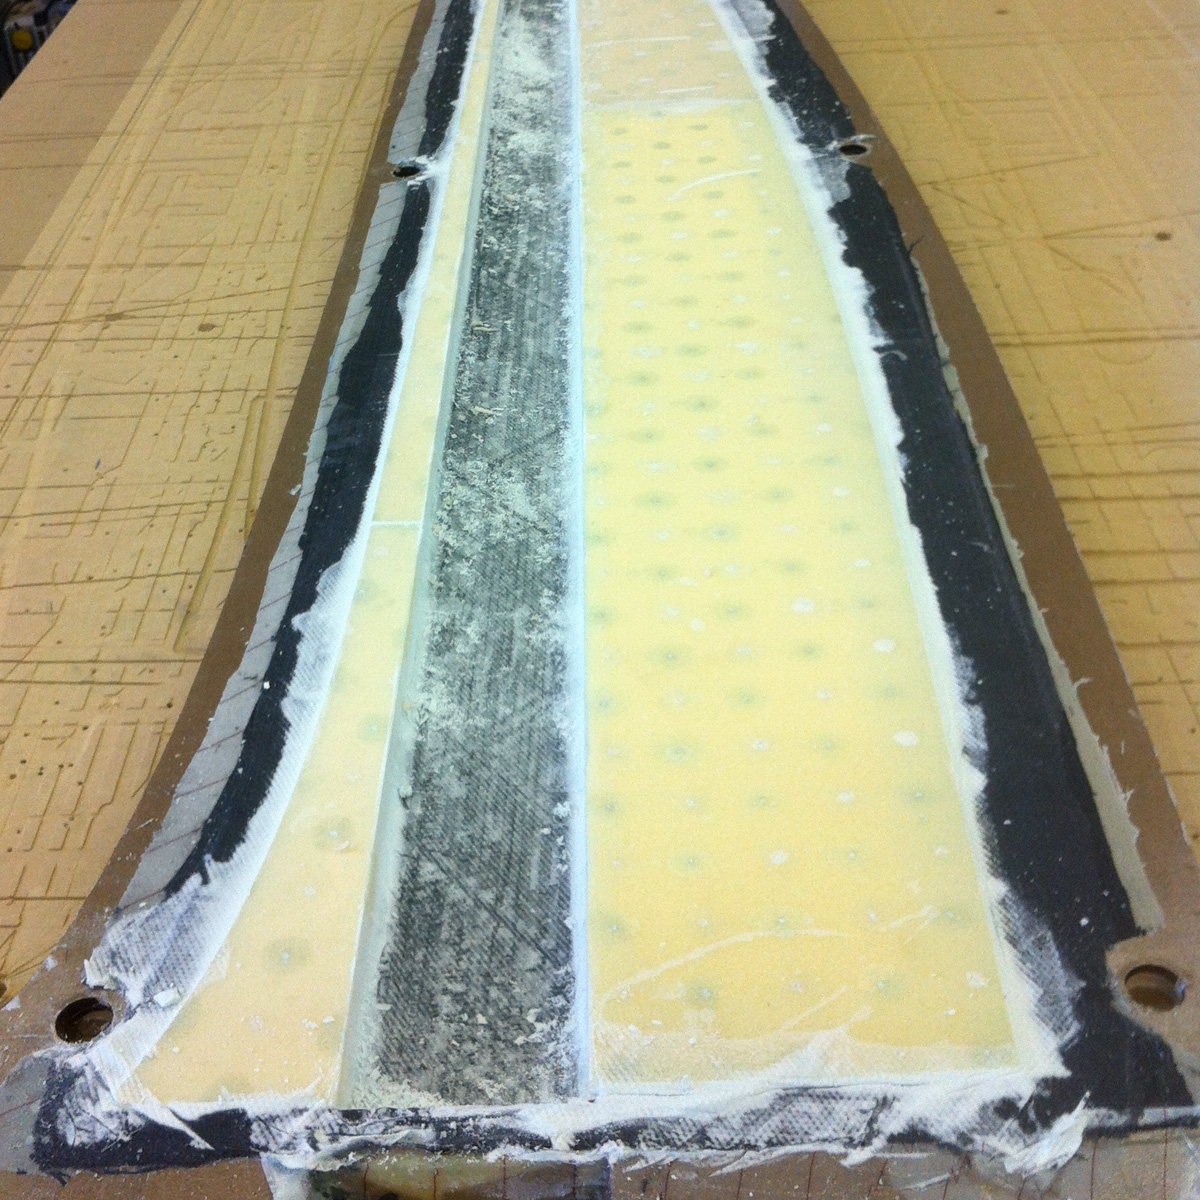
Foam glued, dummy stock removed. 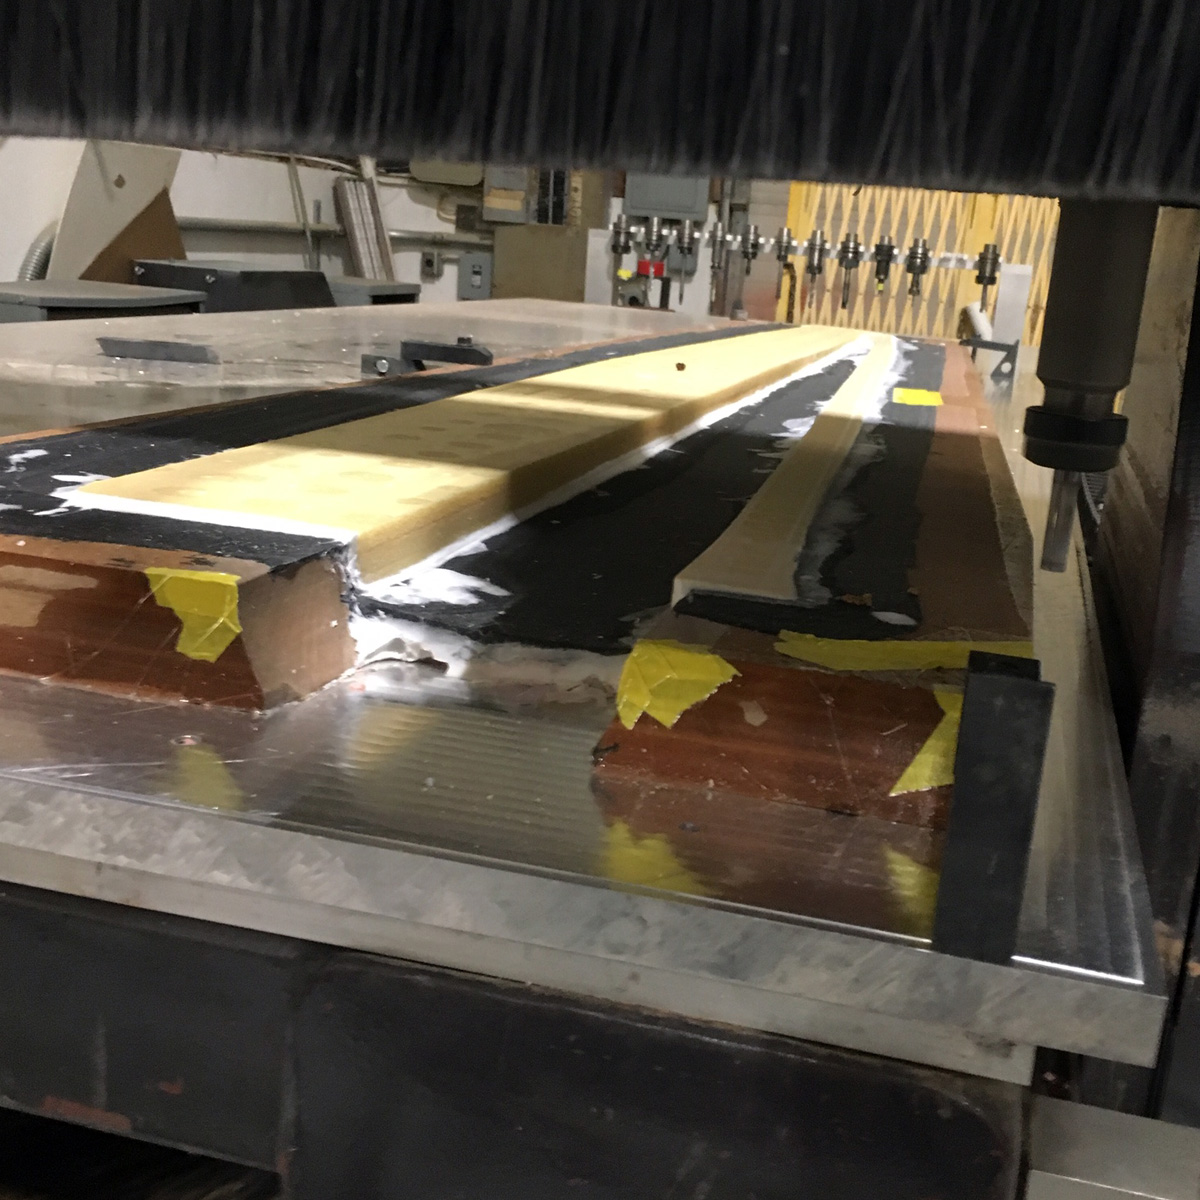
Machining the center-line flat on a CNC router. This can also be done by hand. 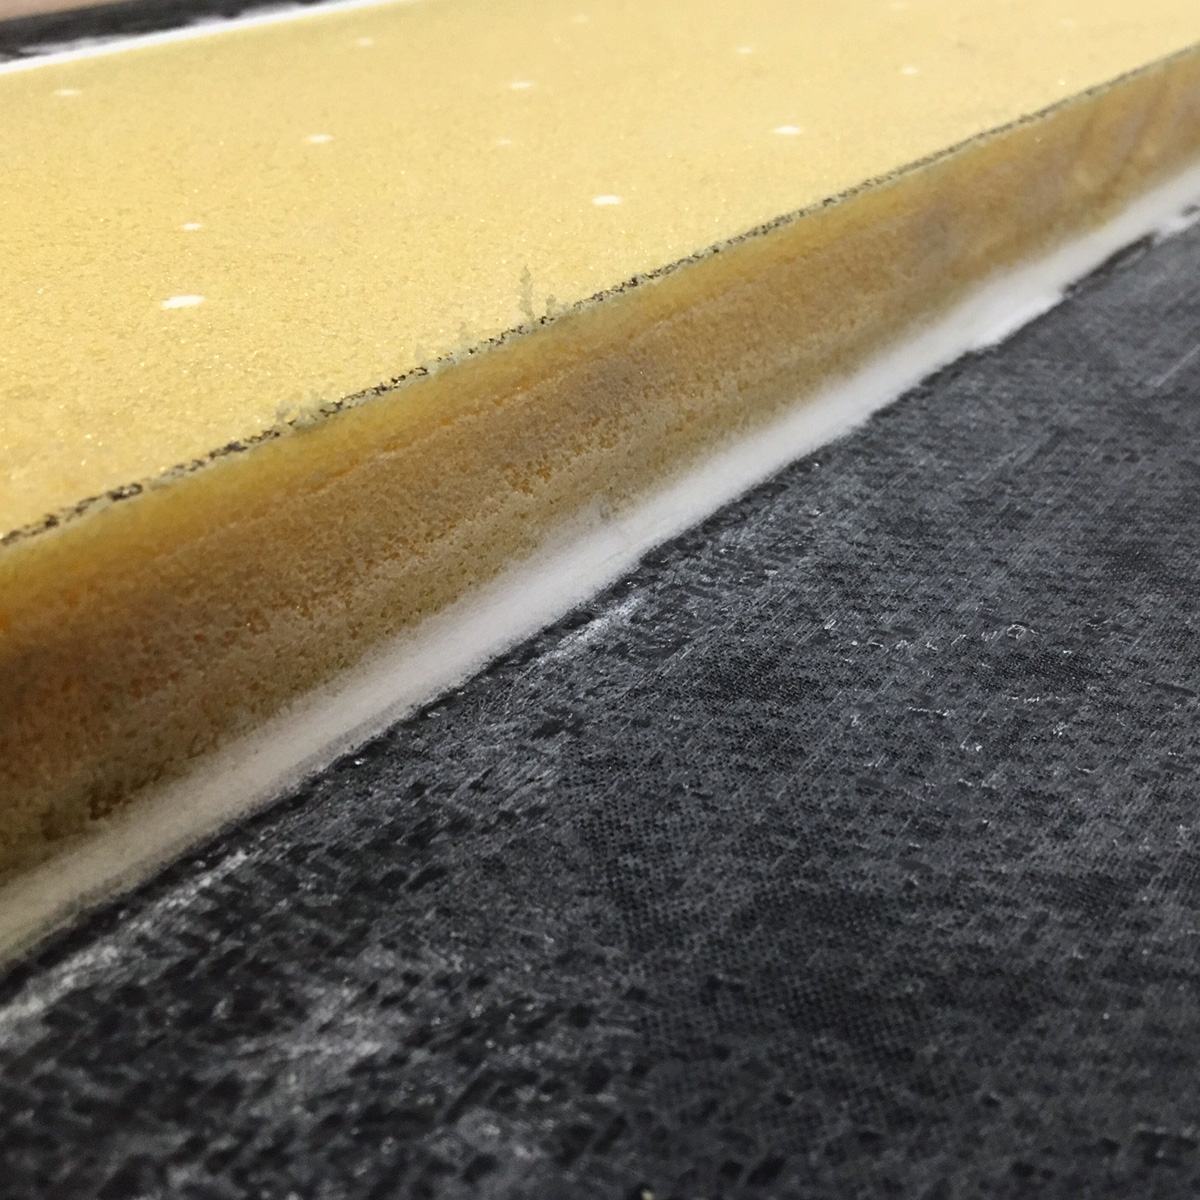
Cleaned up foam edge ready for bonding the stock. 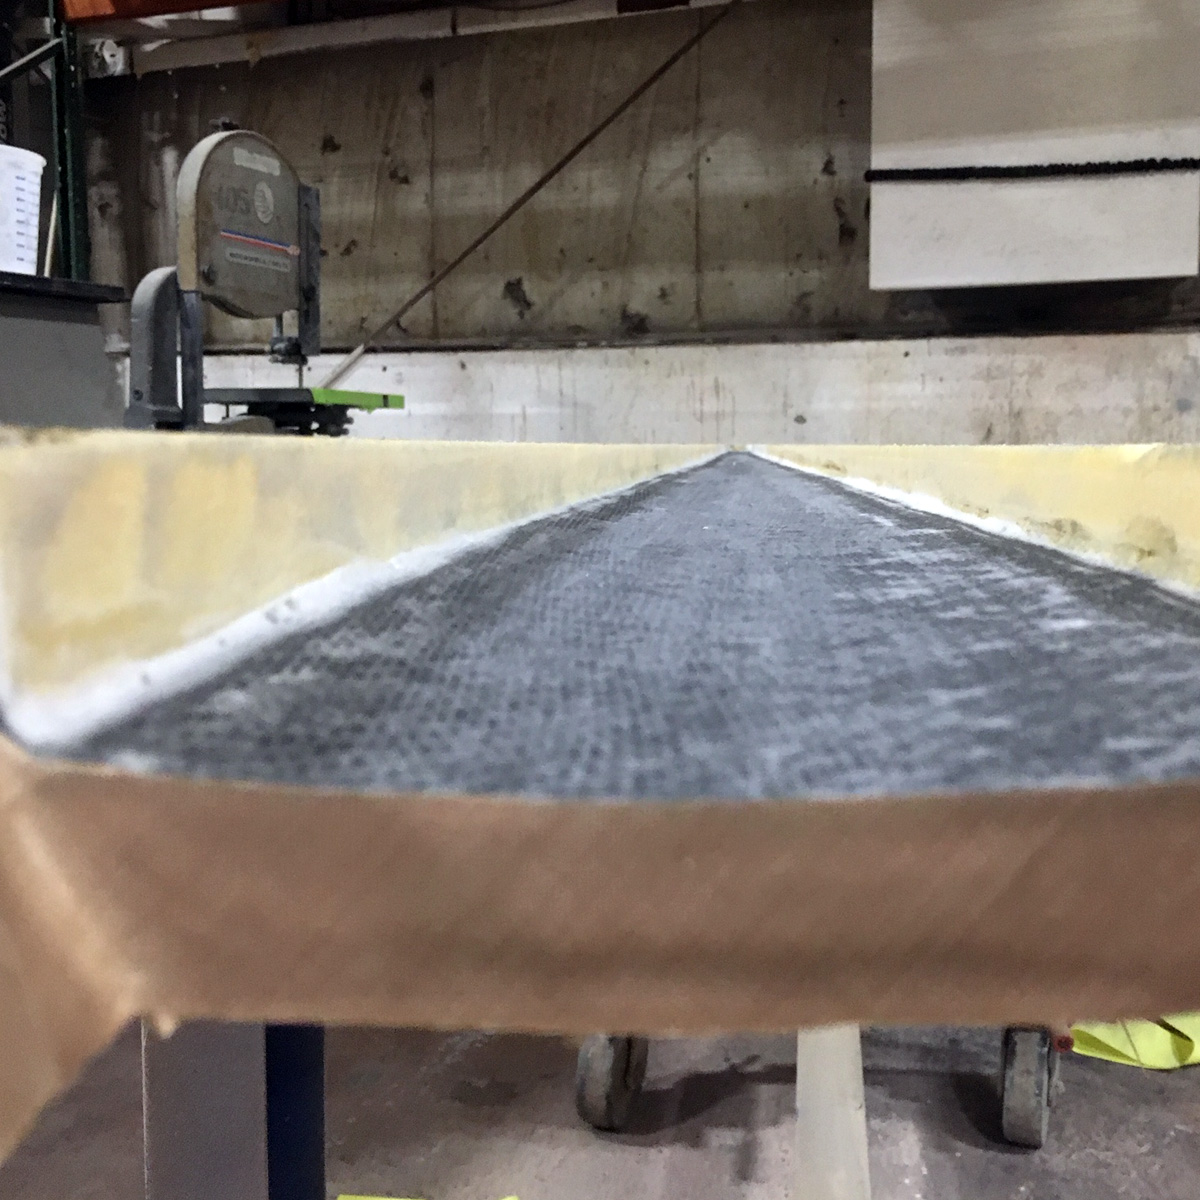
Teflon release film to keep the bearing buildup from getting glued to the mold. 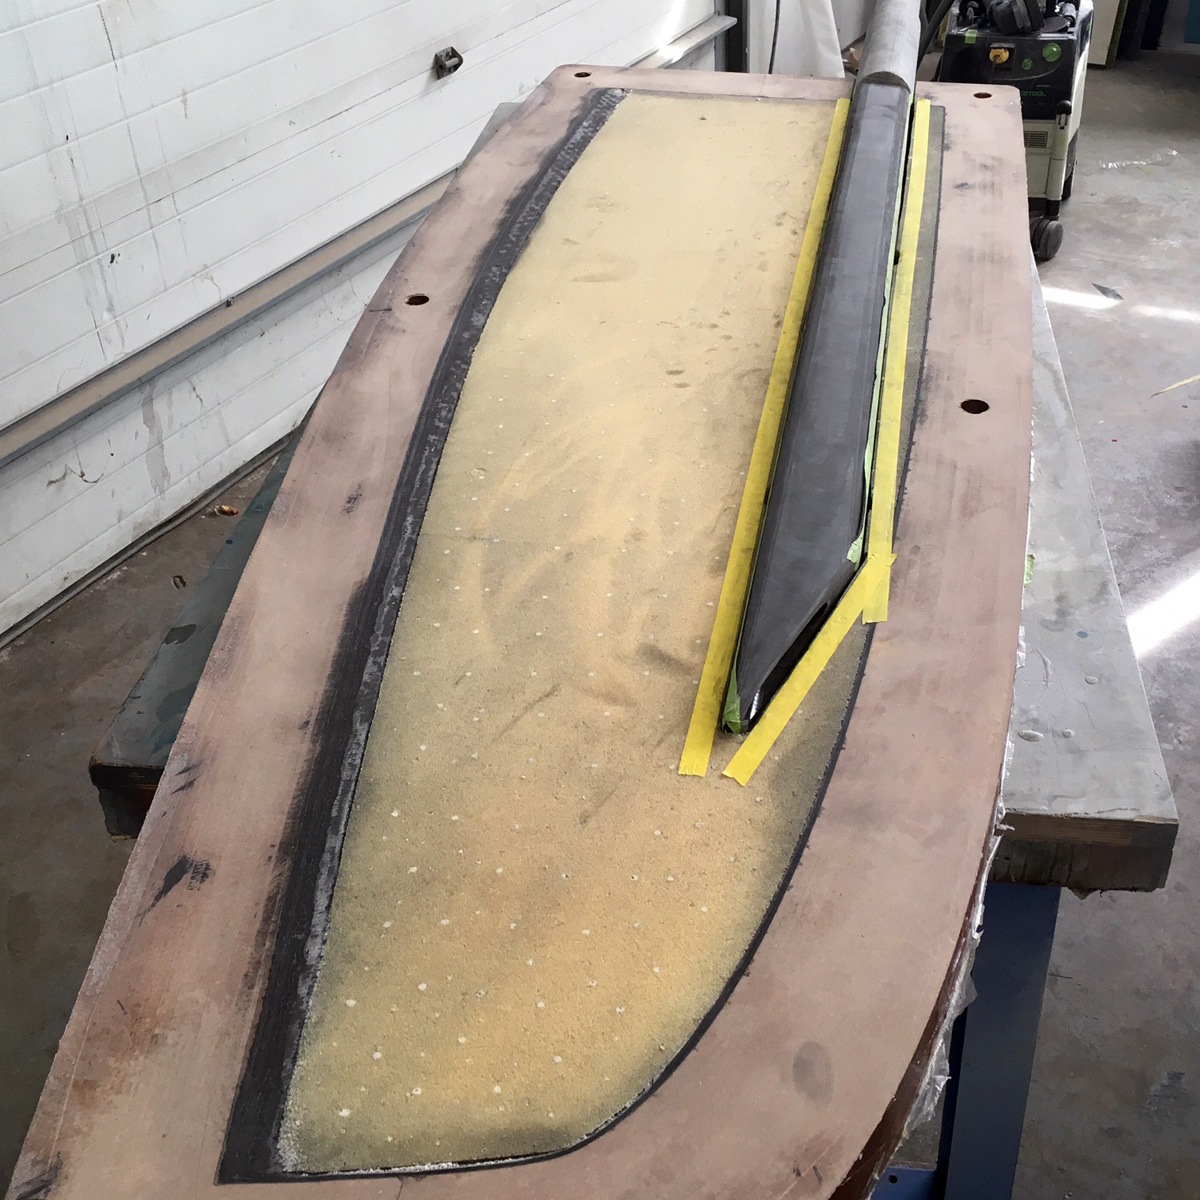
Using masking tape to mark tight spots while fitting the stock. 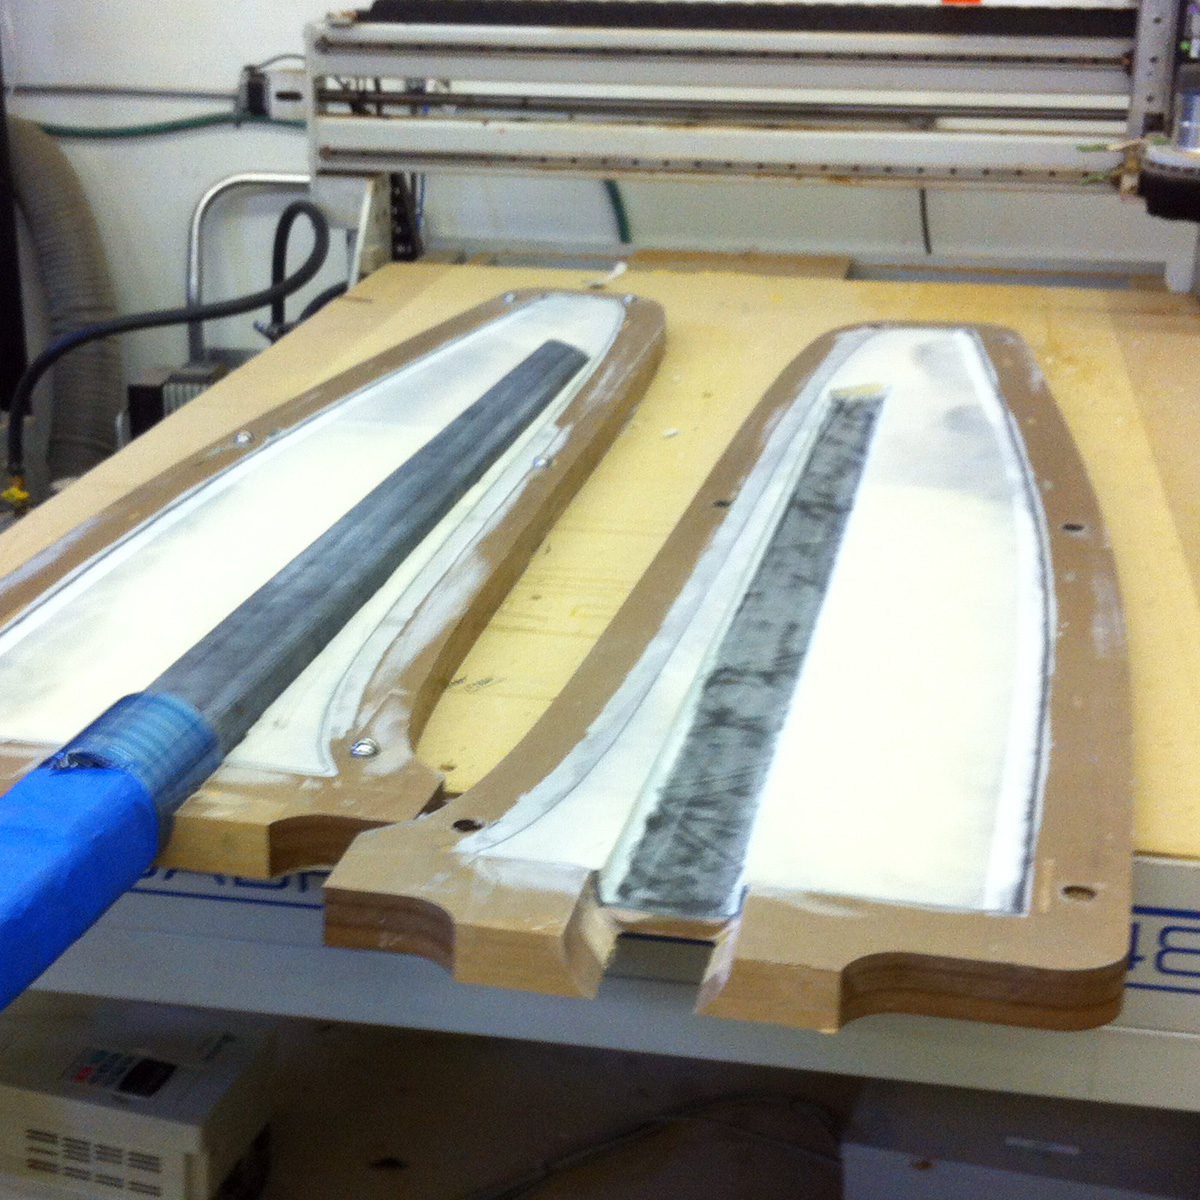
Final fit, plenty of masking and ready to go. 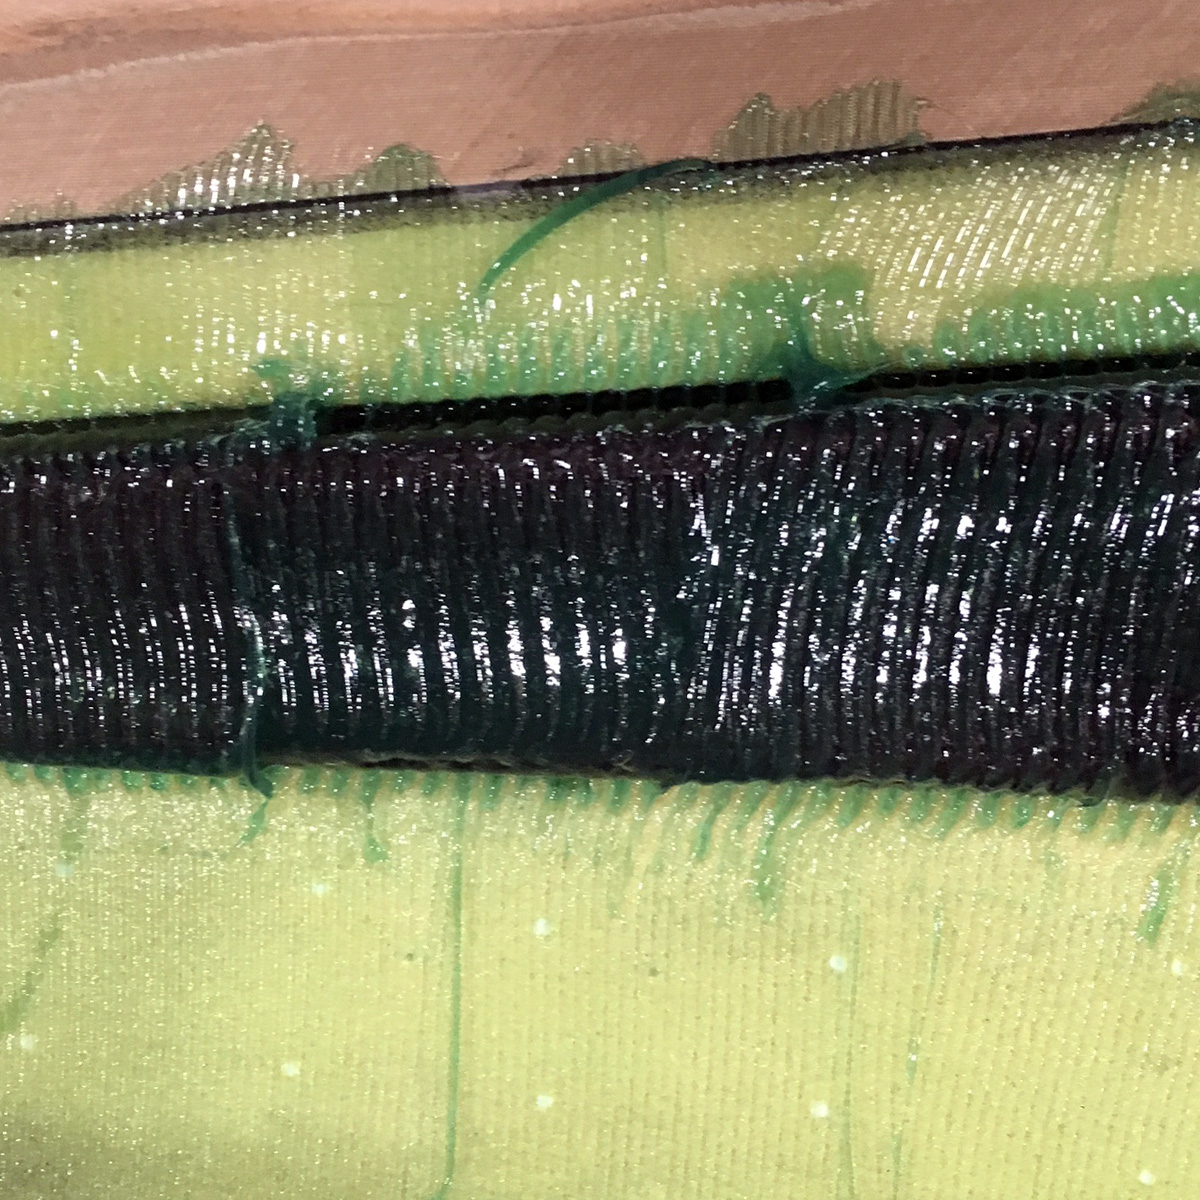
All buttered up with thickened epoxy. This one is using a toughened Proset product to bond the stock to the blade skins. 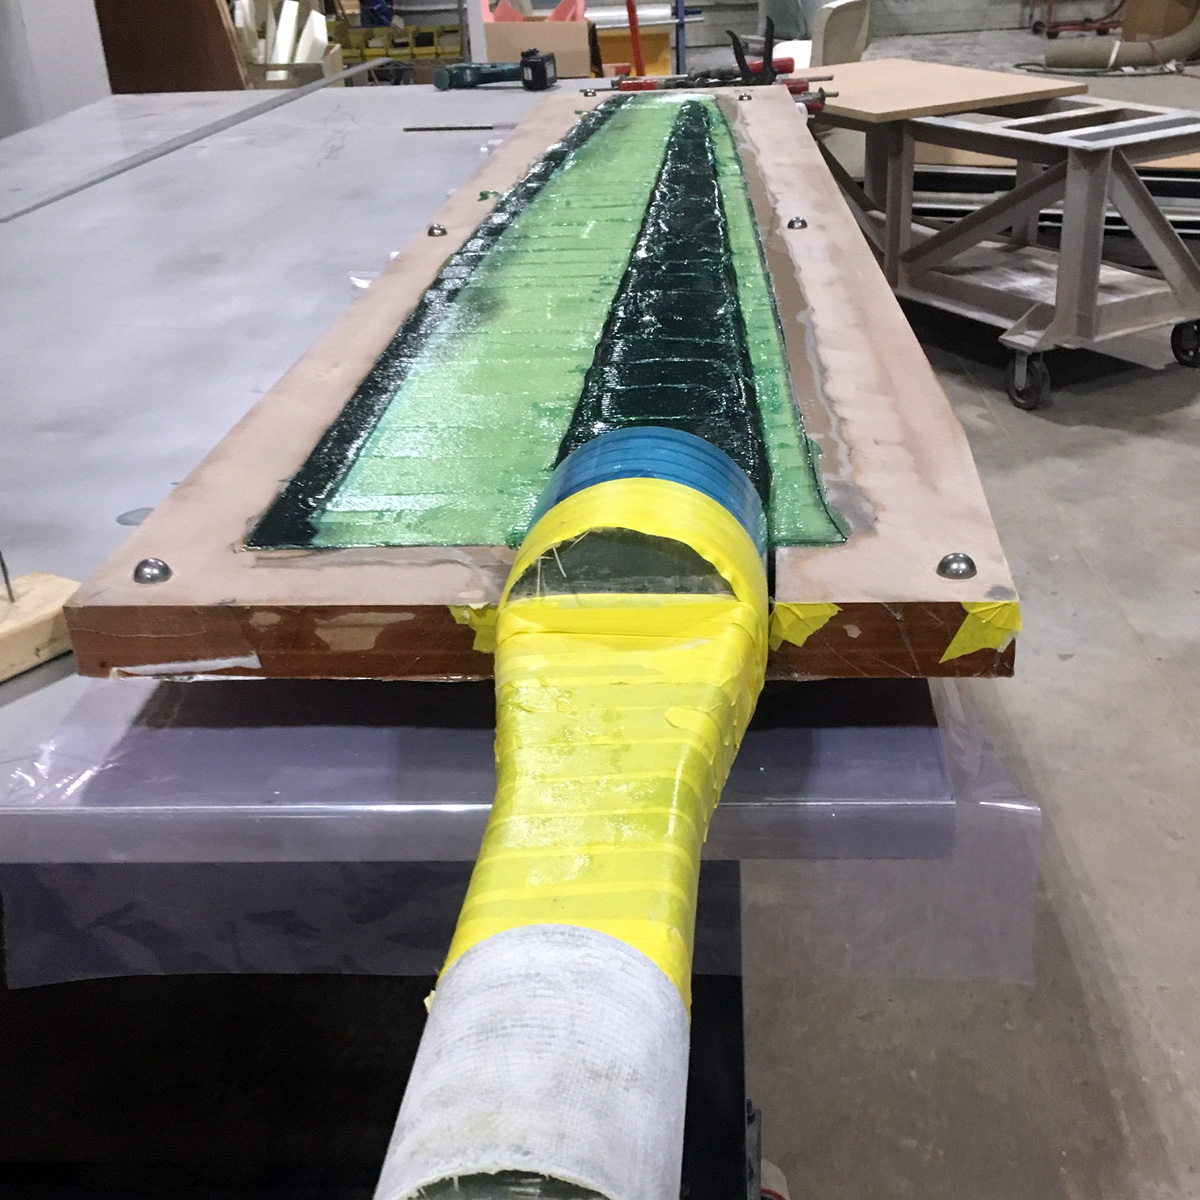
Stock in place, more glue. The molds are designed to have a gap (1mm or so) for the glue to squeeze out. 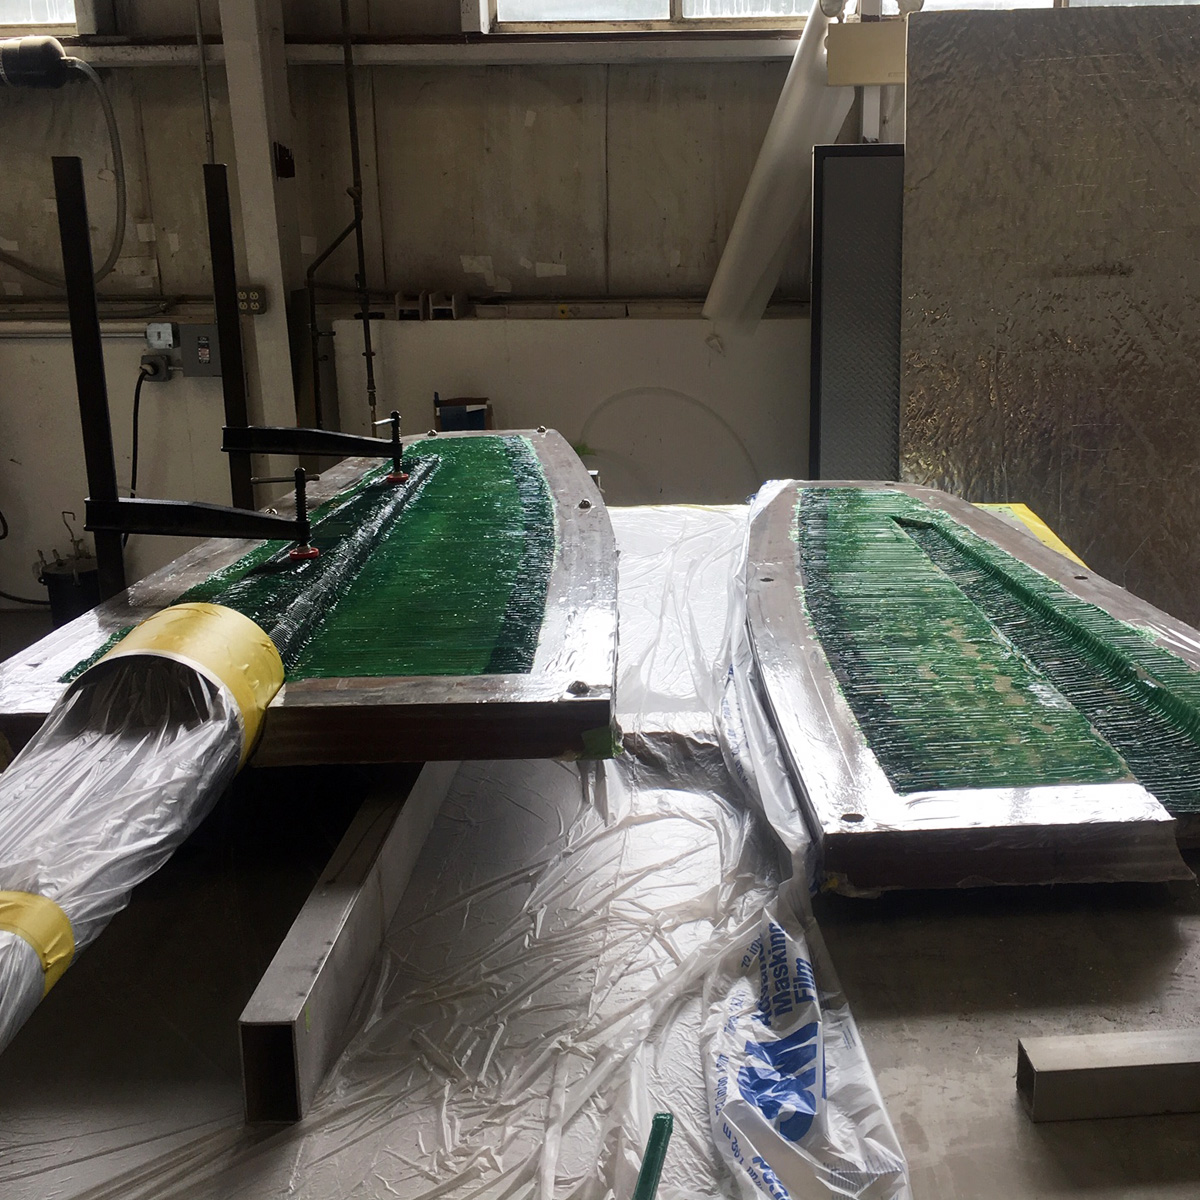
Better to waste a little glue that have not enough! This is the least-tidy part of the job. 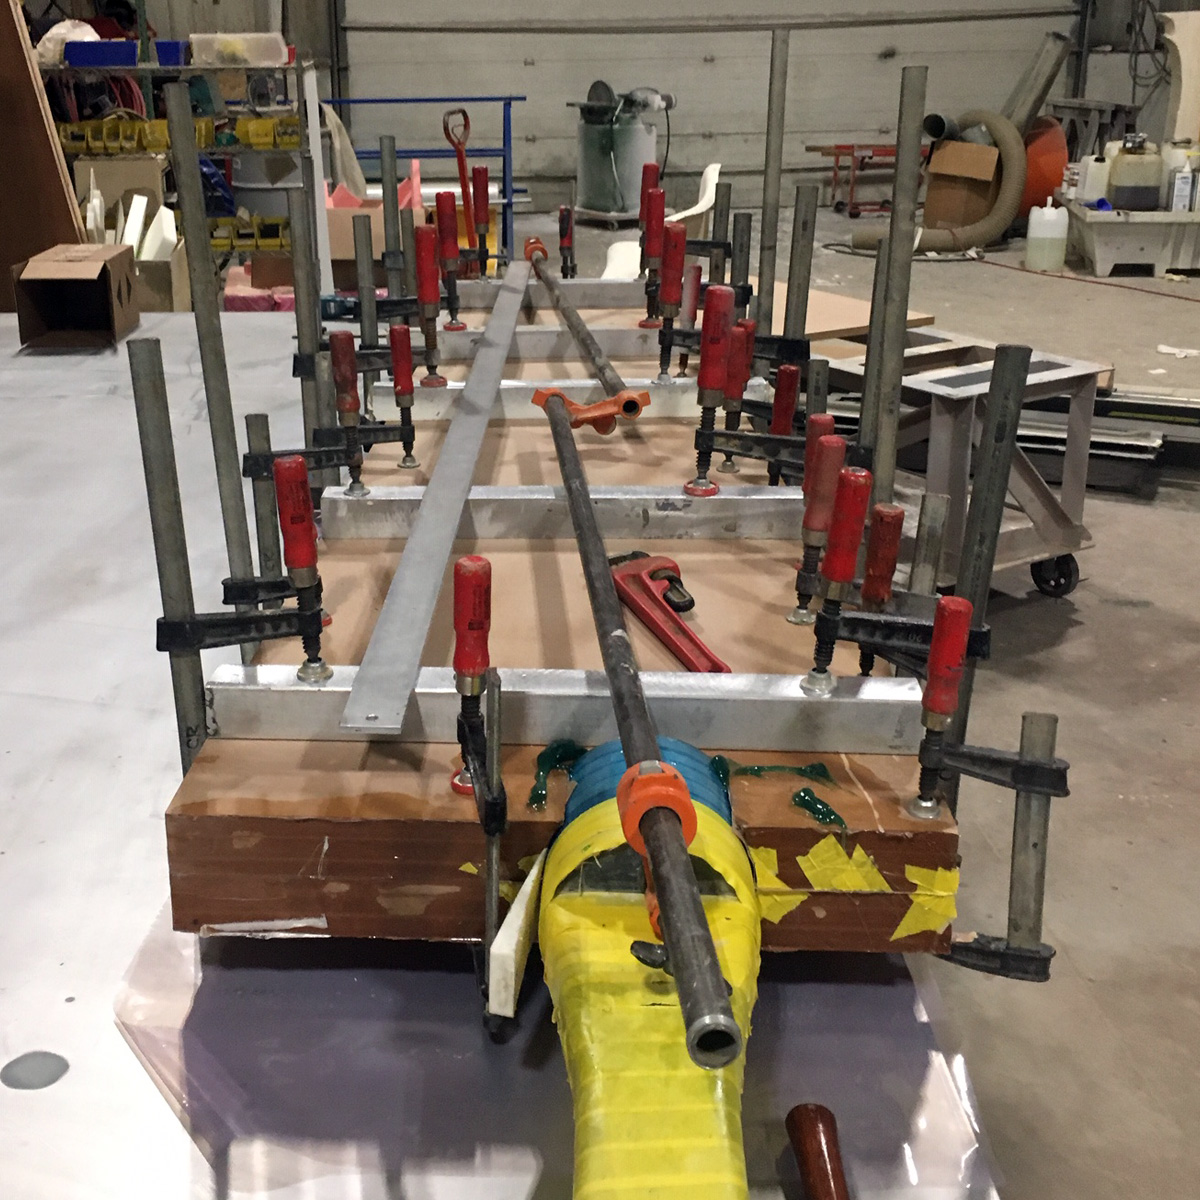
All glued in and clamped with plenty of clamps and bars to keep the mold flat. Very flat table and straight edge for checking. 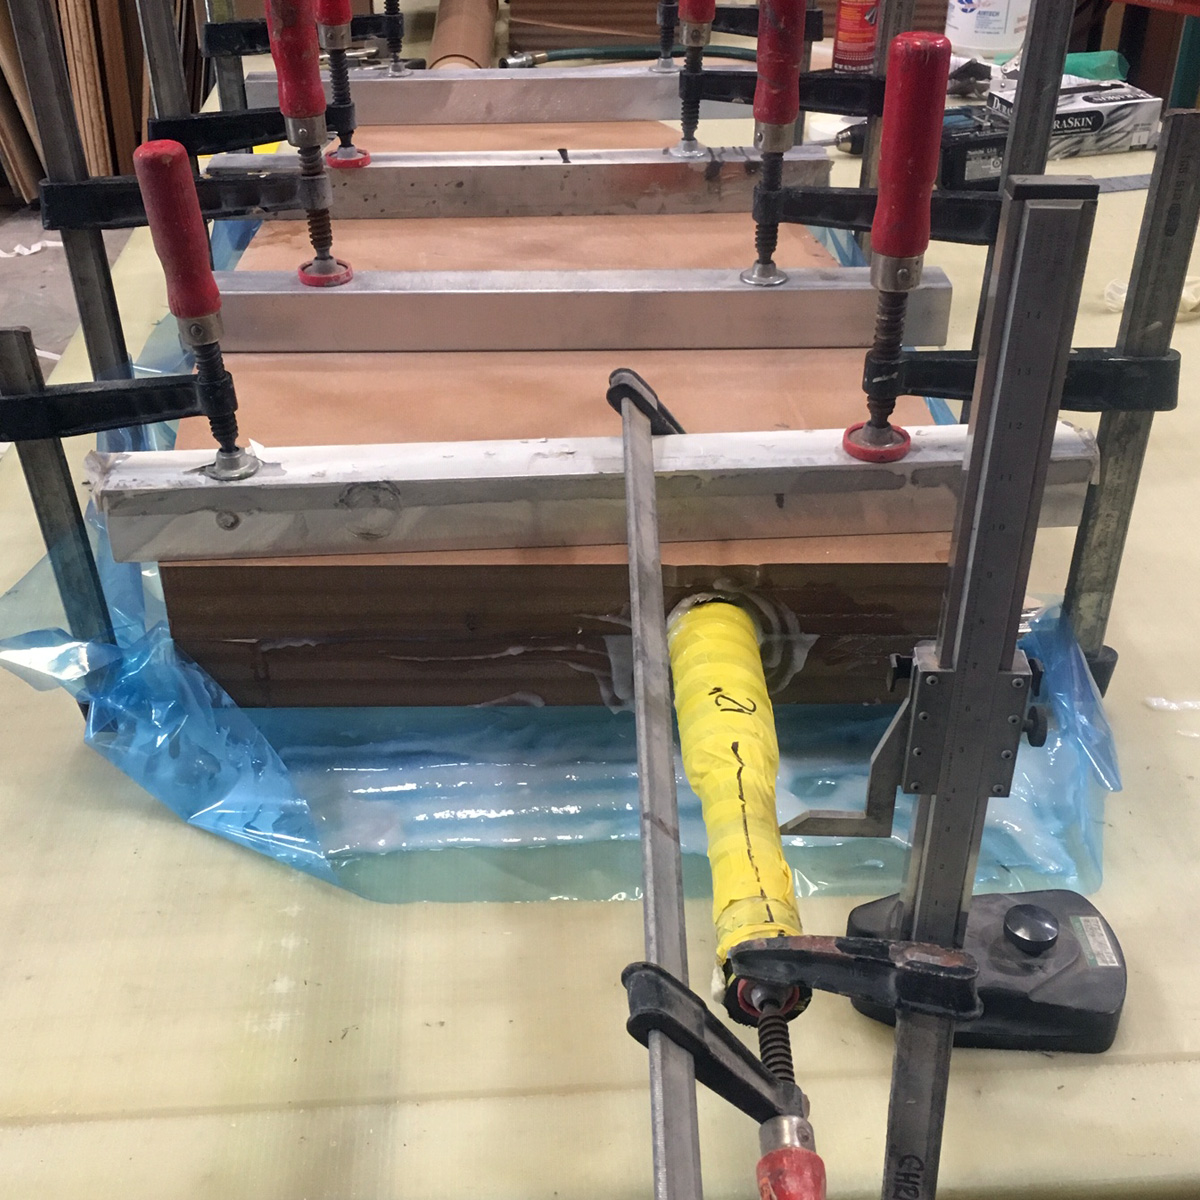
Another glue-up, this time on a smaller rudder. Note the clamp to tune the depth of the stock – and keep it from squeezing out. 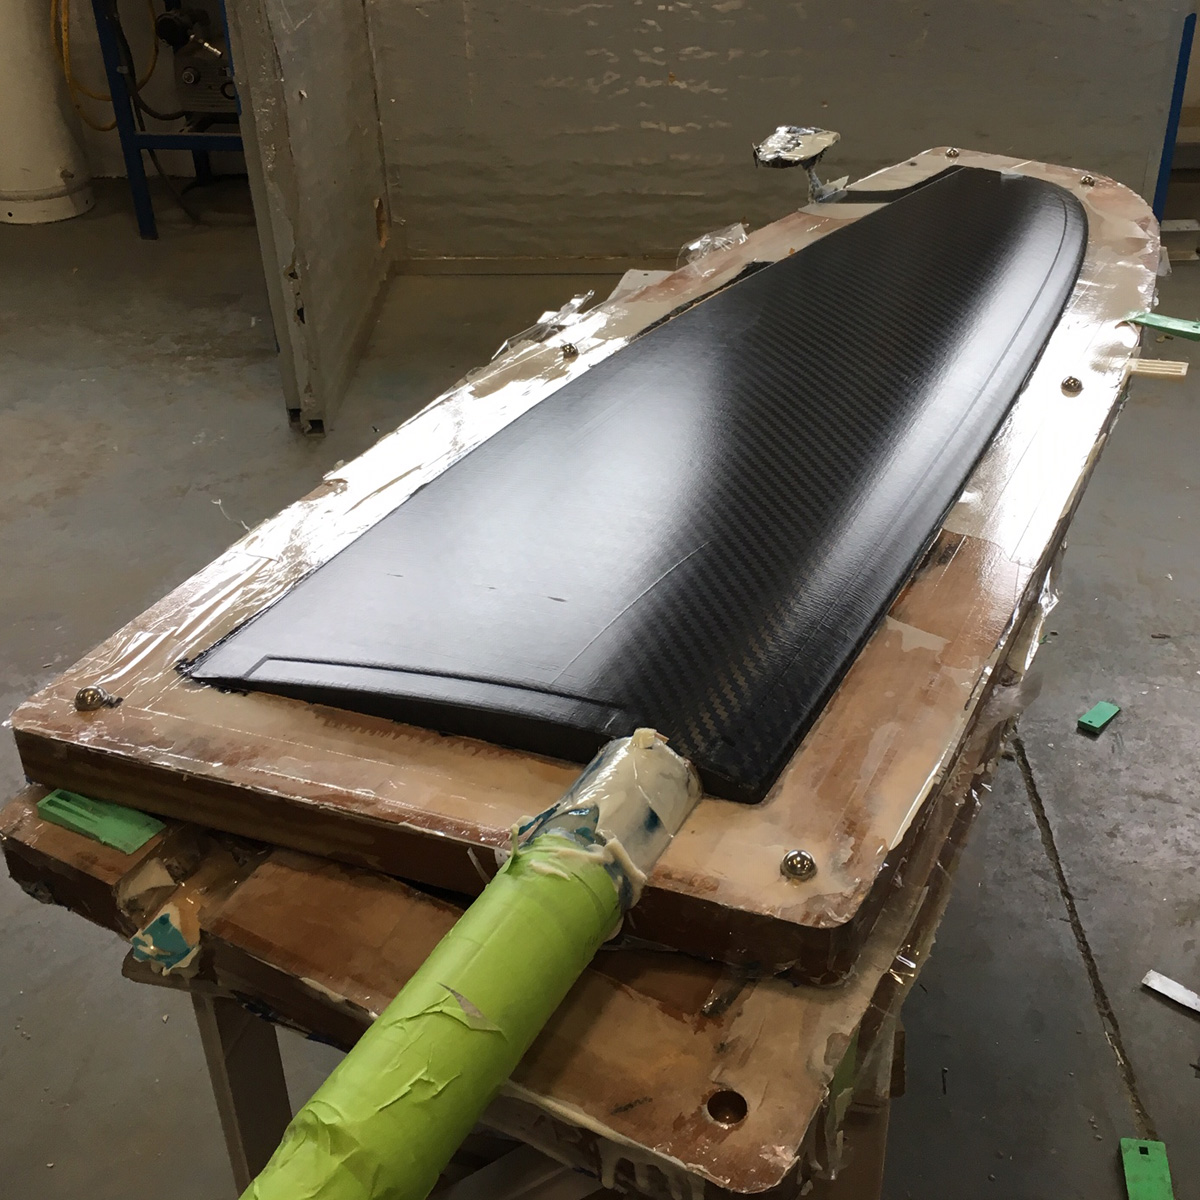
Demolding side one. Tap test and careful of that trailing edge! 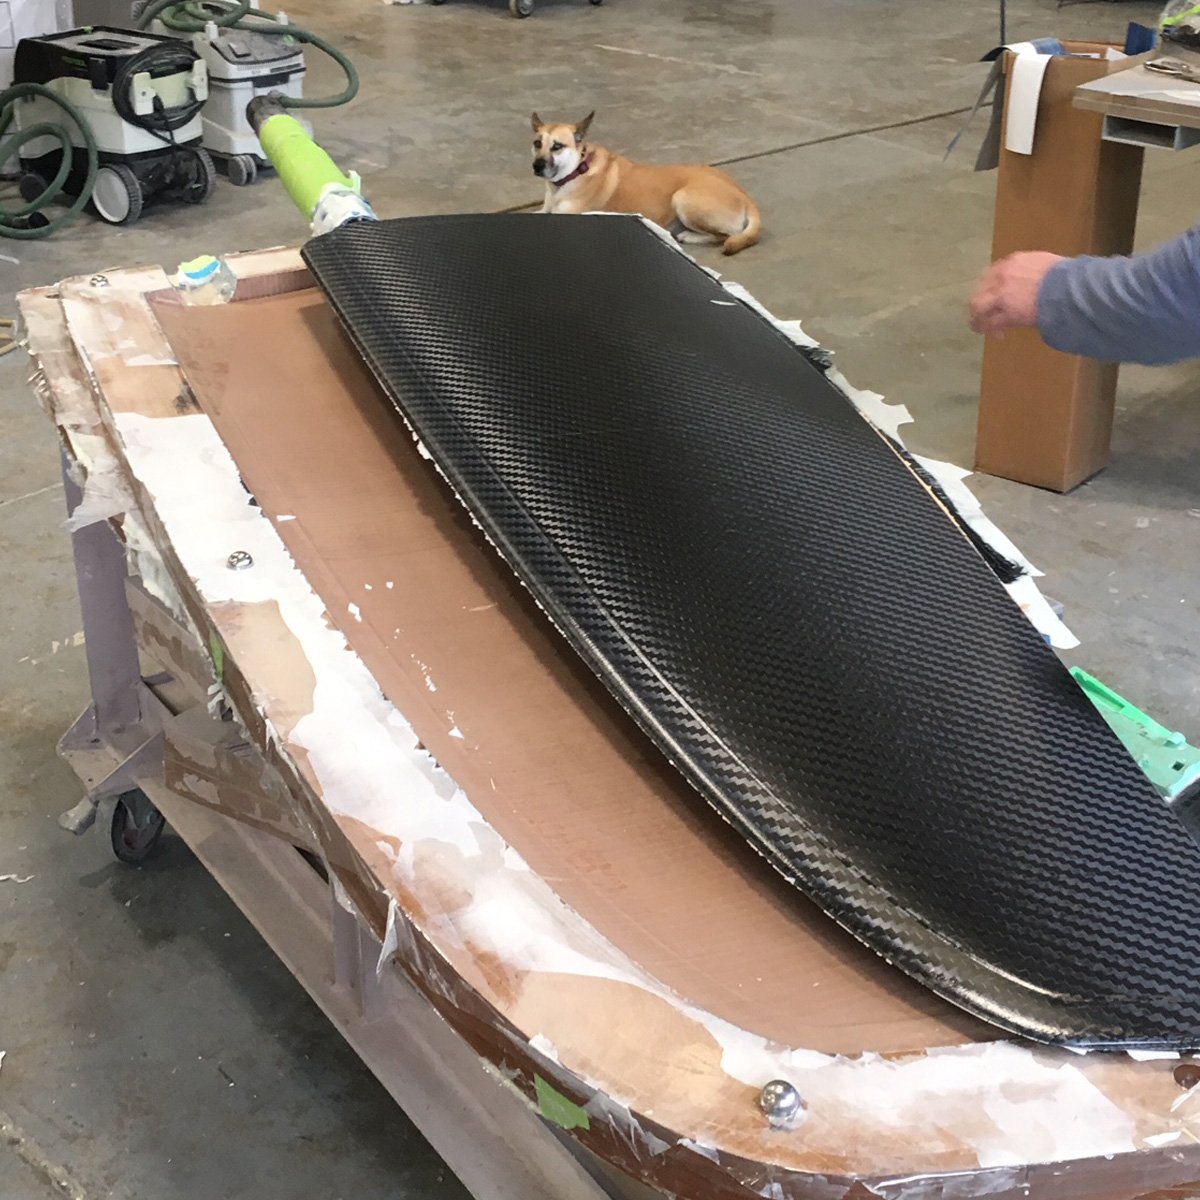
All out. Ready to prep the leading-edge rebate and tape the nose together. 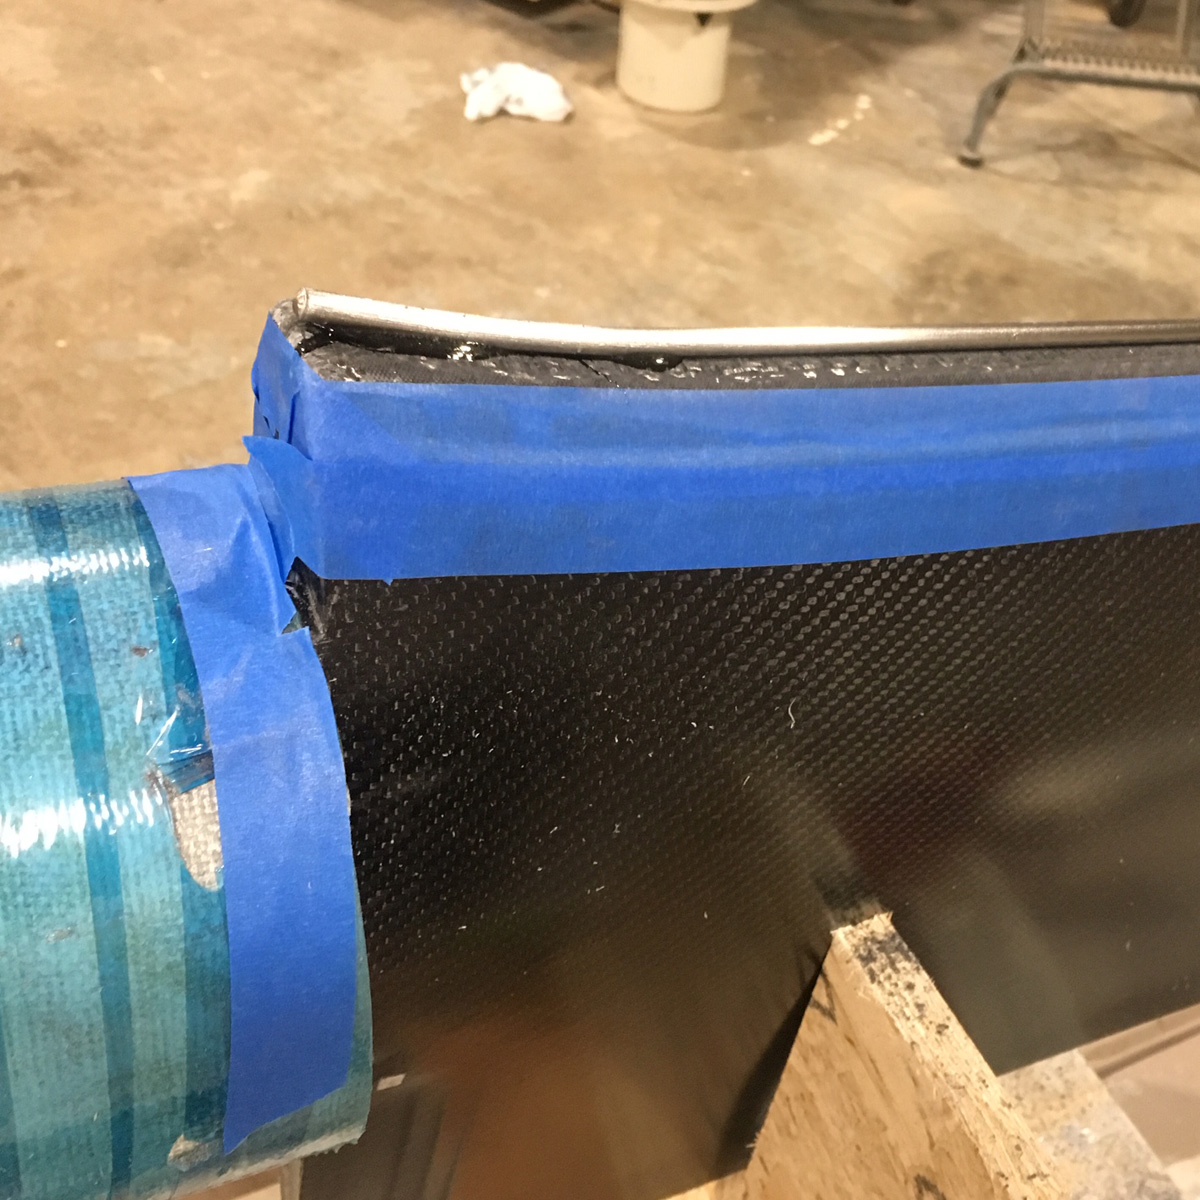
This one had a metal rod on the leading-edge that had to get glued on first. 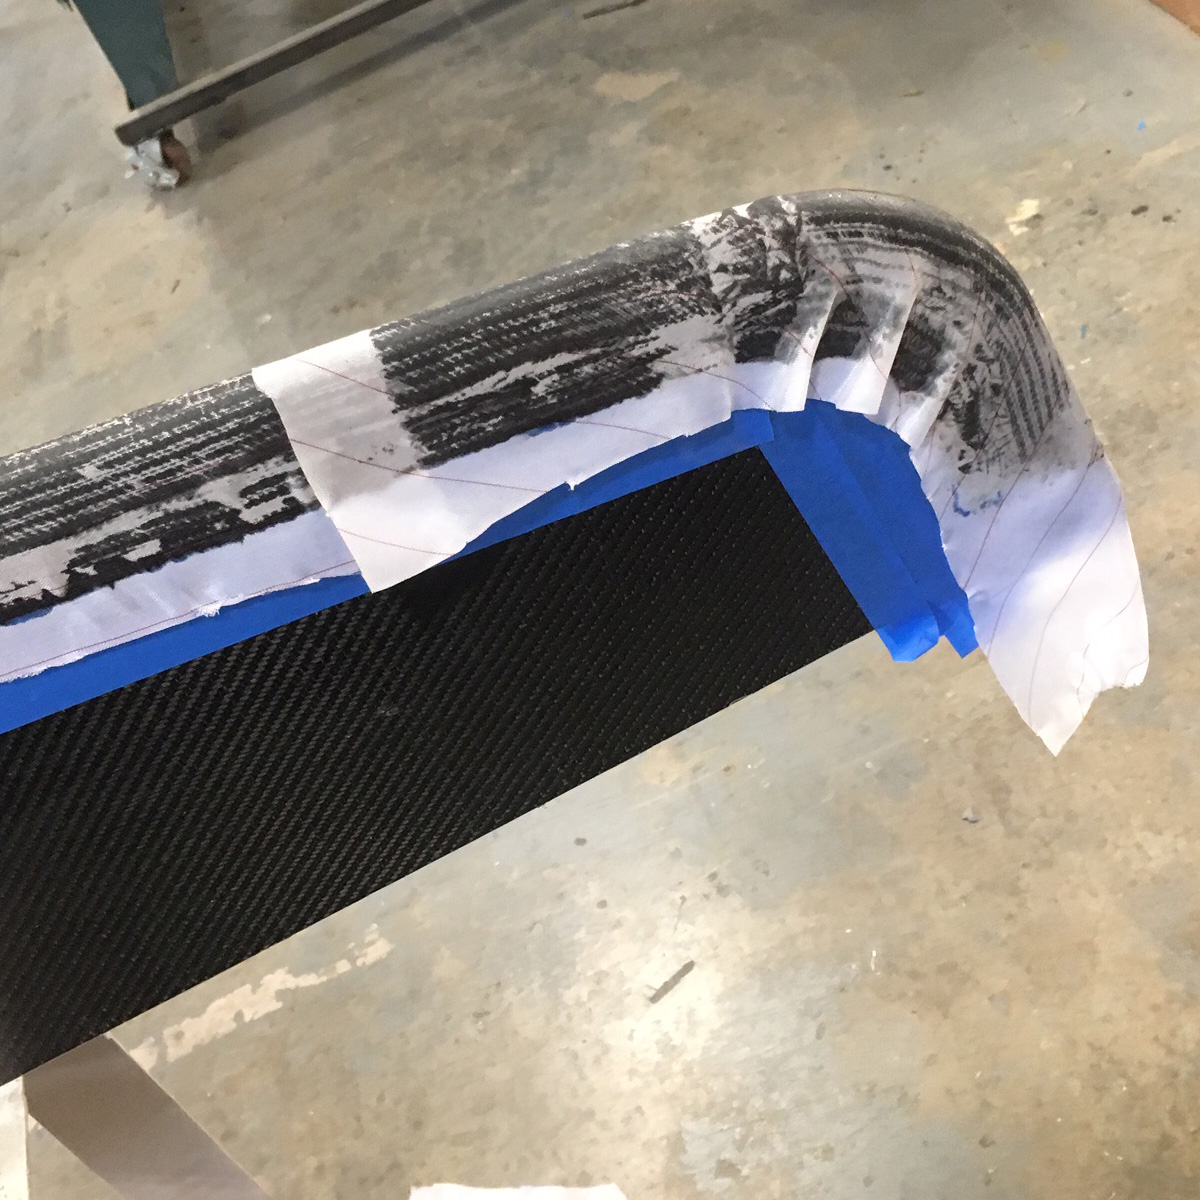
Laminated, peel ply. Next release film, breather, bag and vacuum. 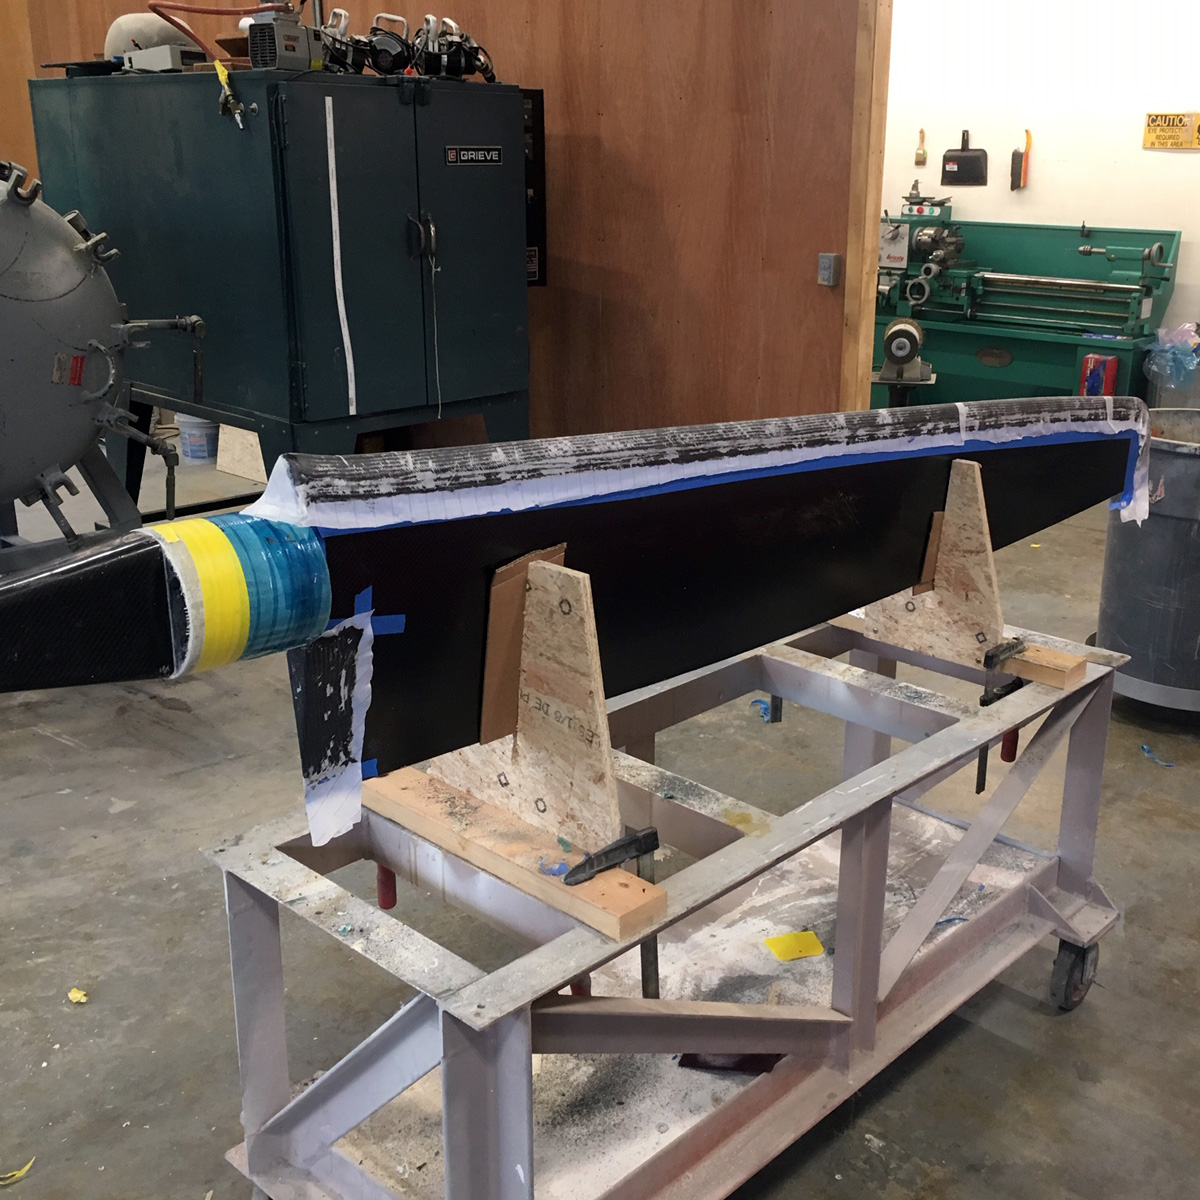
Nose and top of trailing edge taped with a few layers of biaxial carbon. A rebate was left in the mold so it will all fair out neatly. 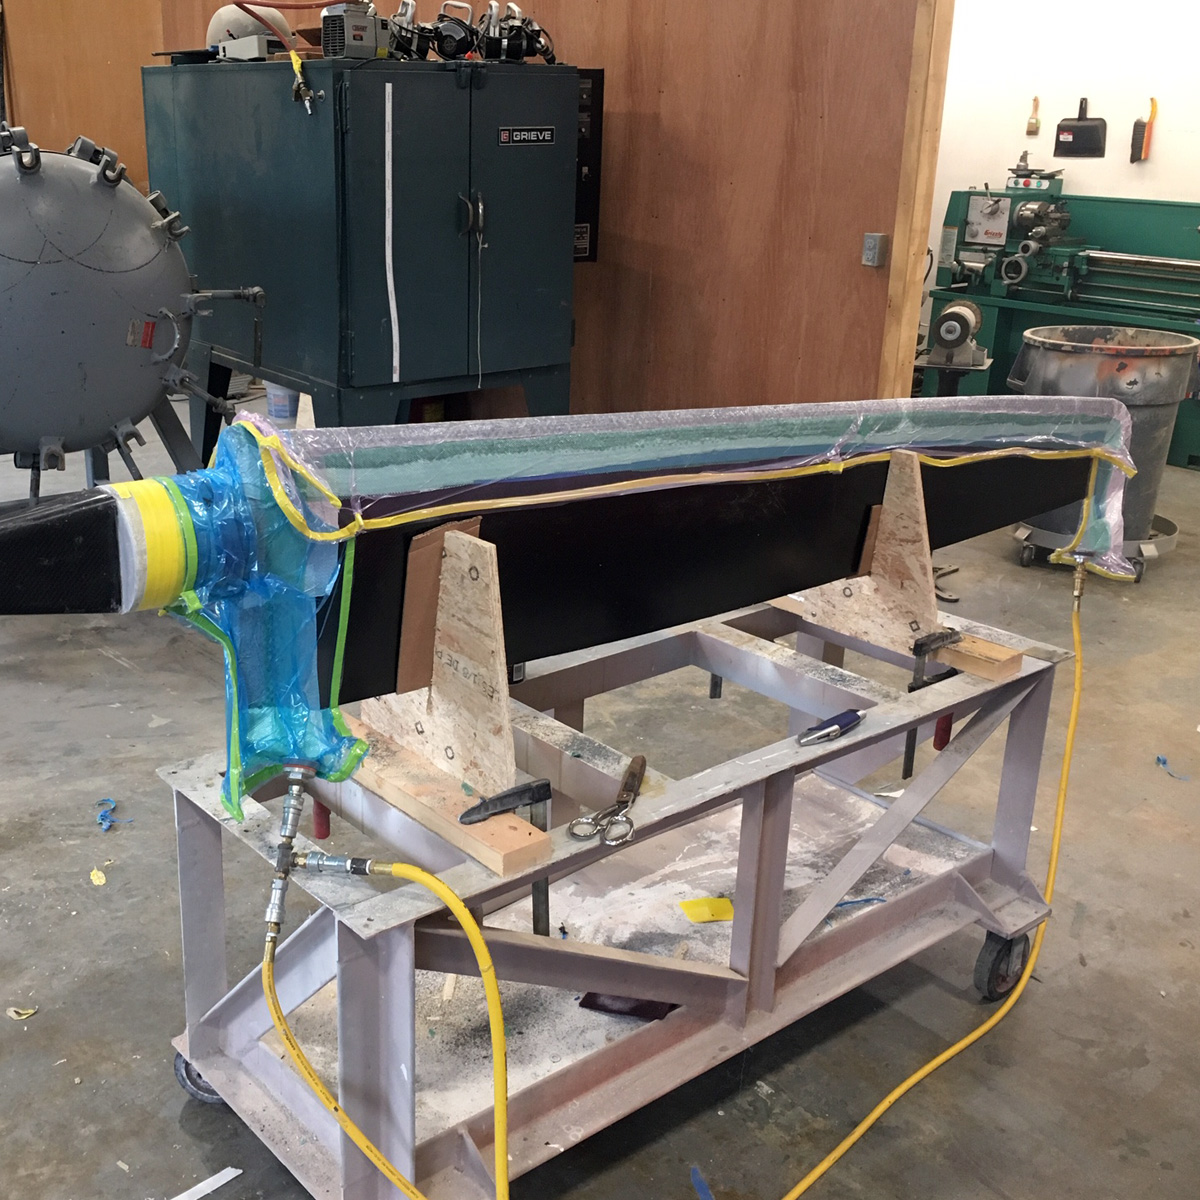
Bagged up! 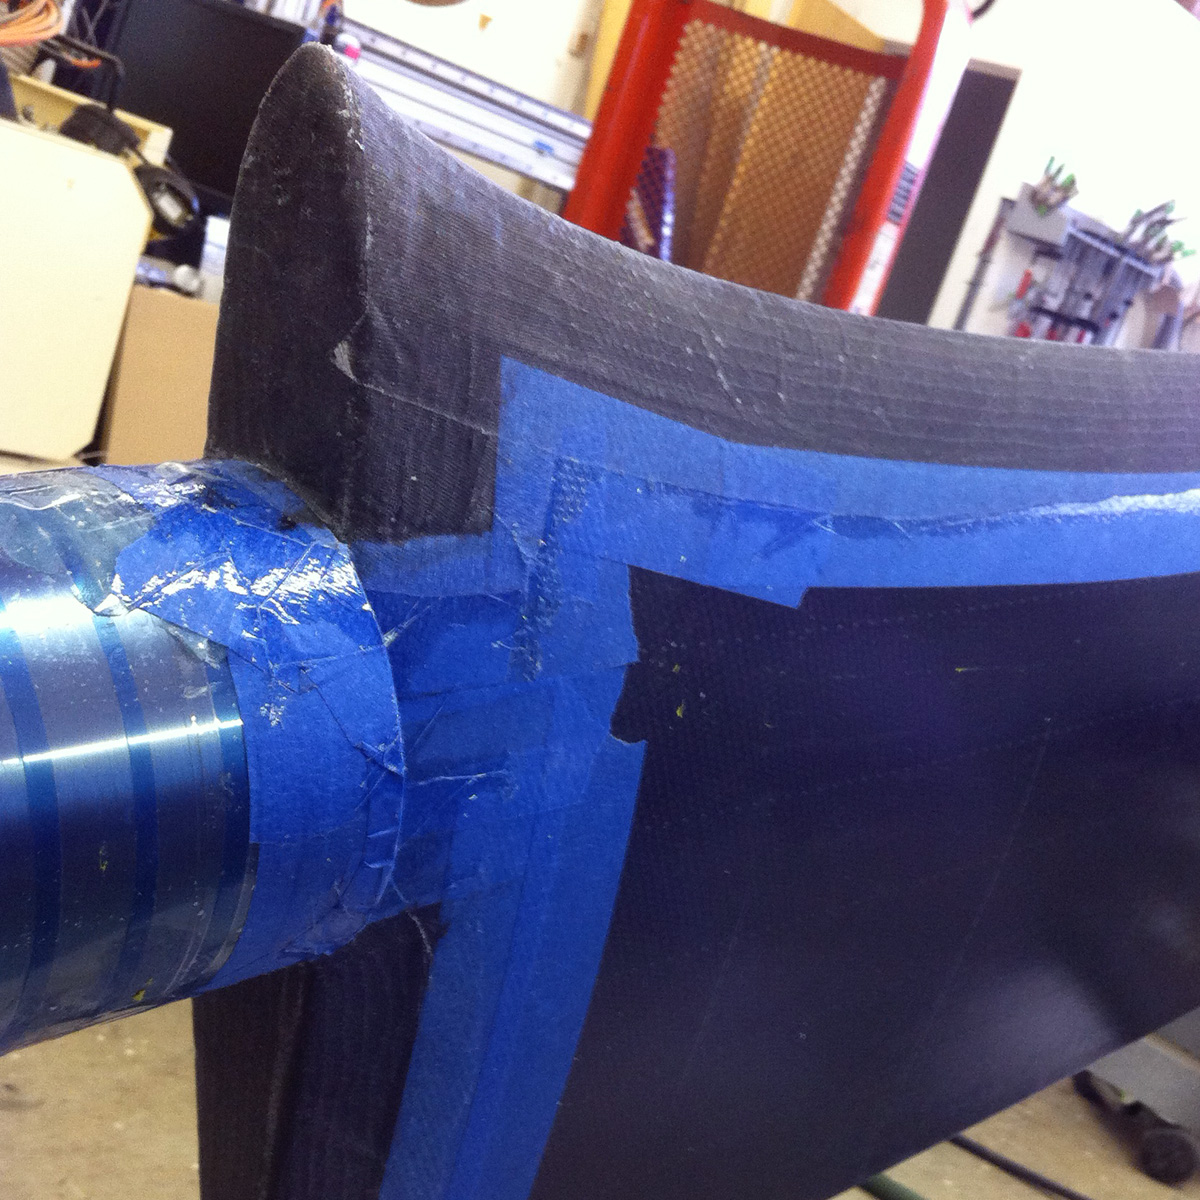
Finished nose tape. Plenty of masking to protect that metal sleeve. Usually those get glued on later. 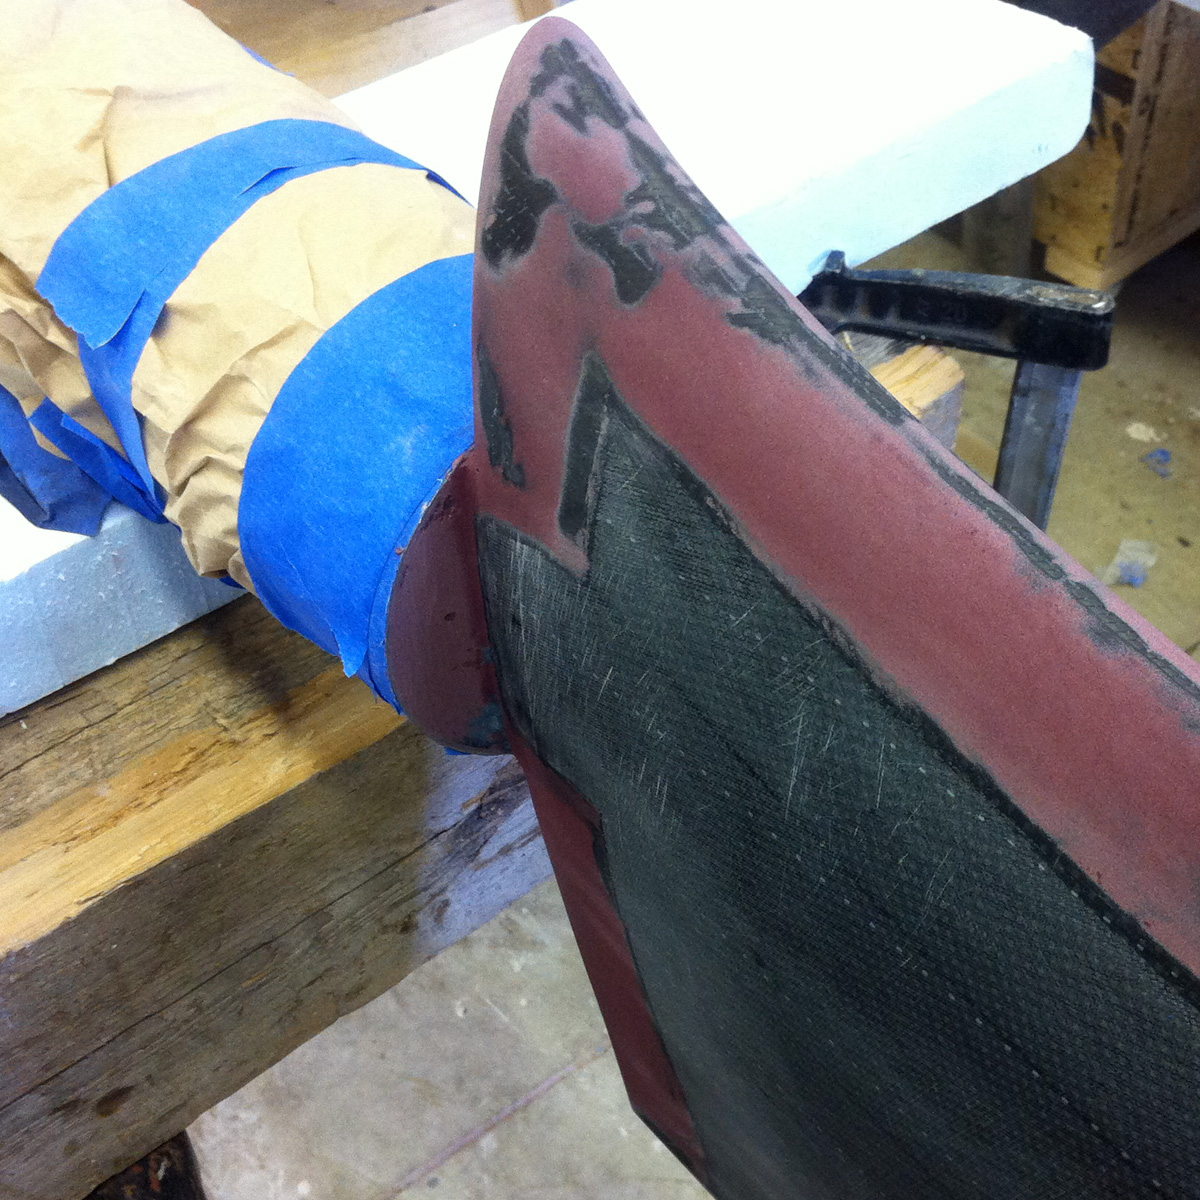
A little bit of fairing to smooth out the rebate. 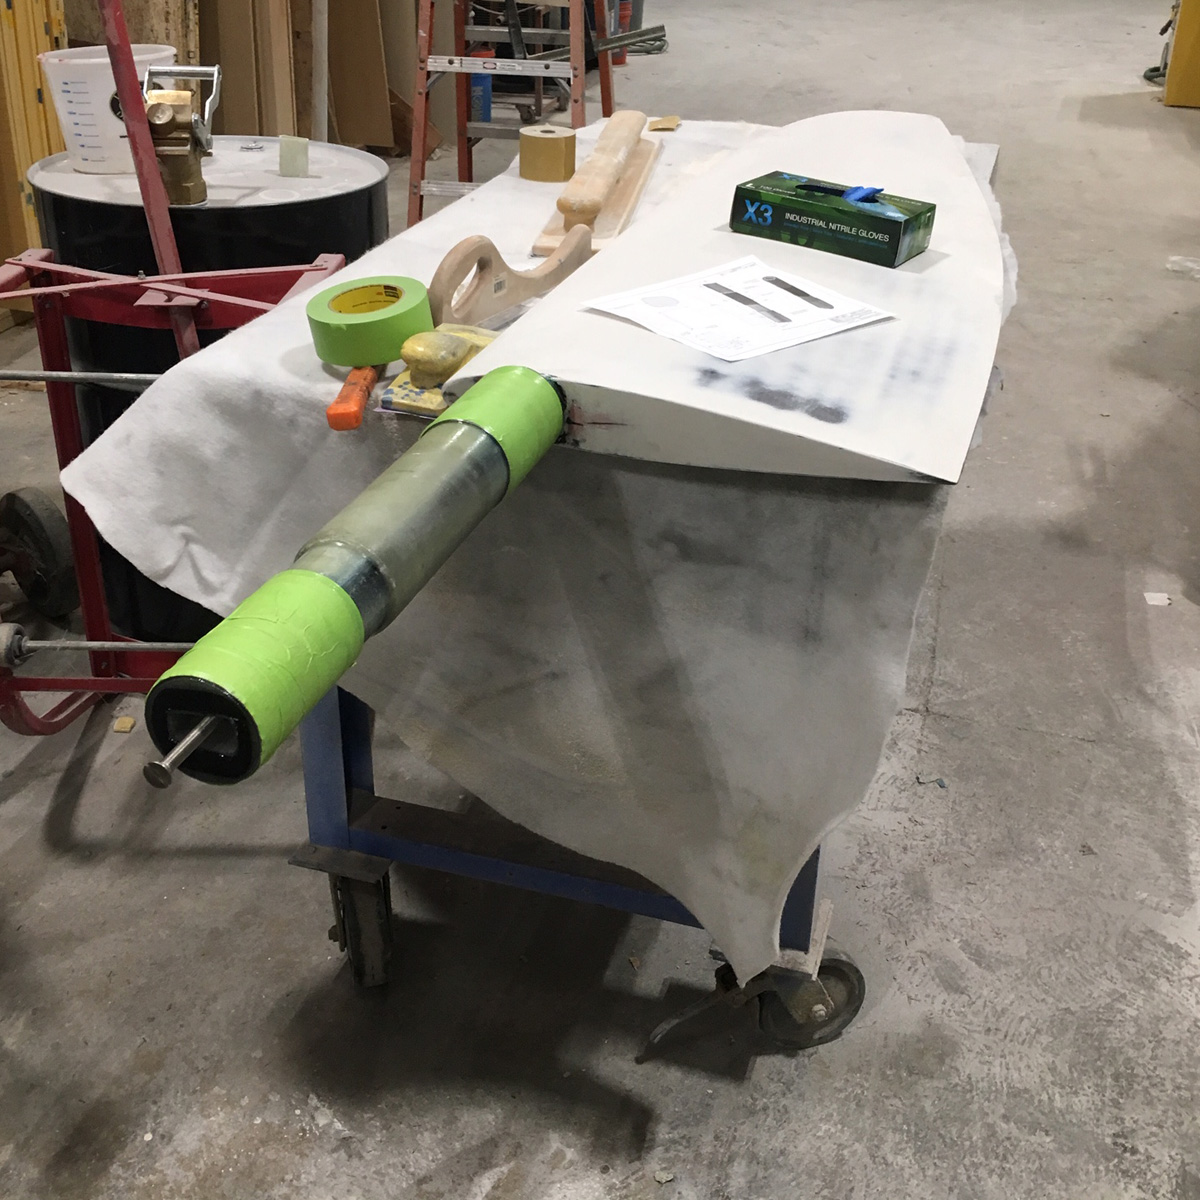
Then primer. And sanding! And fitting the emergency tiller socket. 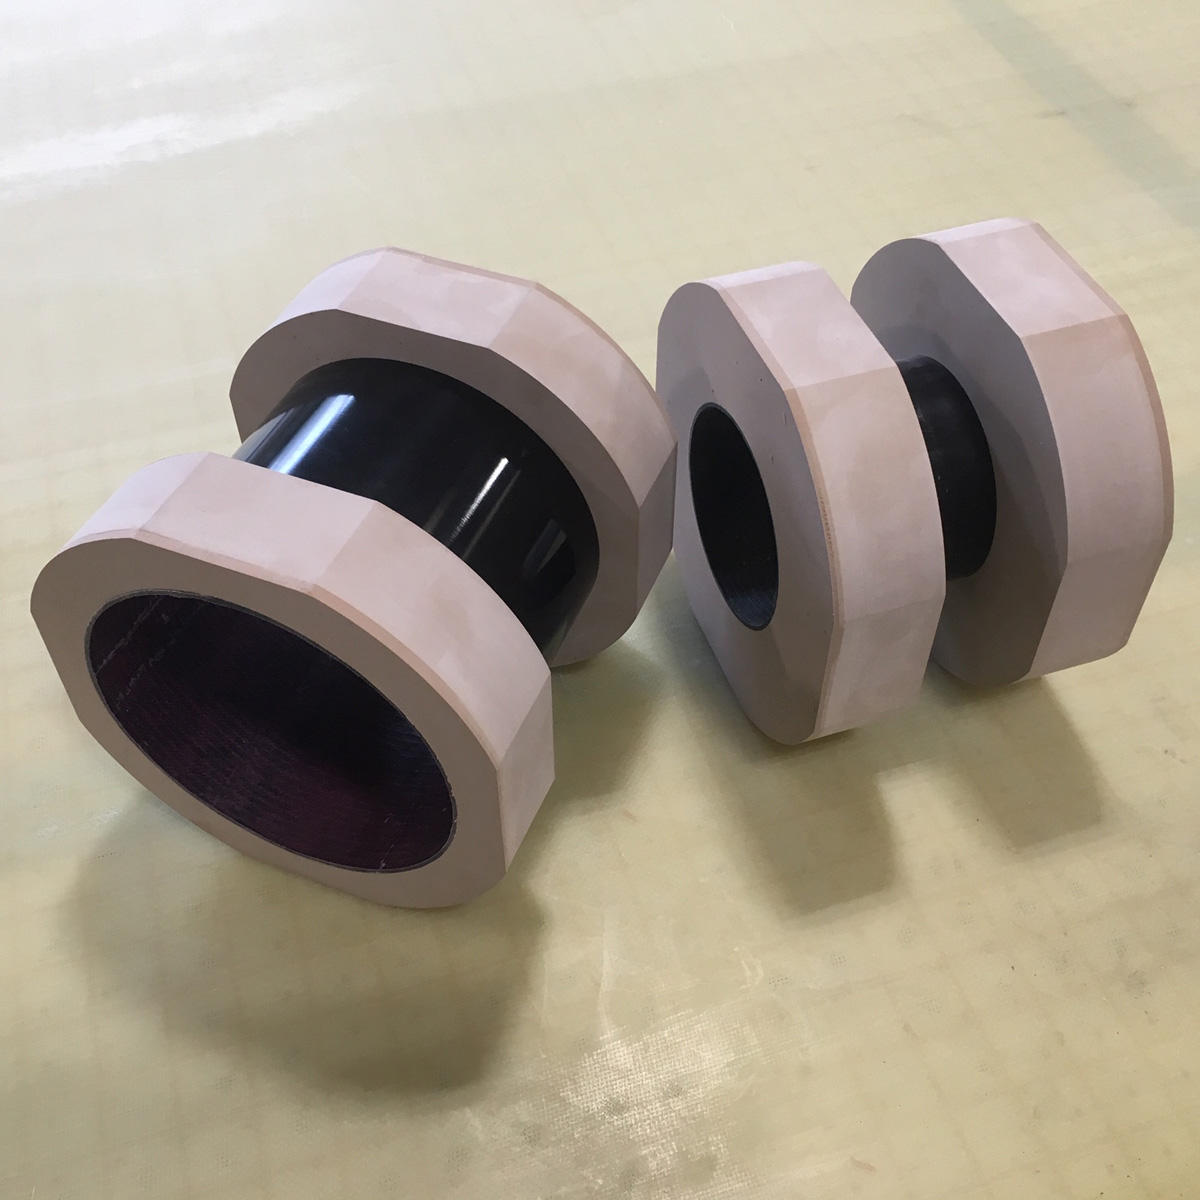
These rings hold the bearing sleeves round – and give flats so that can be aligned while glued on. 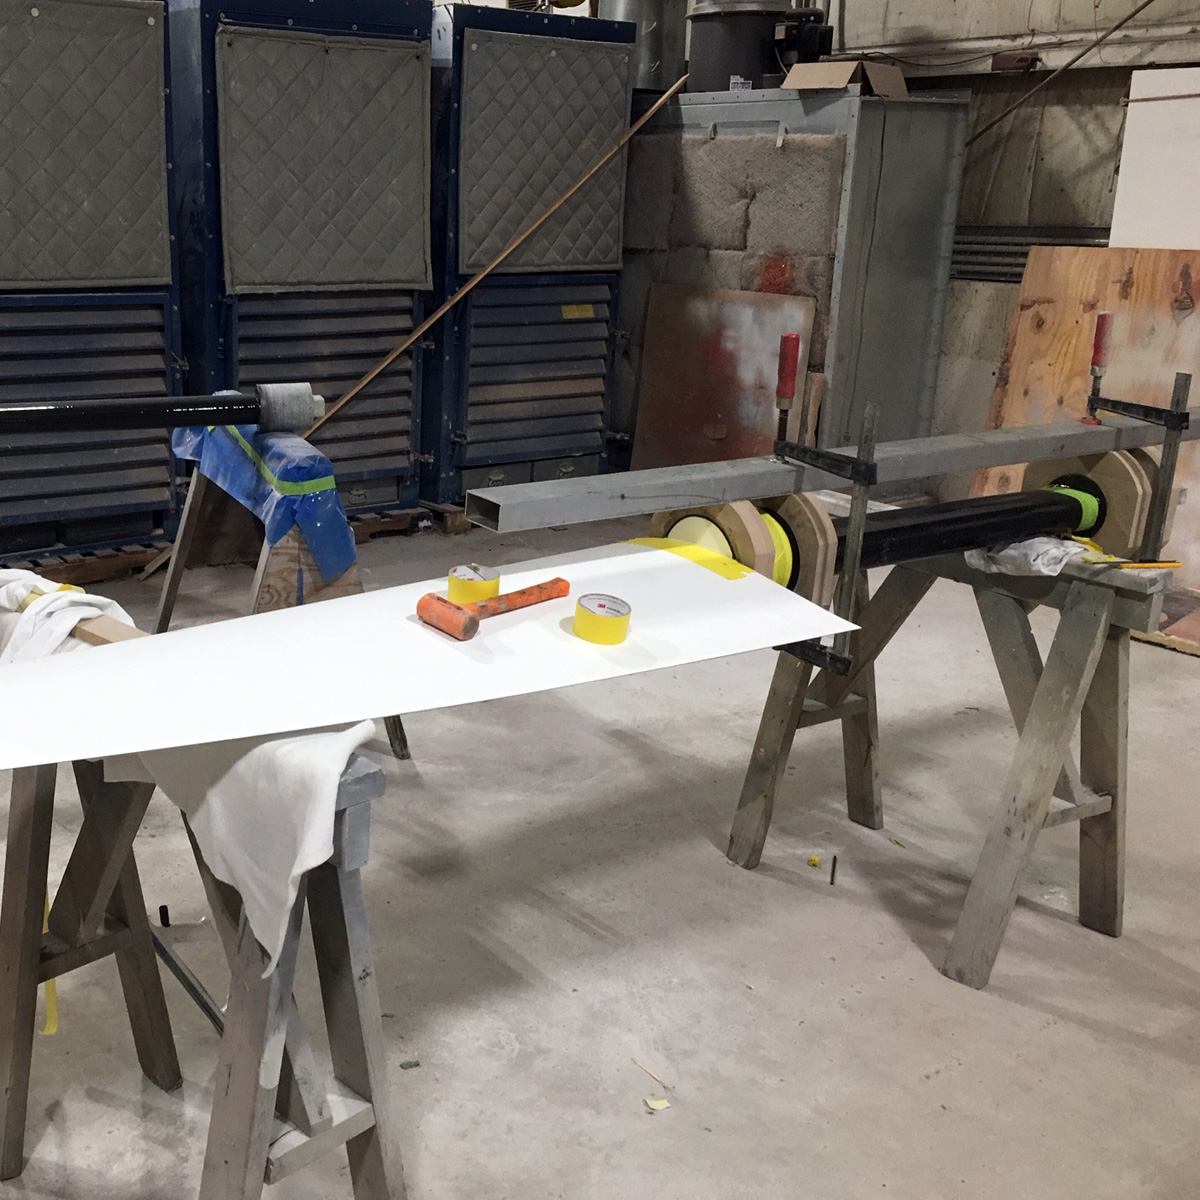
Bonding on some sleeves with an aluminum straight-edge. And more sanding. 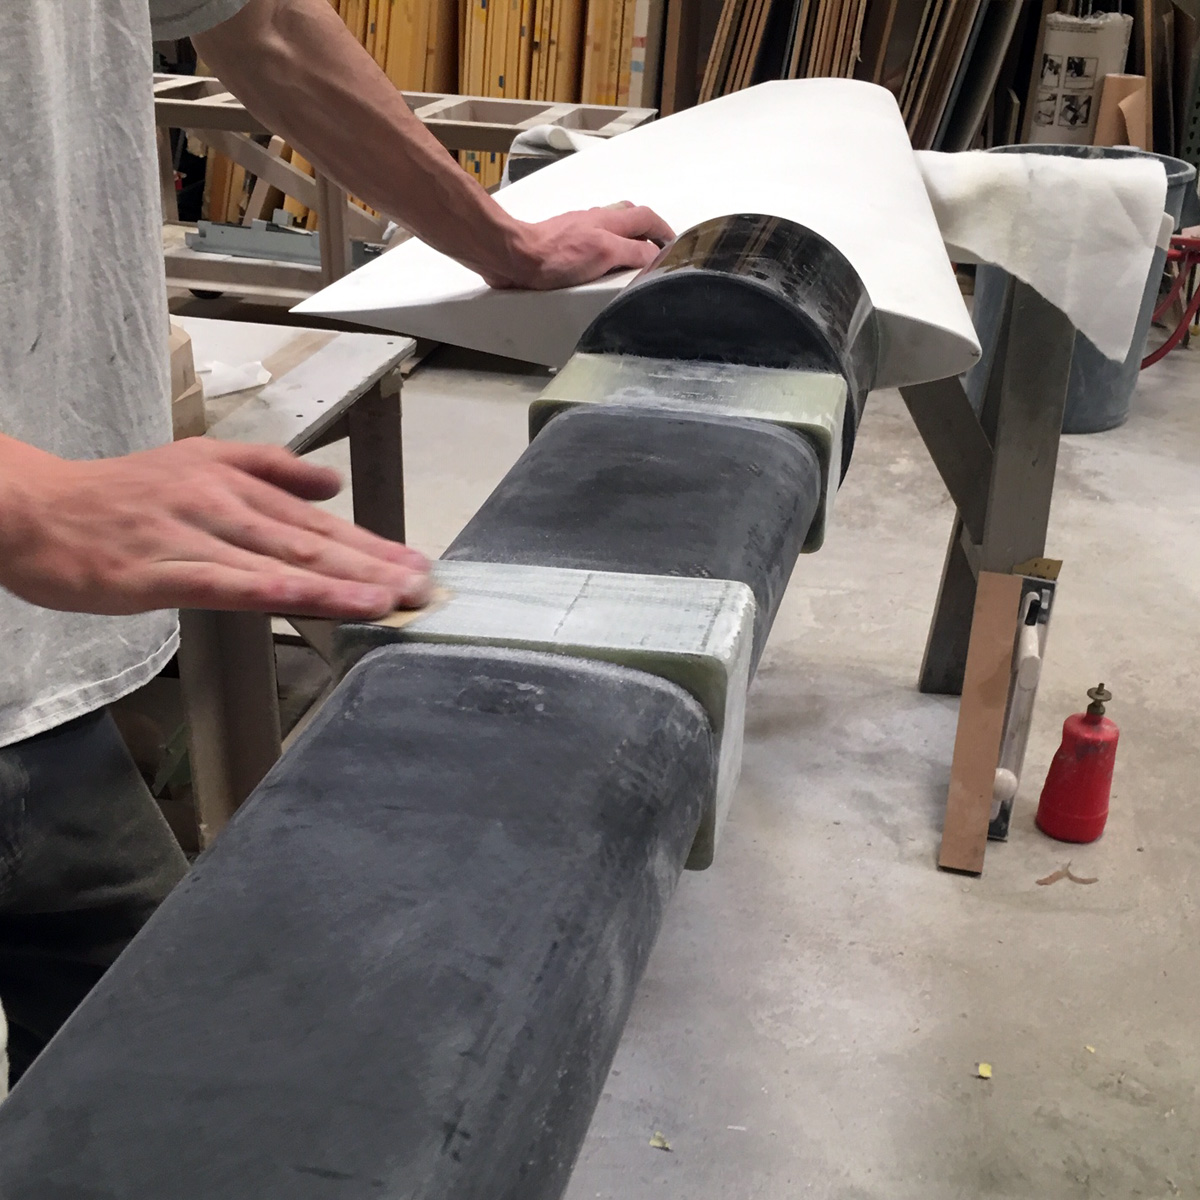
Quadrant and auto-pilot build-ups may be needed. 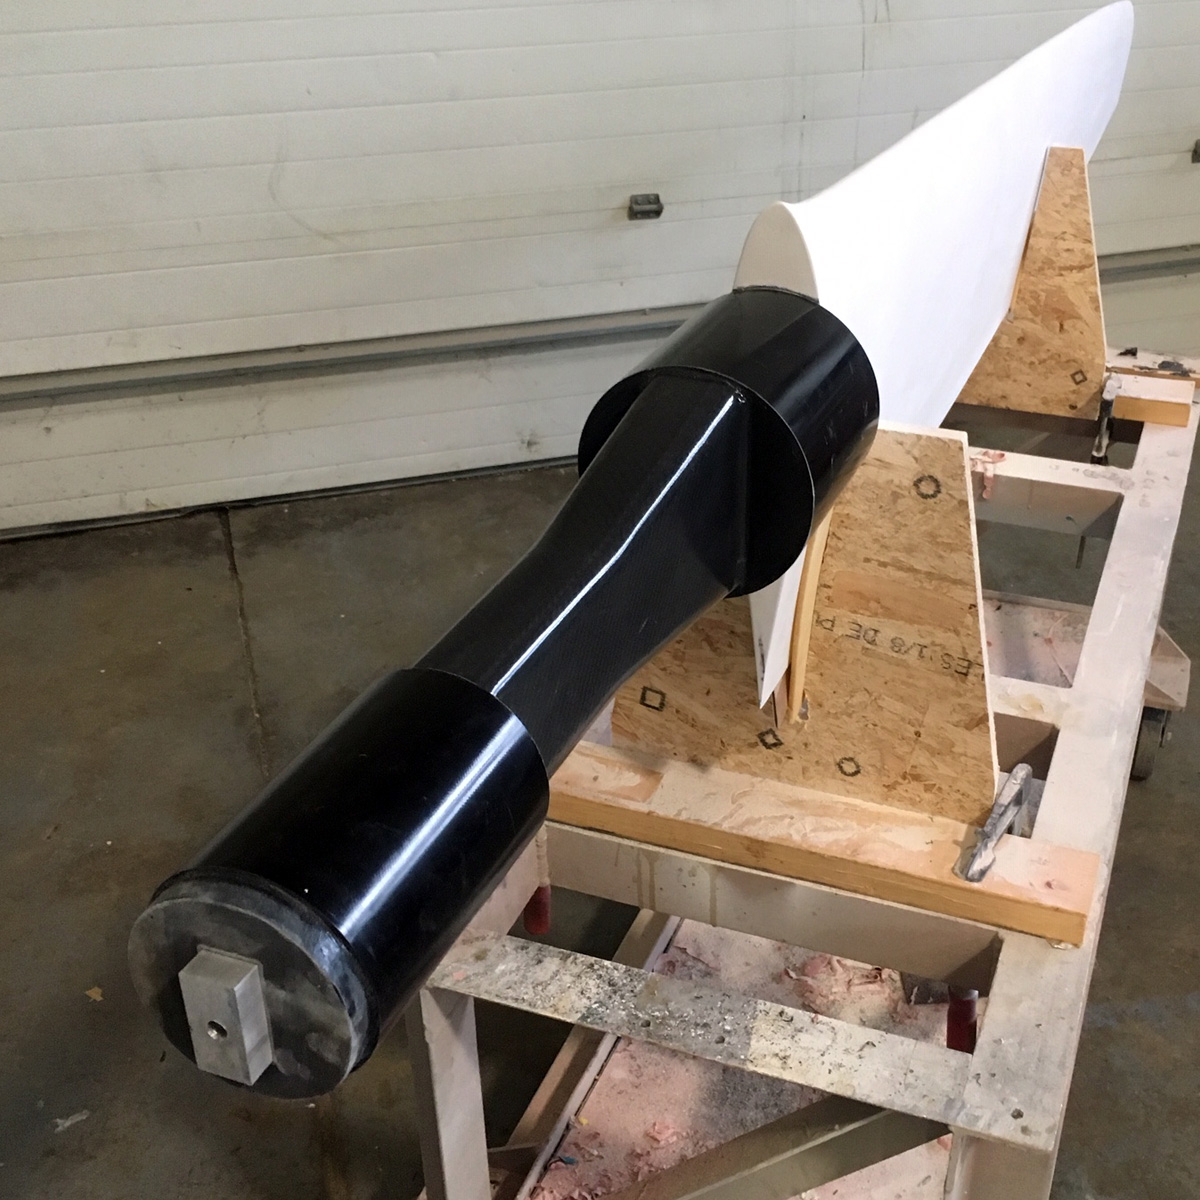
Finished rudder ready for final bottom coating – and a trim and fir on the top. 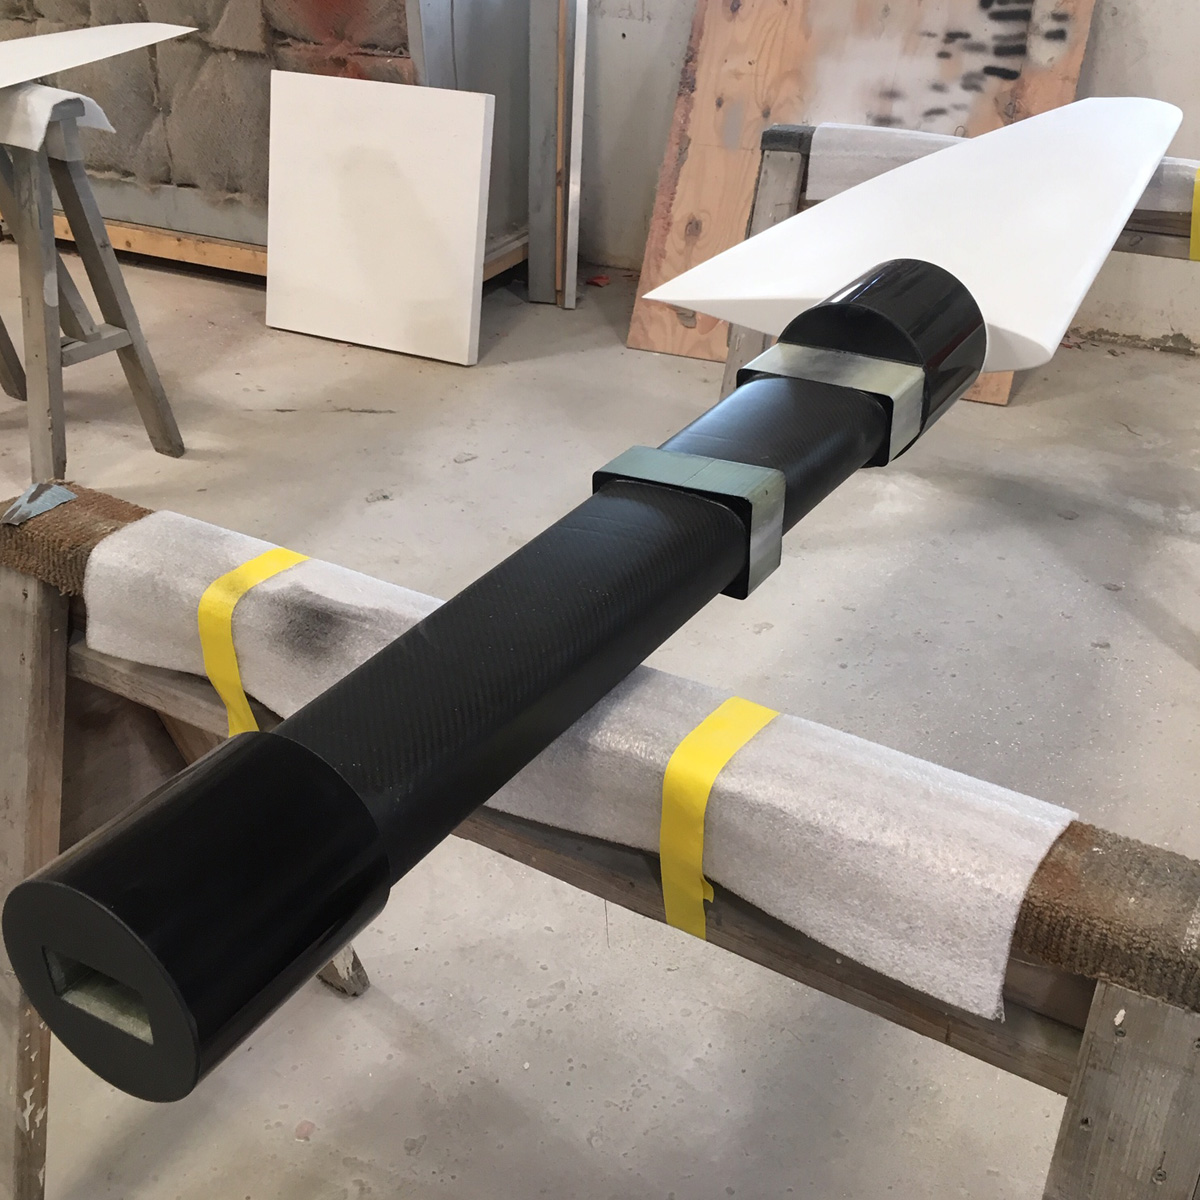
One of a matched pair. 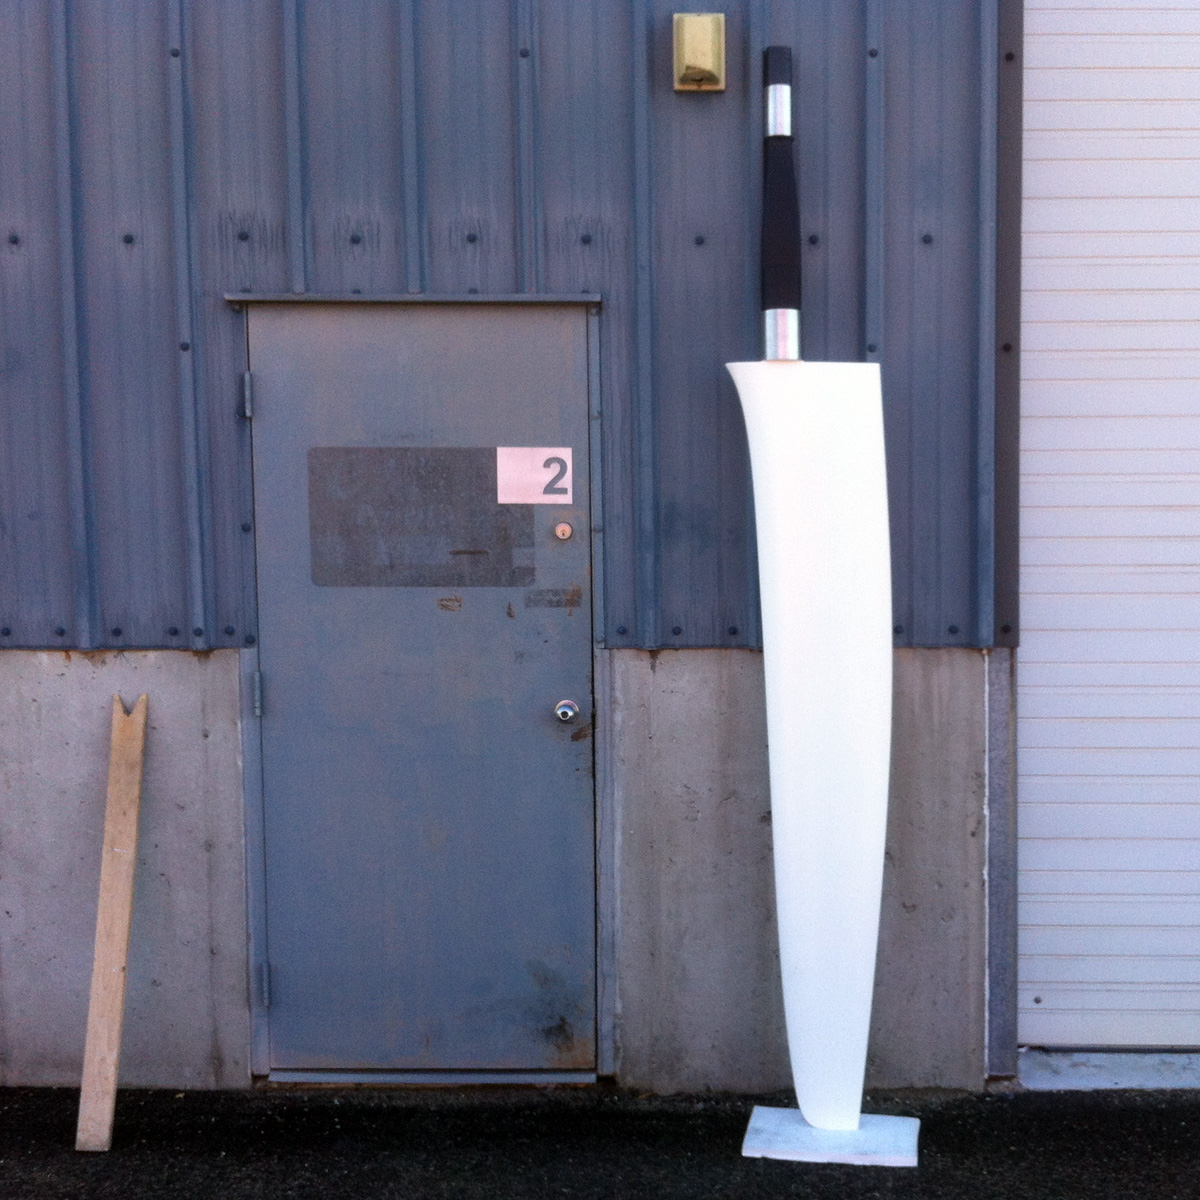
Long ago rudder at my first shop.
So there you have it! It may not represent the state of the art, but the methods used here are widely applied in building high-quality custom rudders for sailing yachts.
Thanks for having a look, let me know if you have any questions or suggestions!